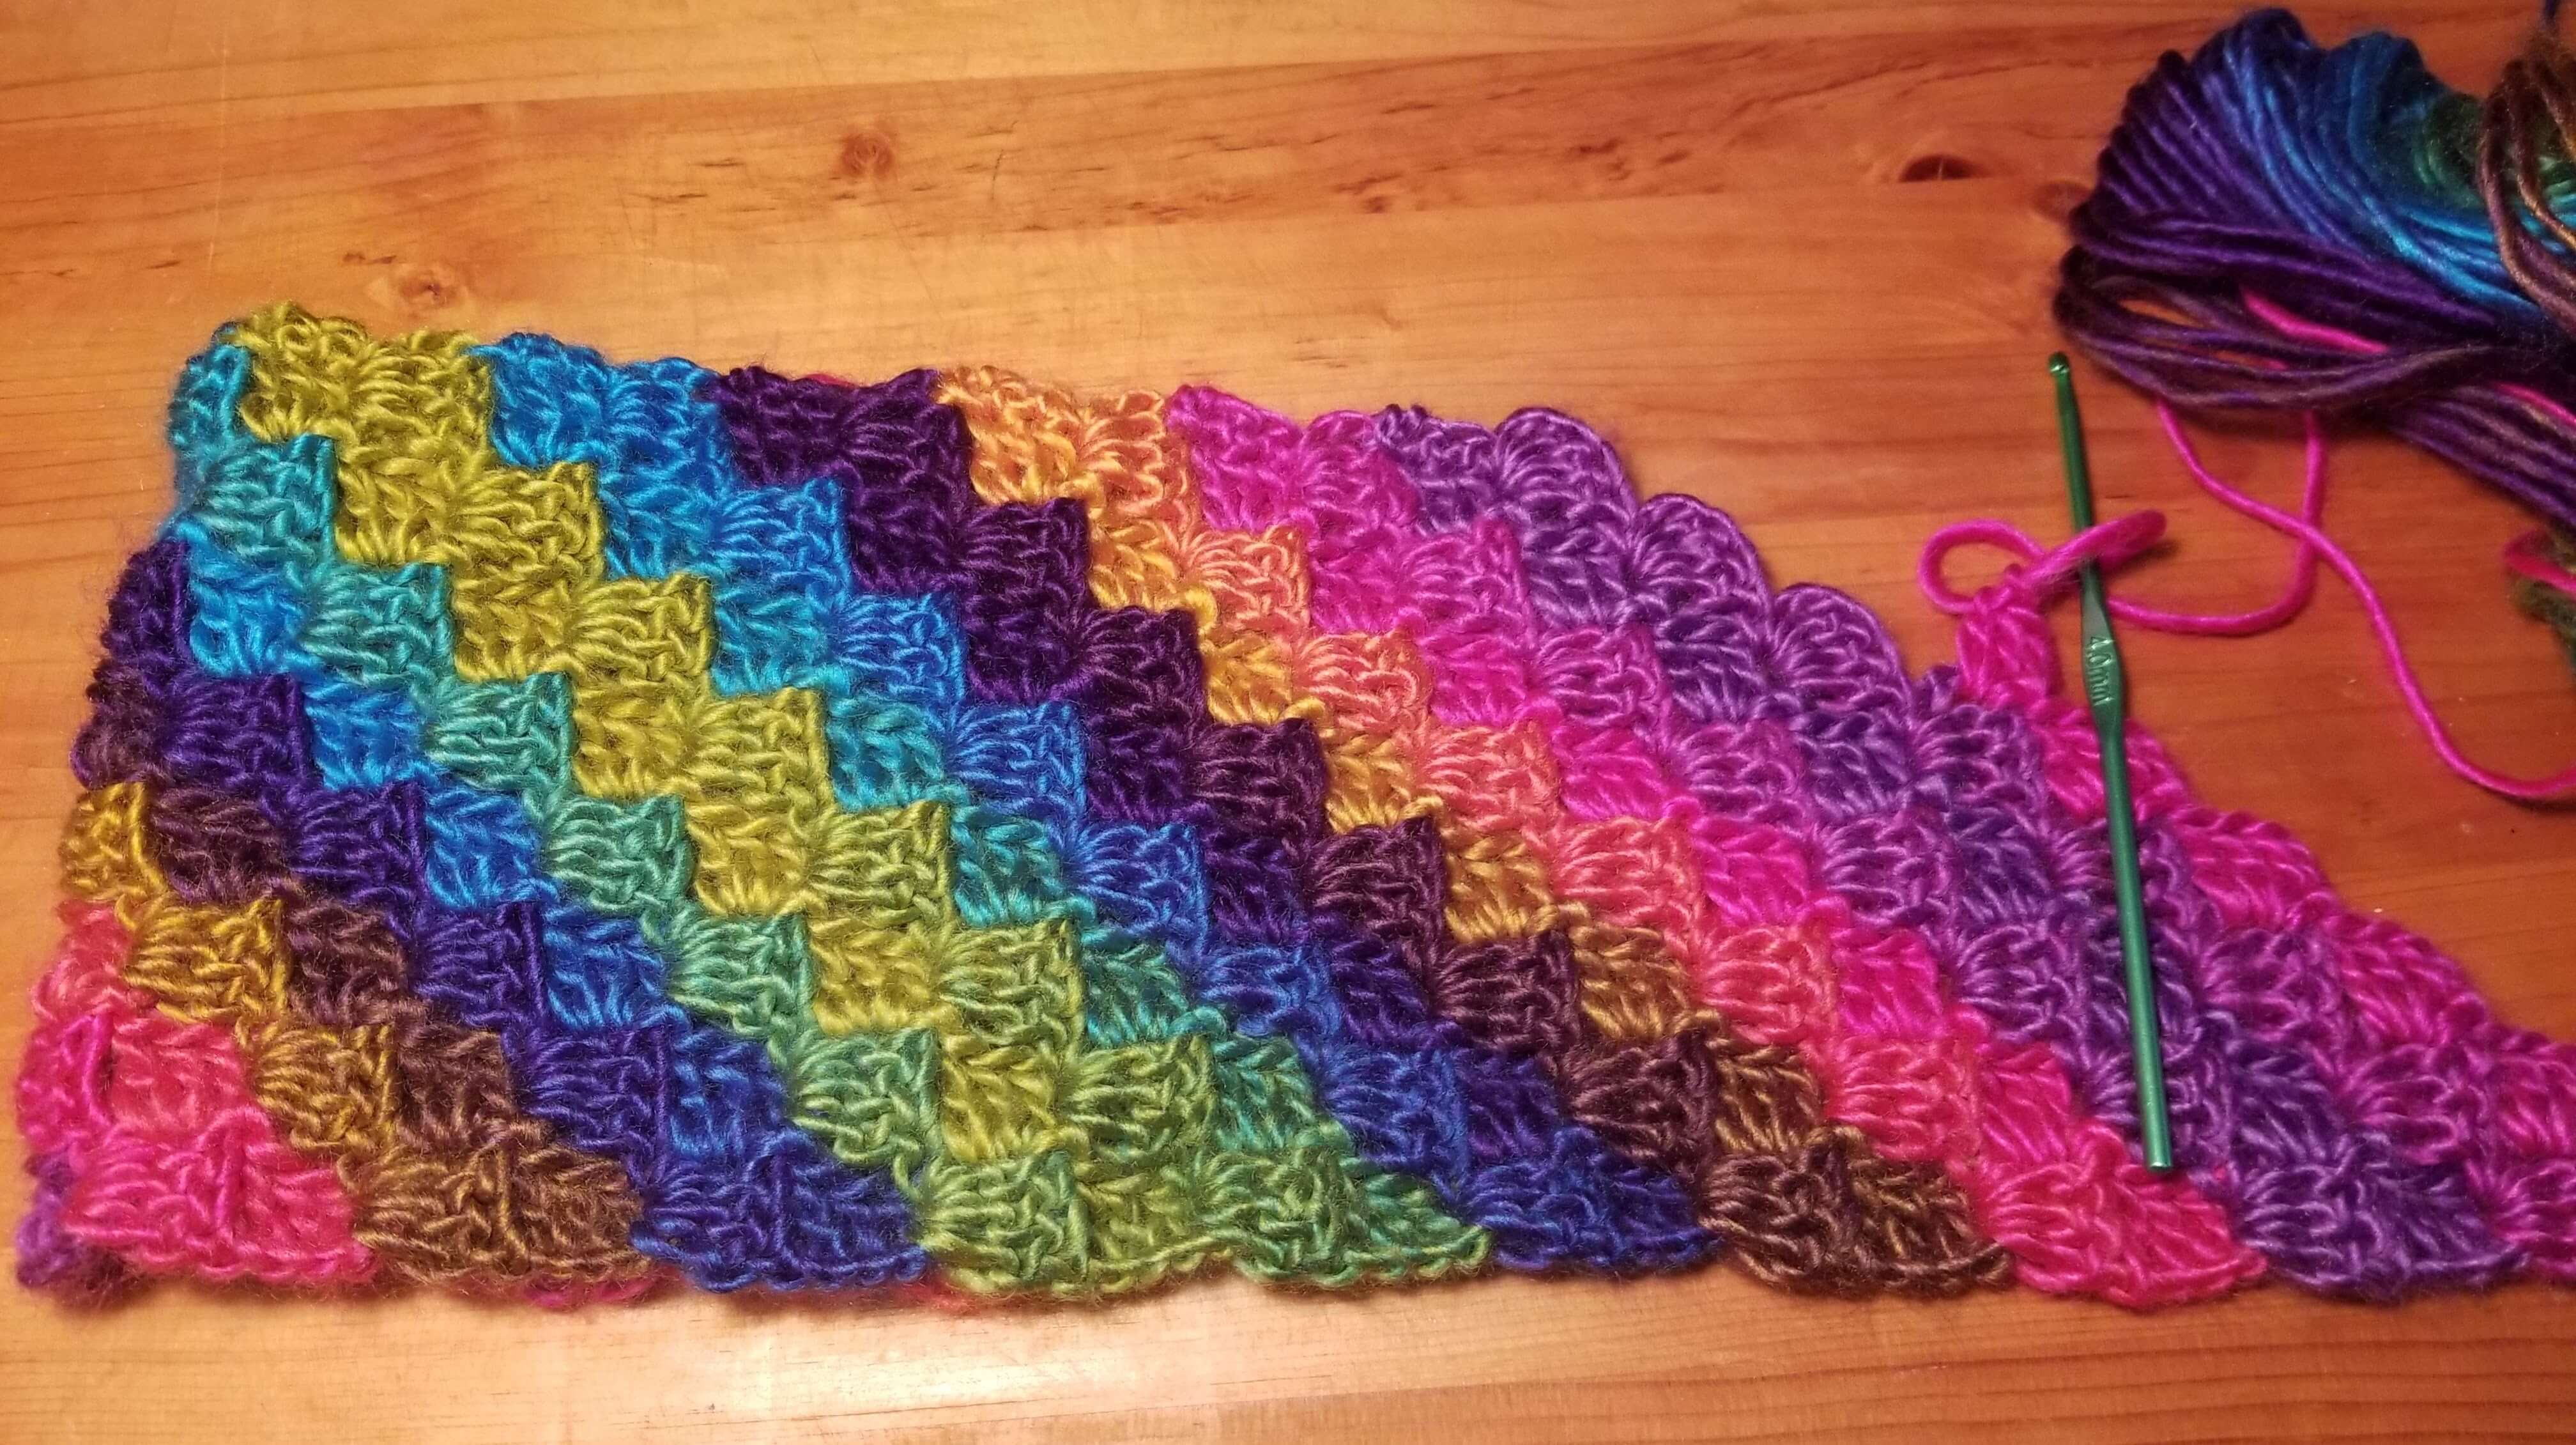
C2C Crochet Pattern is perfect for blankets & scarfs
 c2c crochet pattern
How to do the C2C Crochet Pattern Step by Step
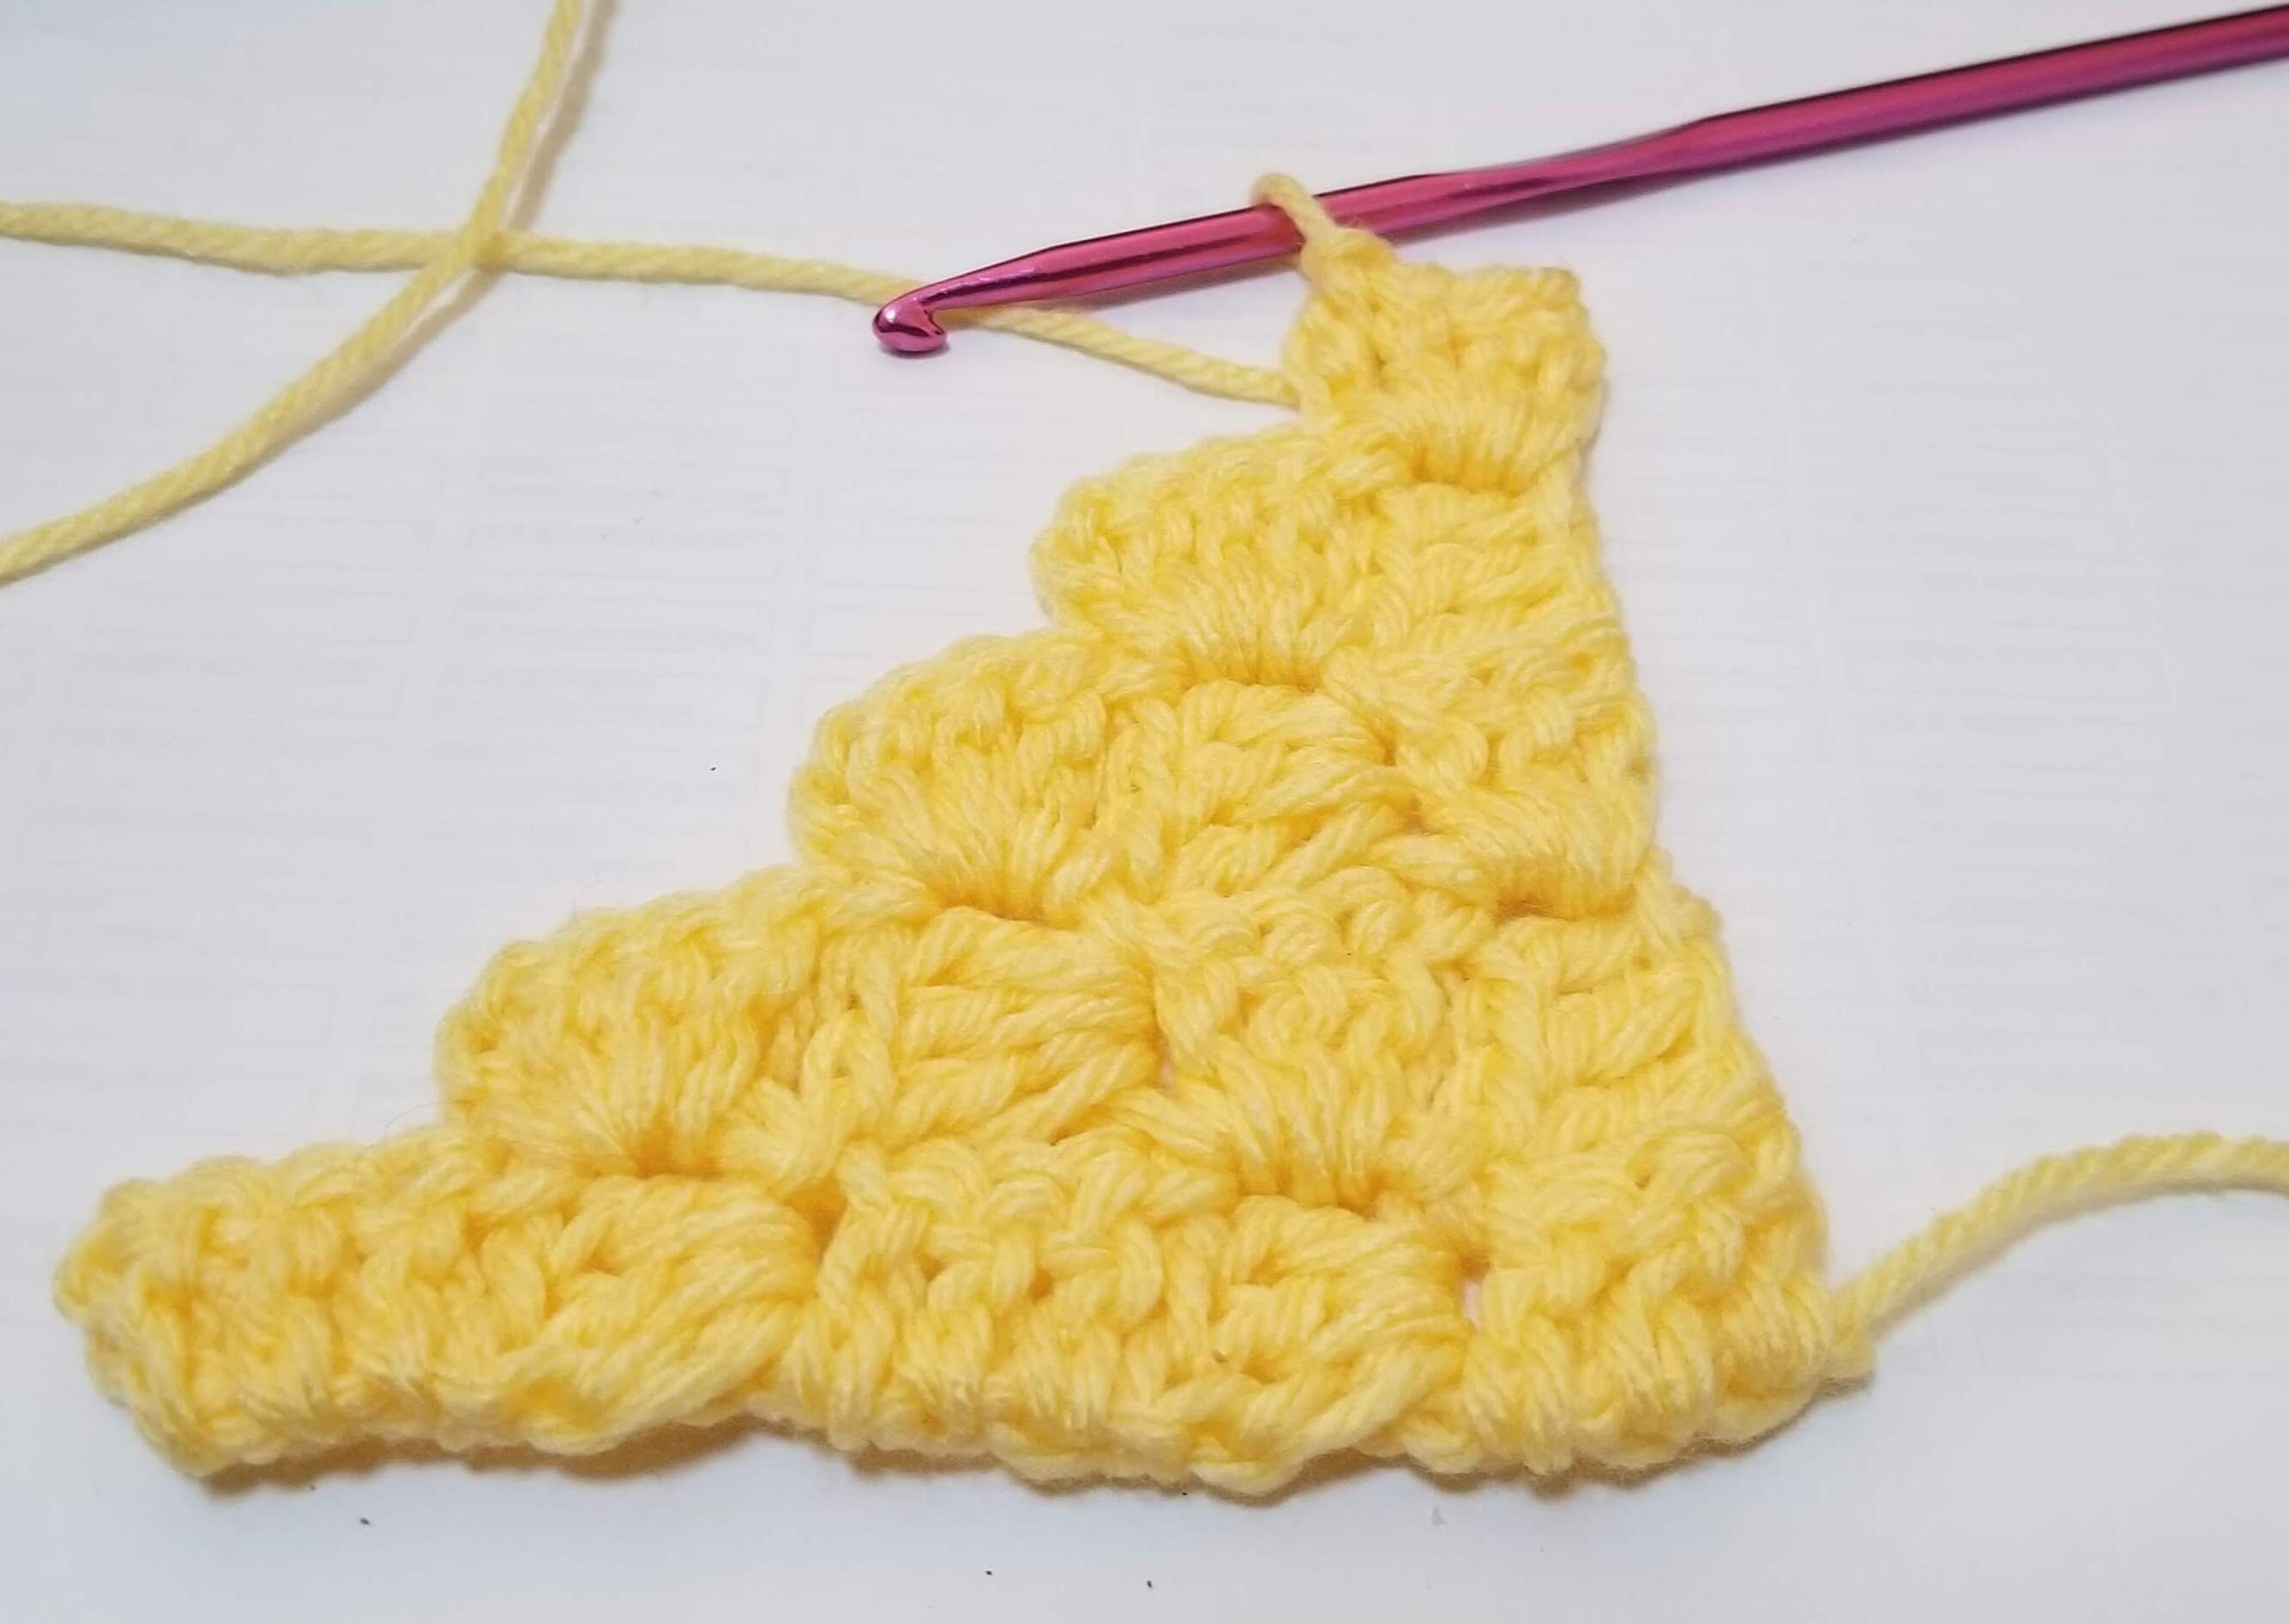
In the C2C Crochet Pattern, the C2C abbreviation means corner to corner. Work a group of 3 double or half double crochet (tiles) , increasing each row by 1 until you reach the size of your project.
The pattern works up very fast and goes from corner to corner. There is no wrong or right side. Both sides look the same.
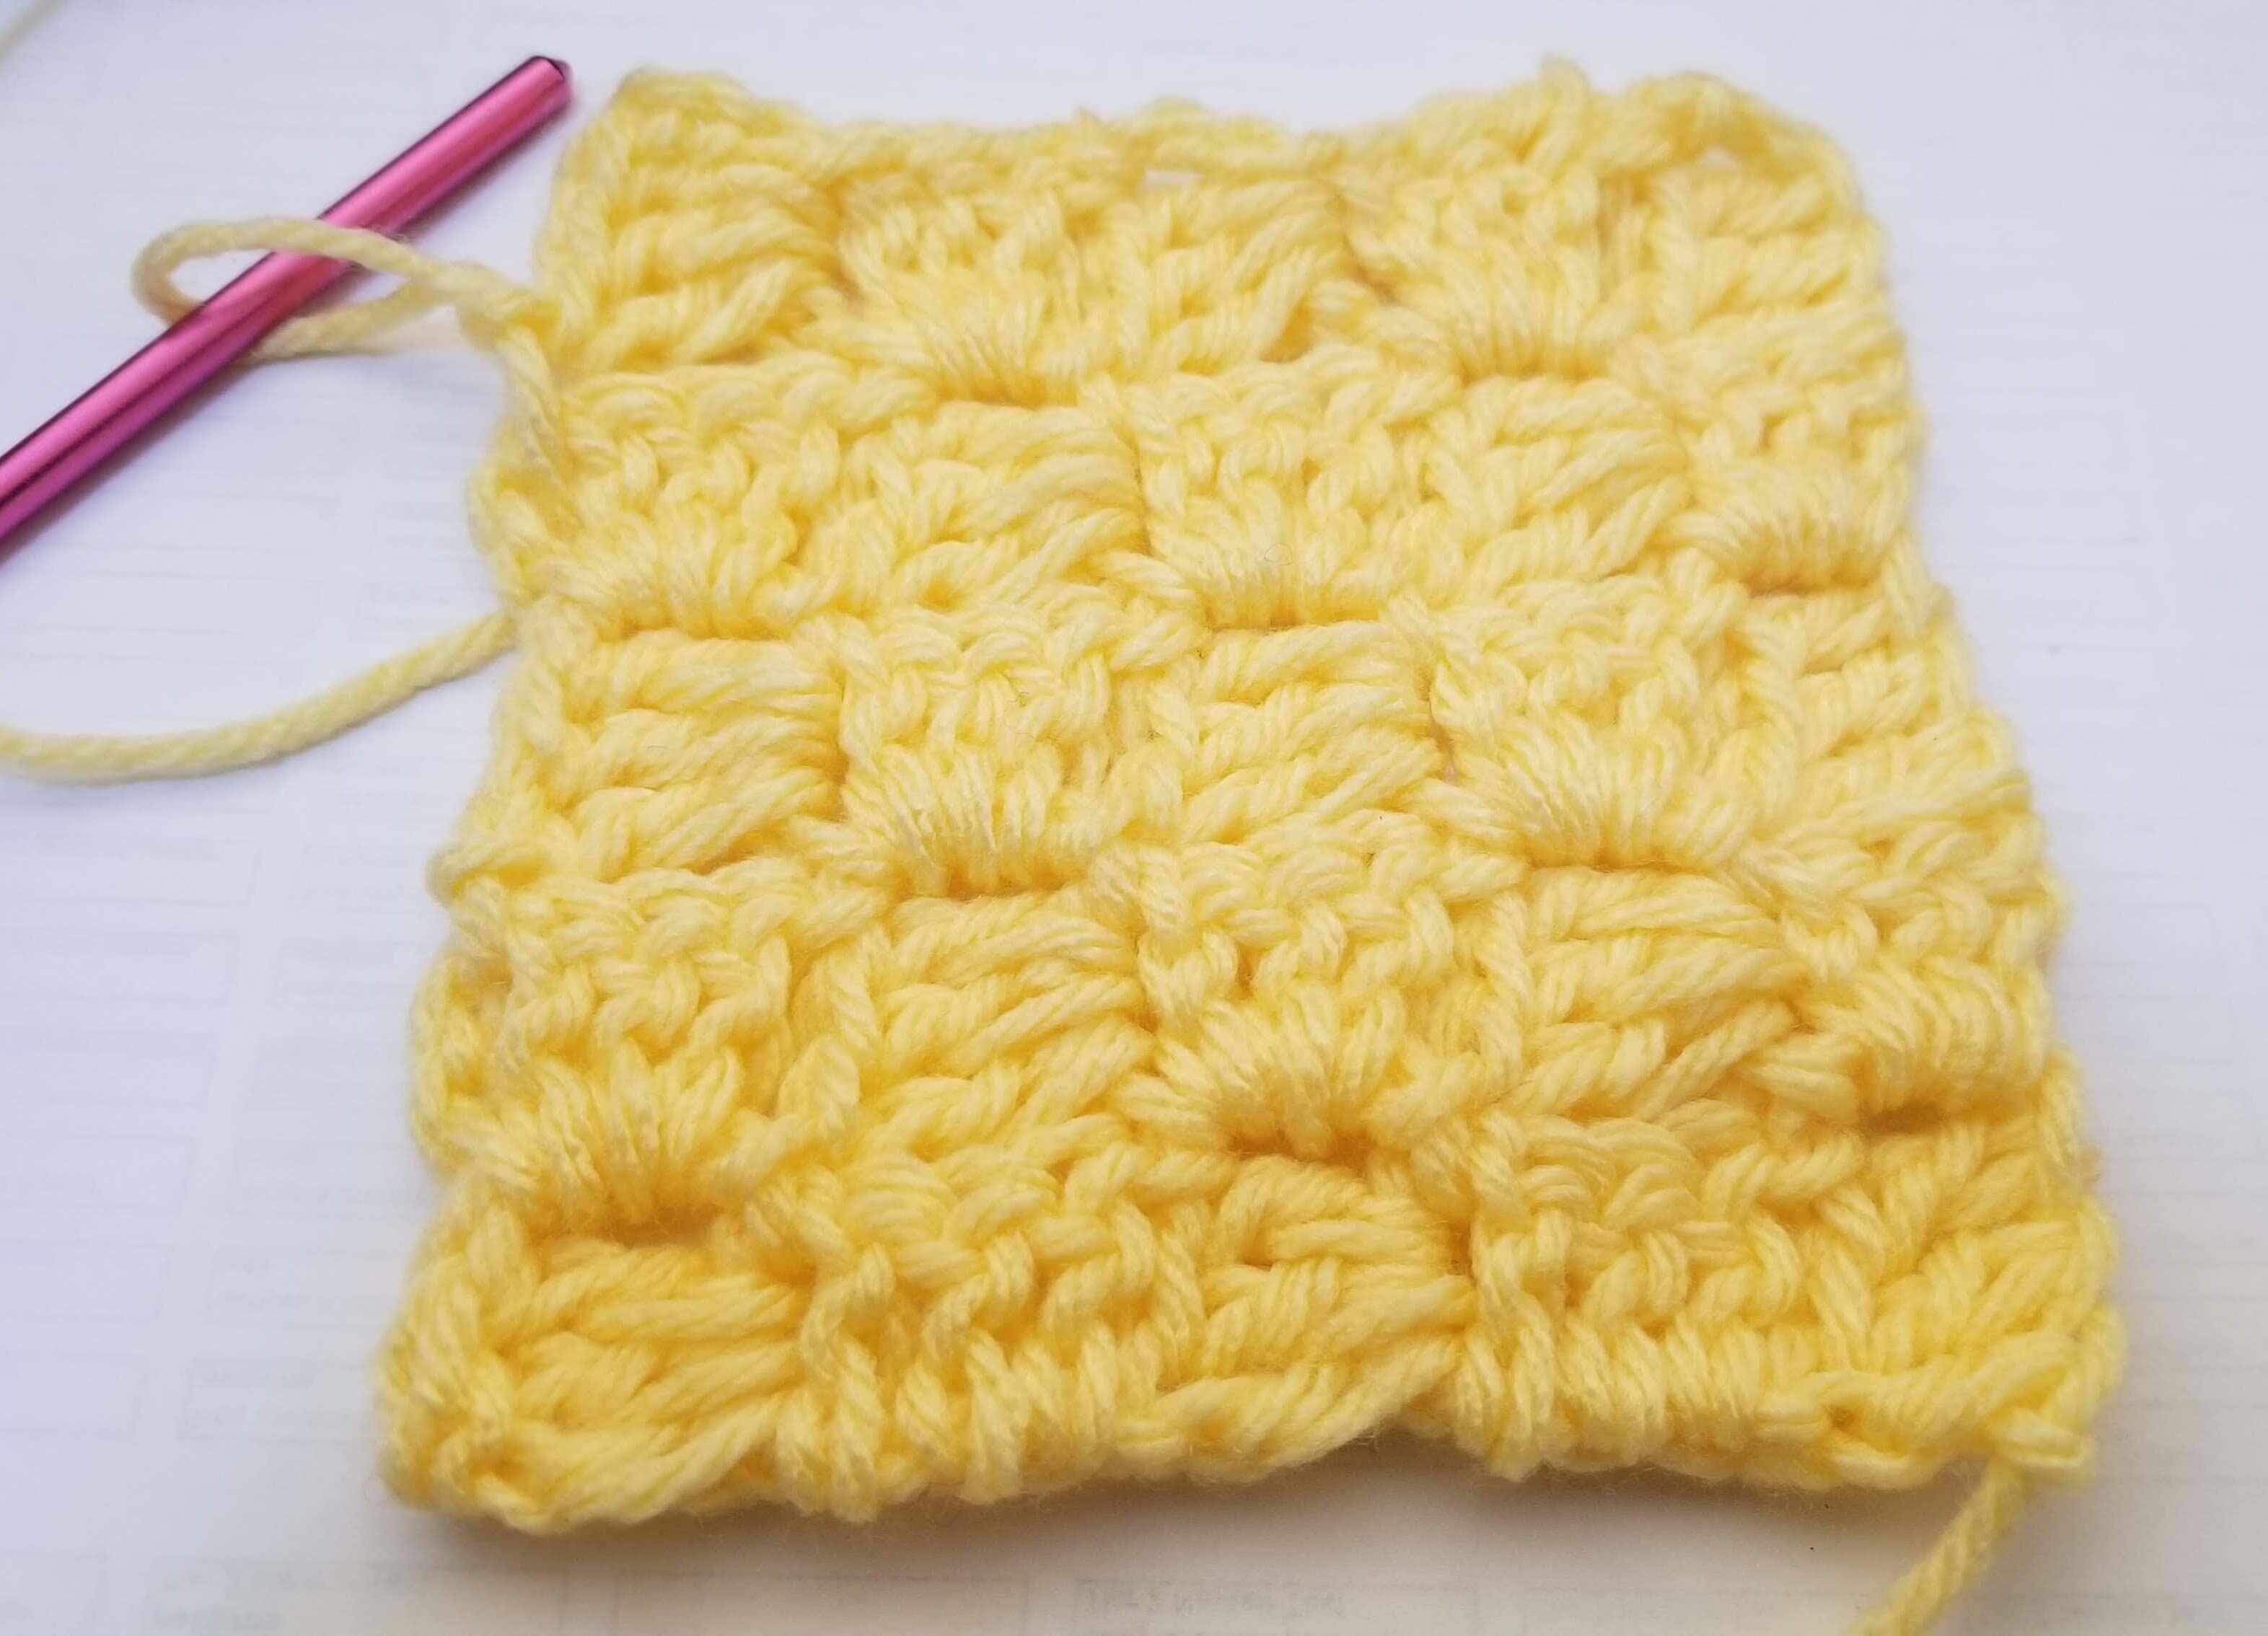
Its a textured dense pattern with an almost straight edge. A border is not necessary but you may put one.
The C2C crochet pattern is beautiful and is very beginner friendly. It only looks difficult. It is especially nice with colors. You can even work patterns into this technique using a graph.
Use this technique to make any square or rectangular crochet fabric. Blankets, scarfs, or anything else that you can imagine.
If using hdc, the c2c crochet pattern is the same except replace ch3 with ch2. Using hdc does not change the crochet fabric density. The hdc is a shorter stitch and may be more suited for graph work. Dc is the more common stitch to use but the user may prefer hdc.
Stitches used:
- Chain (ch)
- Slip stitch (sl st)
- Double Crochet (dc)
How to do the Corner to Corner Video
Row 1
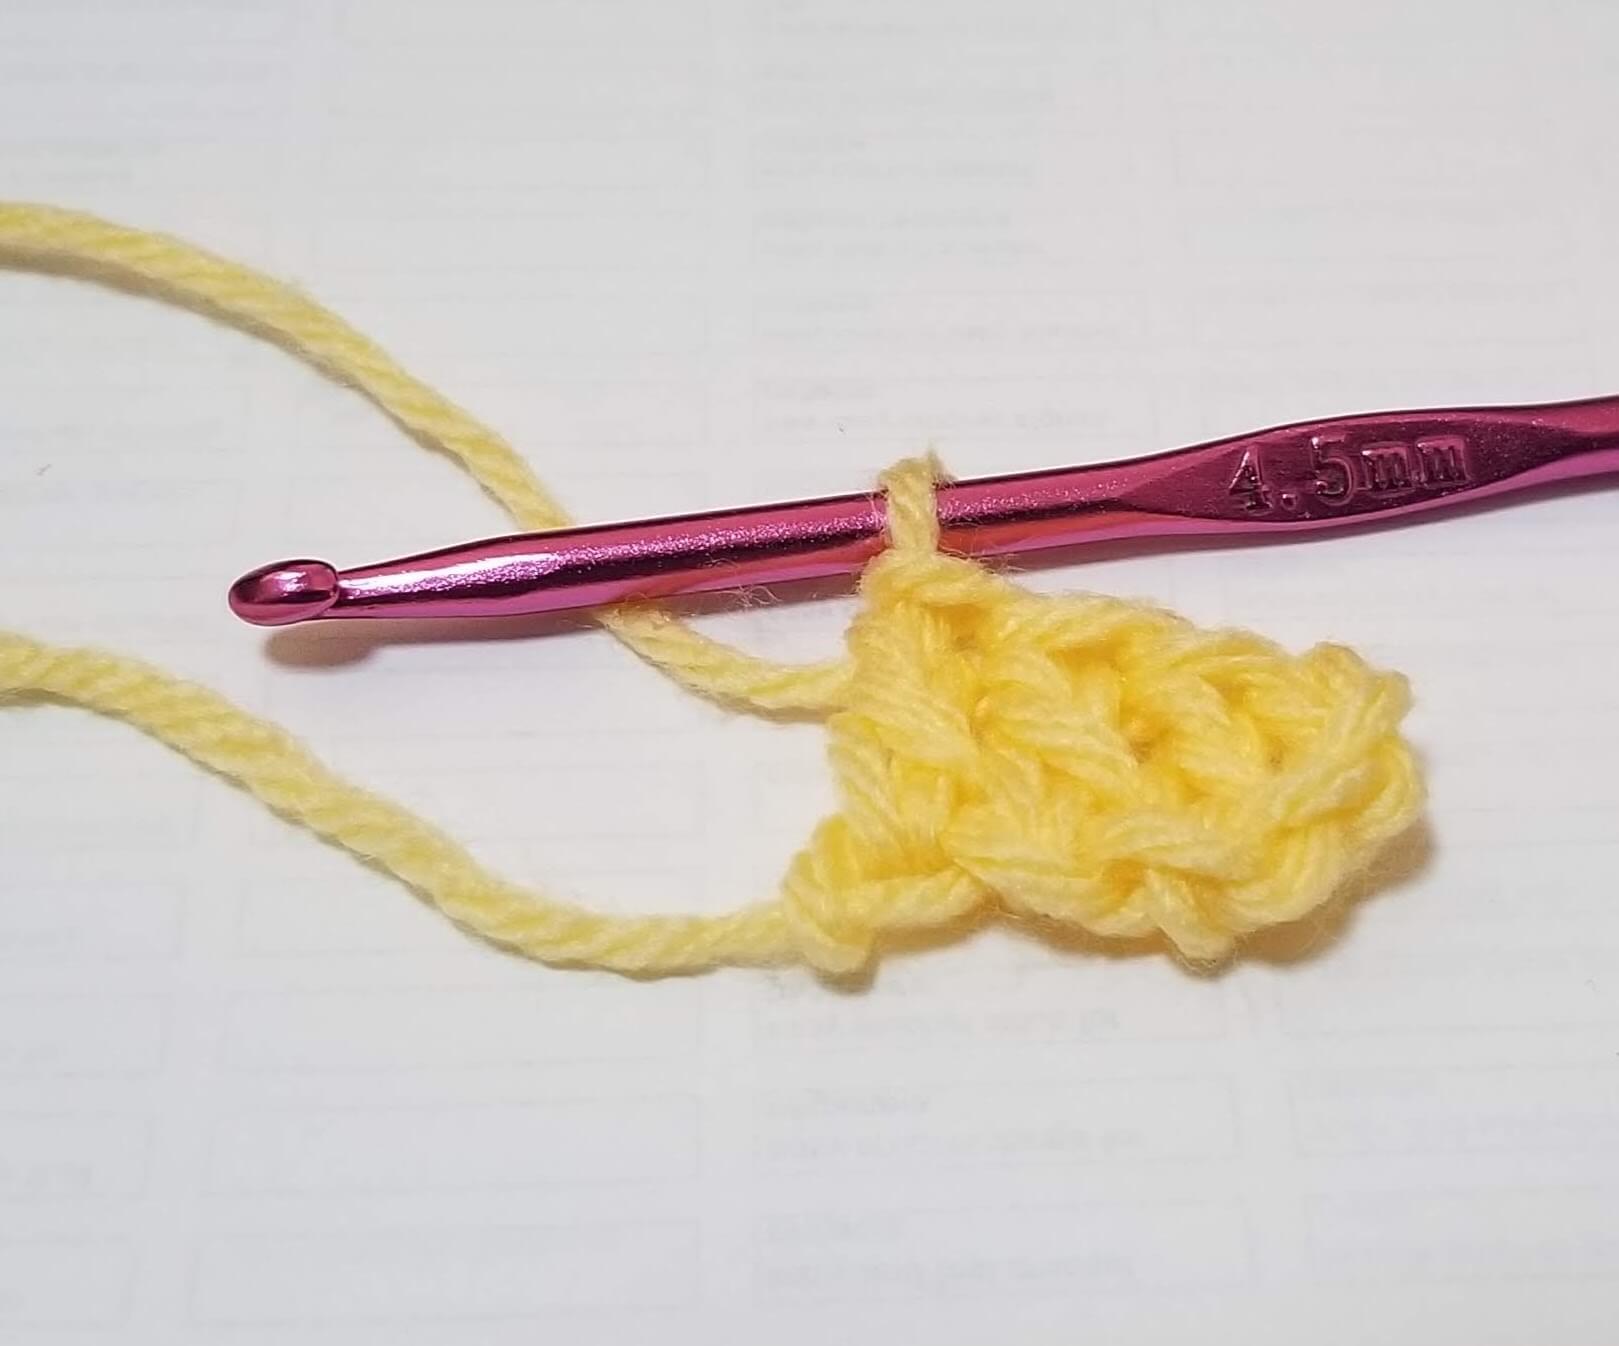
Step 1. Ch 6.
Step 2. In 3rd chain from the hook work 1dc (do not count loop with hook). 1 dc in next 2 ch. (1 tile made)
 c2c crochet pattern
Row 2
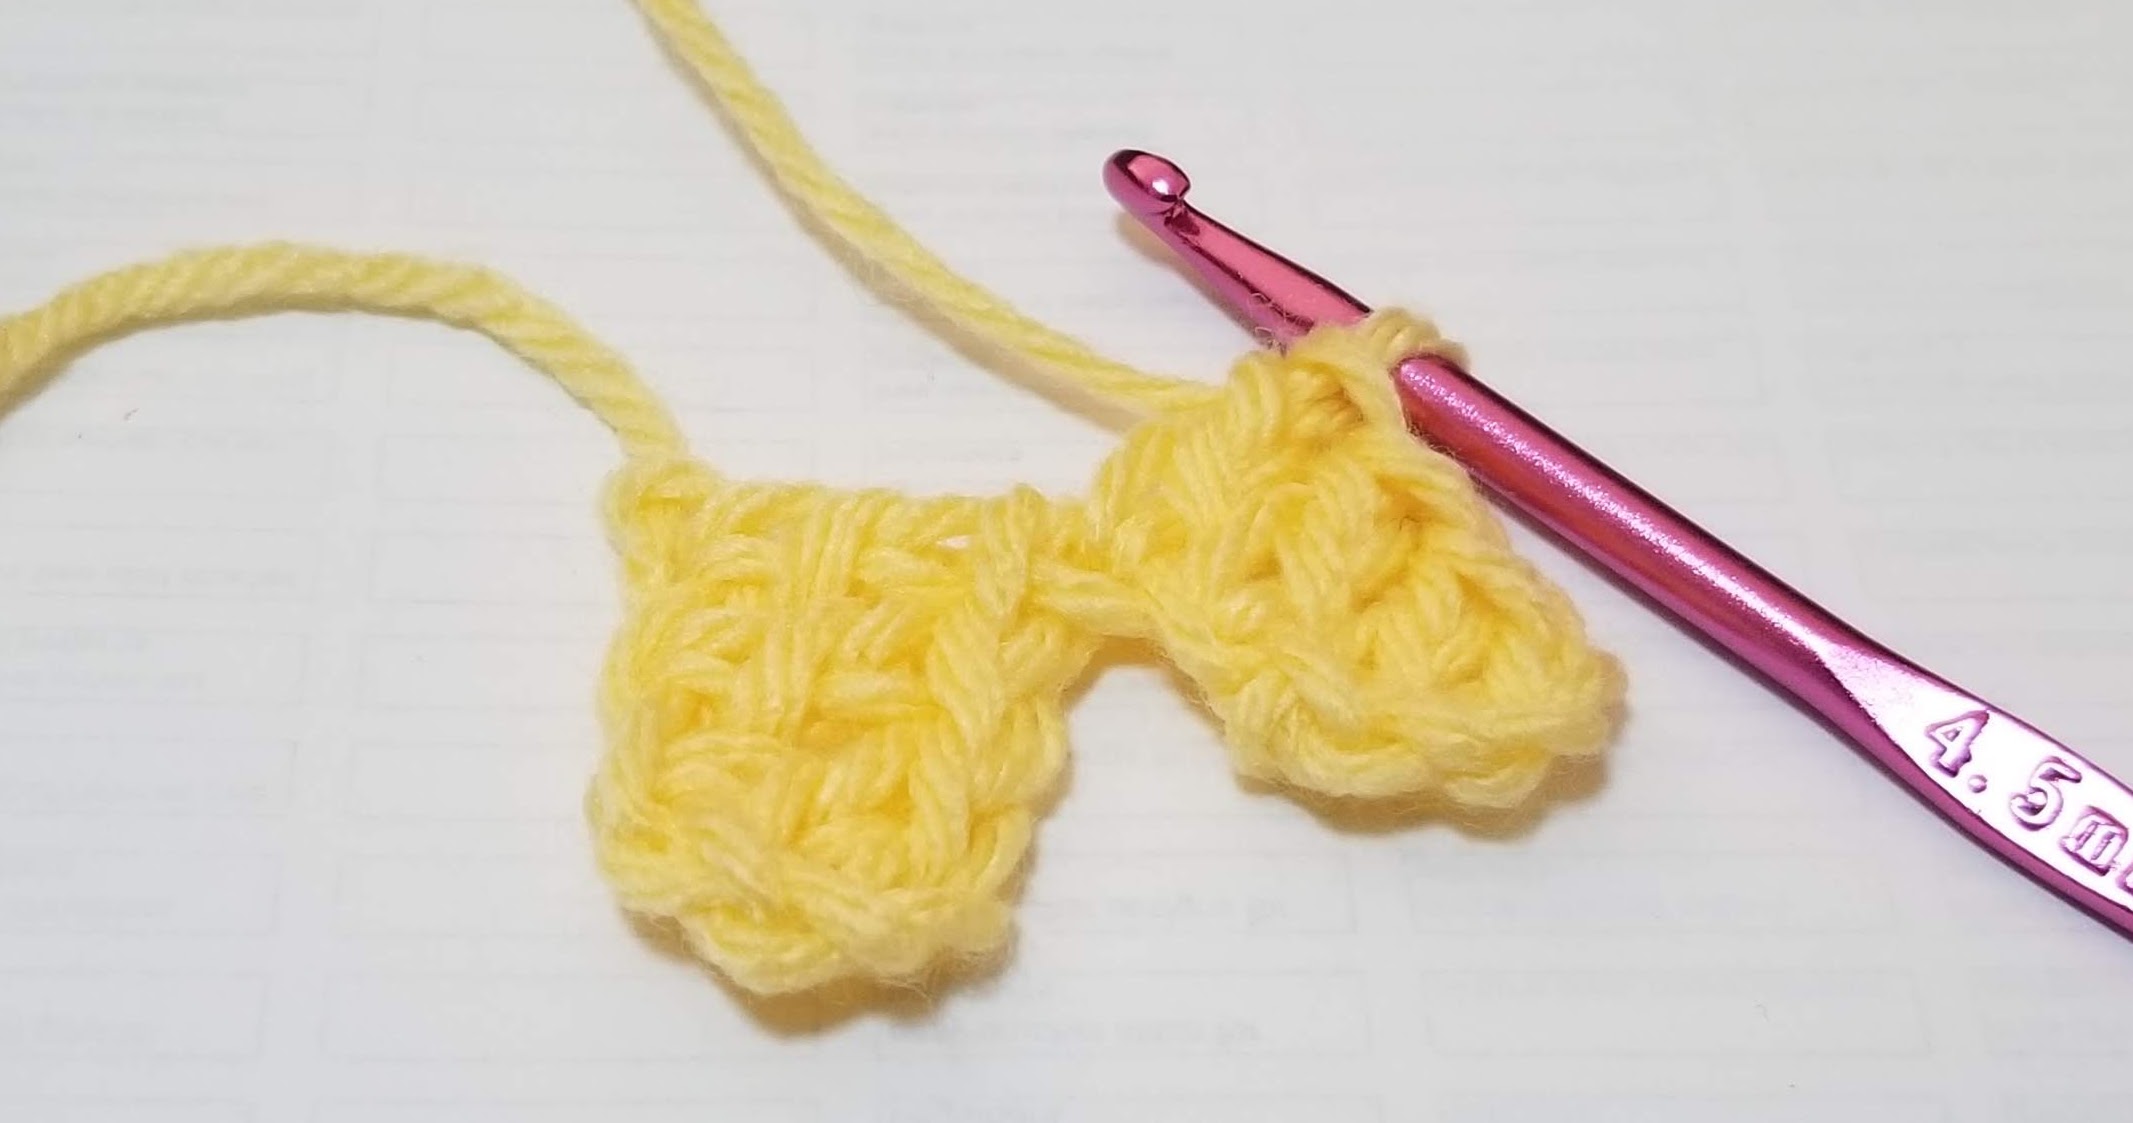
Repeat step 1 and 2. (1 more tile made, total 2)
Step 1. Ch 6.
Step 2. In 3rd chain from the hook work 1dc (do not count loop with hook). 1 dc in next 2 ch.
 c2c crochet pattern
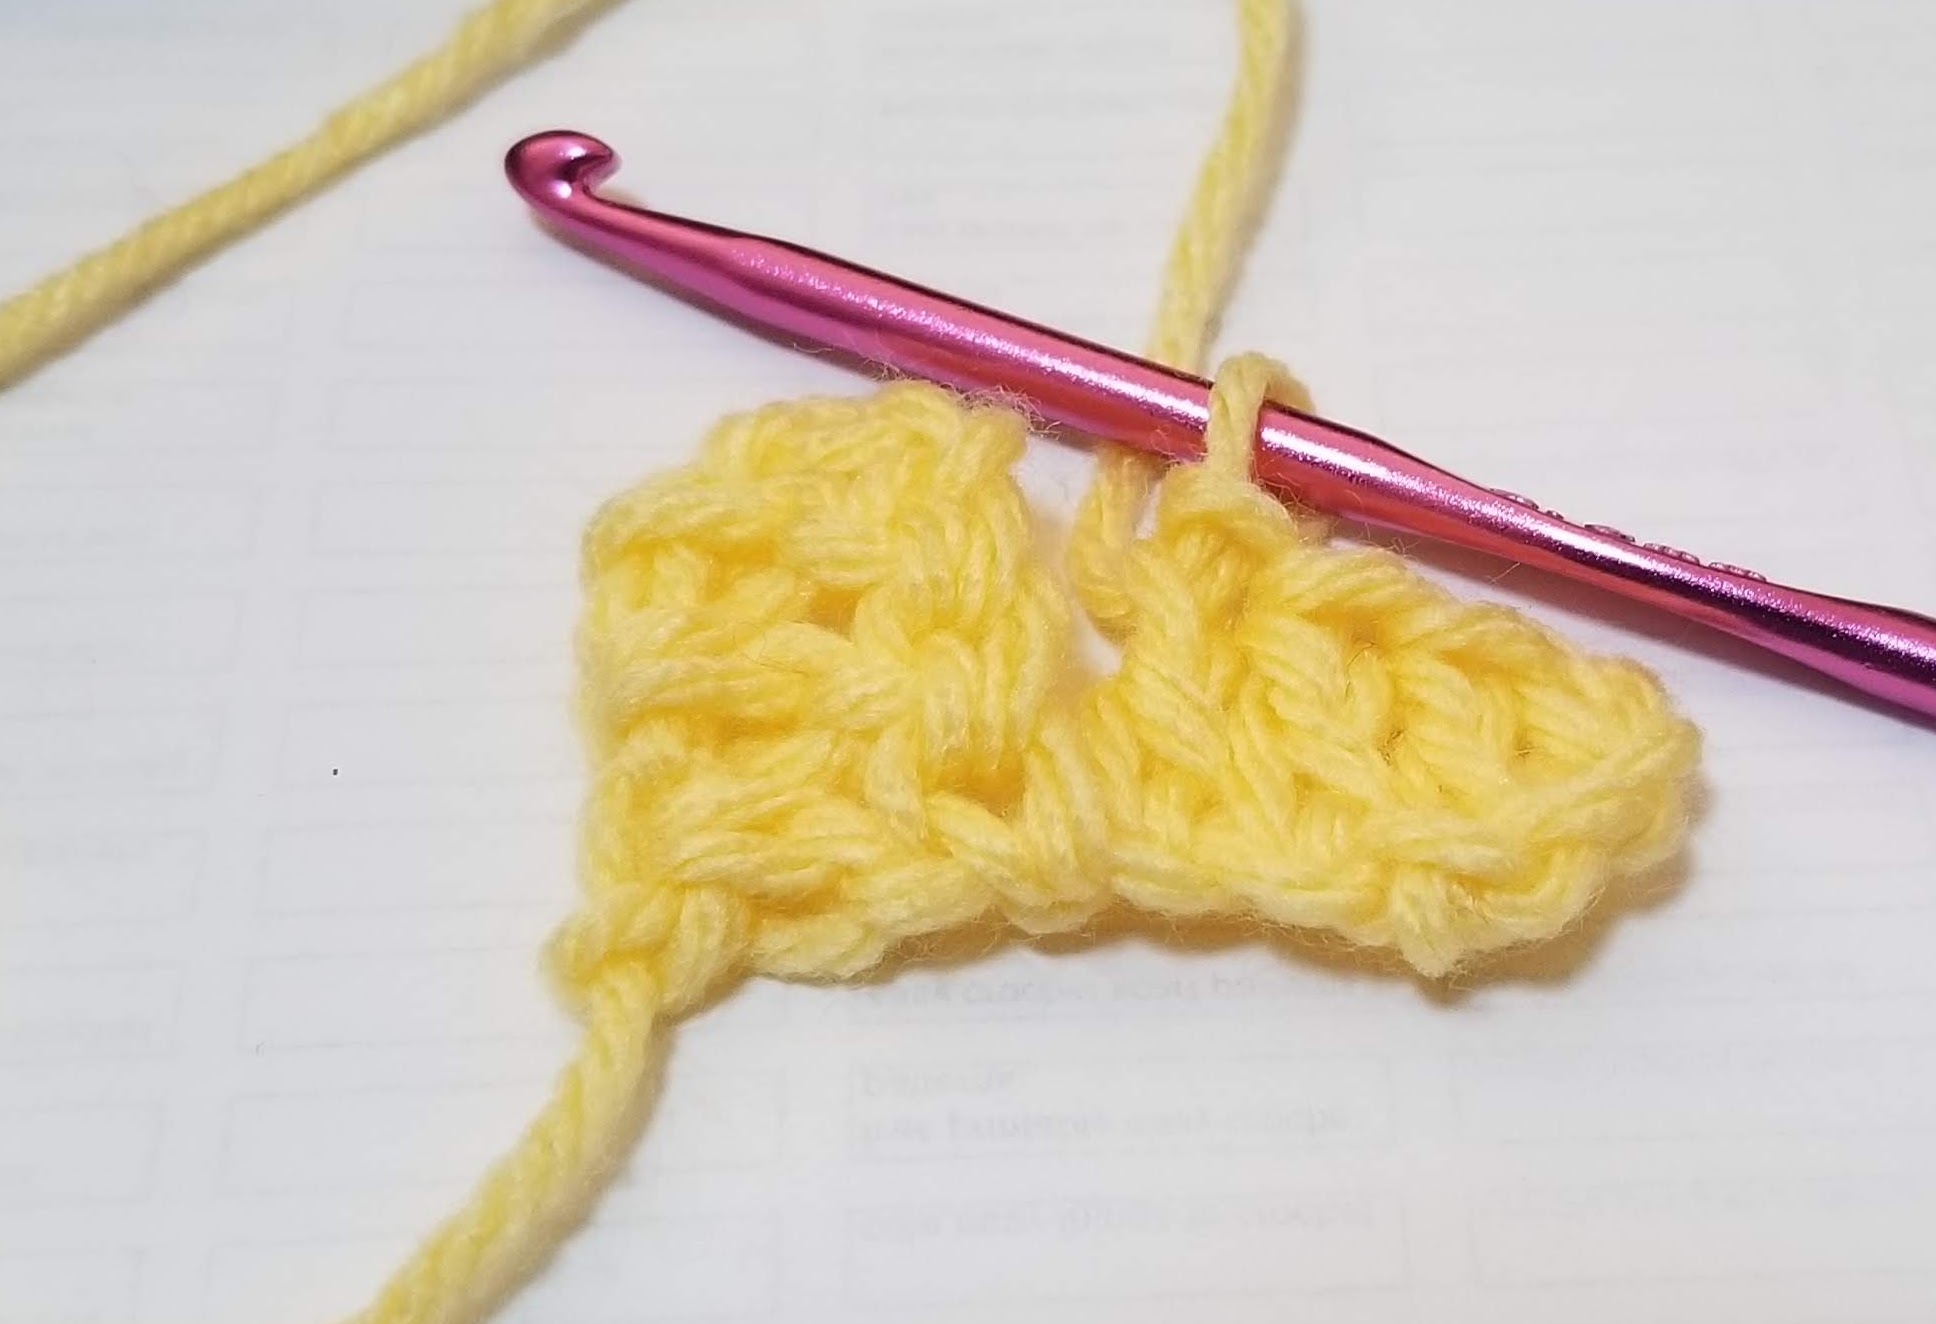 c2c crochet pattern
Flip up the 1st tile (so that the ch3 from the first tile is at the top). sl st into the ch3 space.
Chain 3. 3 dc in same ch3 space. (1 more tile made, total 3)
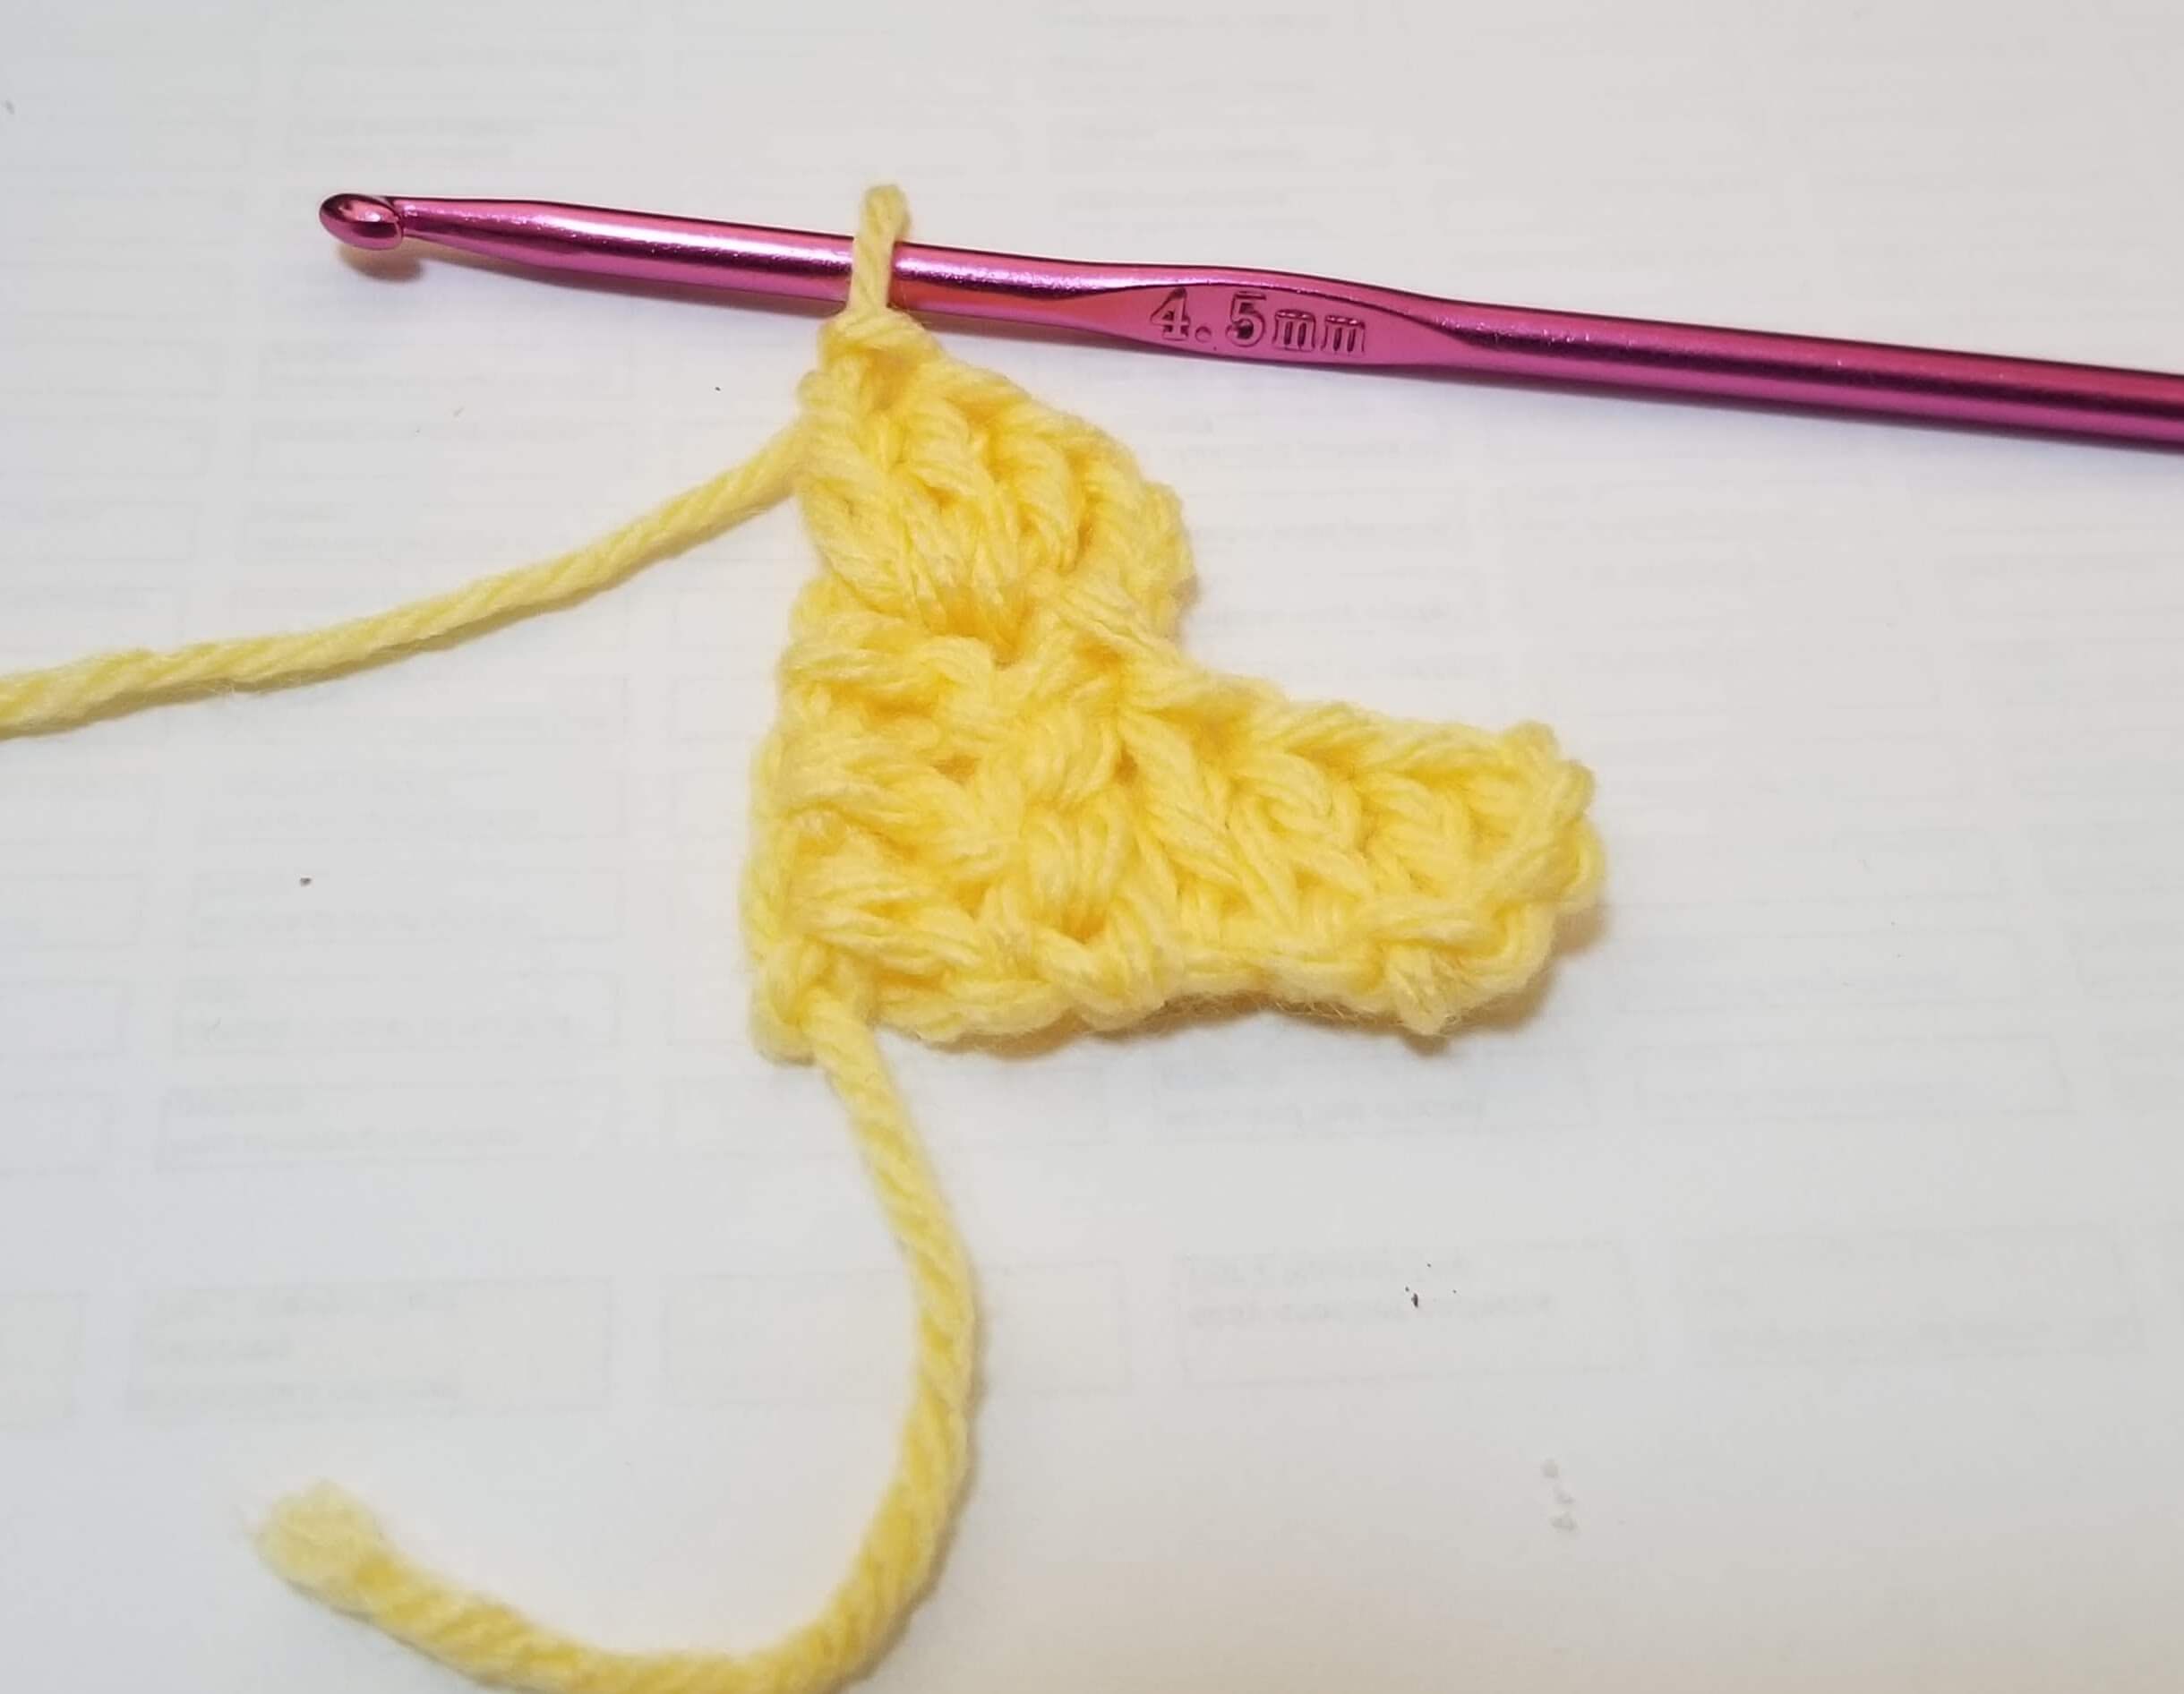 c2c crochet pattern
Row 3
Repeat step 1 and 2 (1 more tile made, total 4)
Step 1. Ch 6.
Step 2. In 3rd chain from the hook work 1dc (do not count loop with hook). 1 dc in next 2 ch.
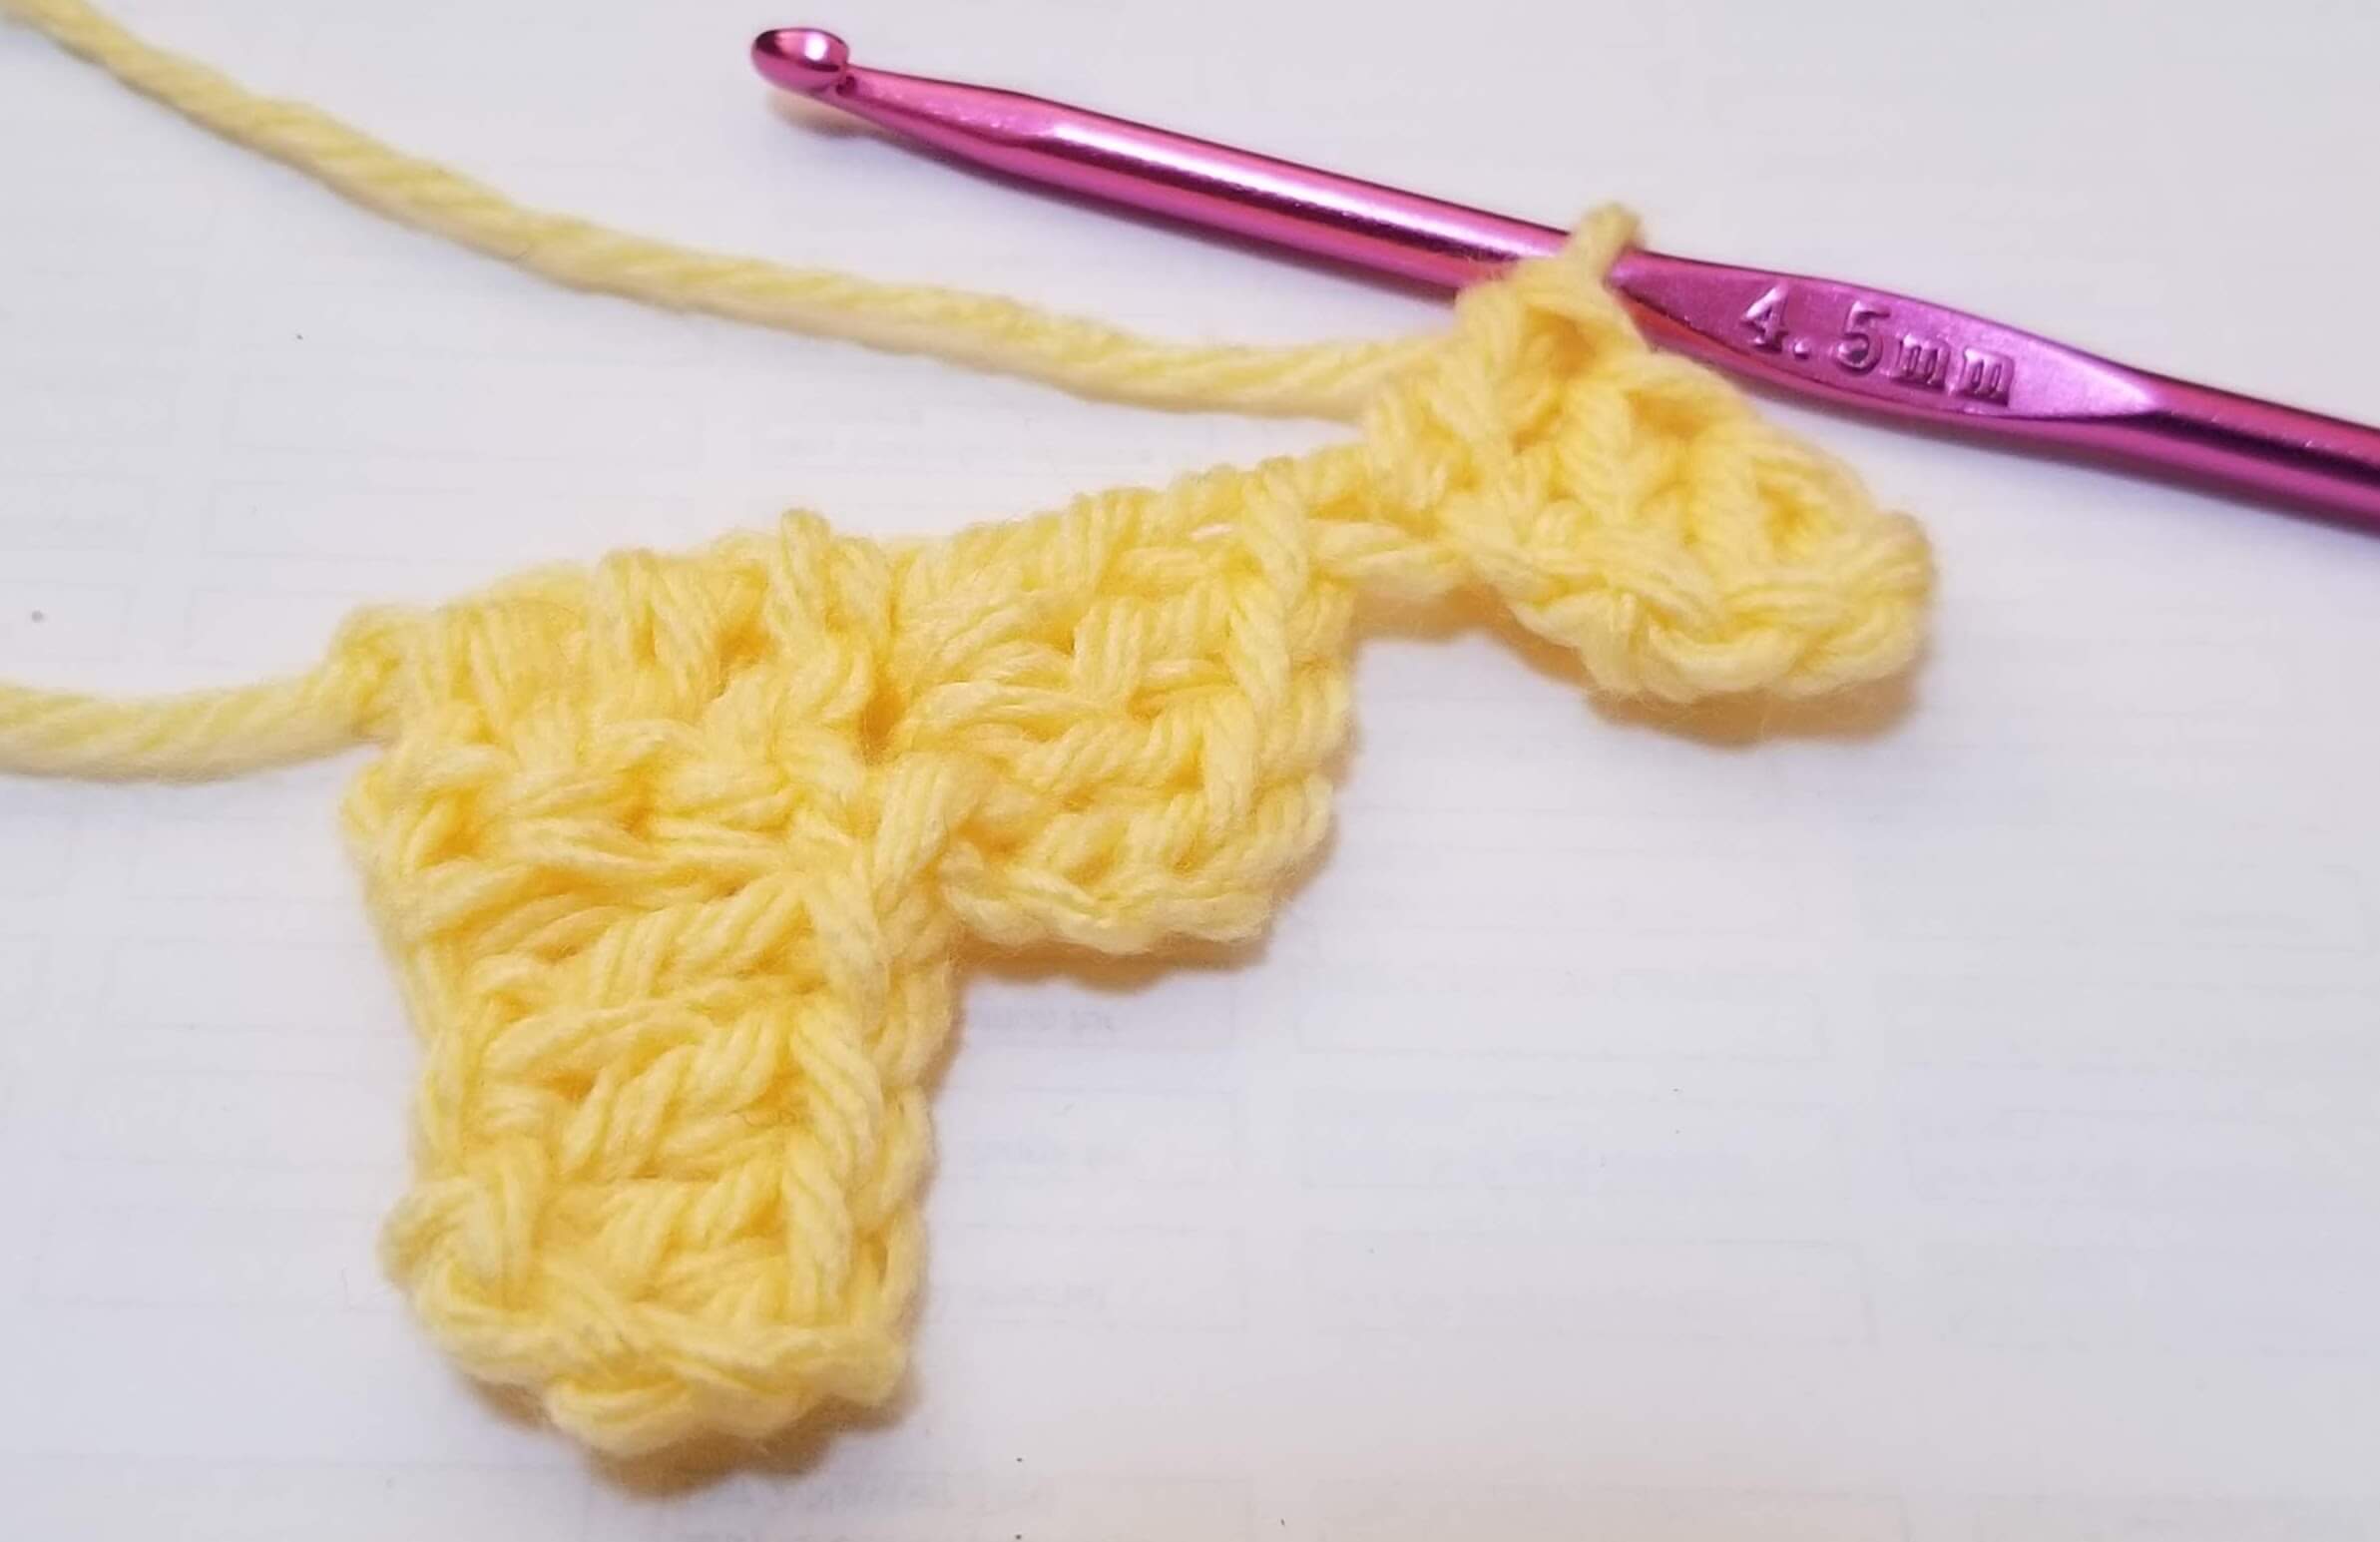 c2c crochet pattern
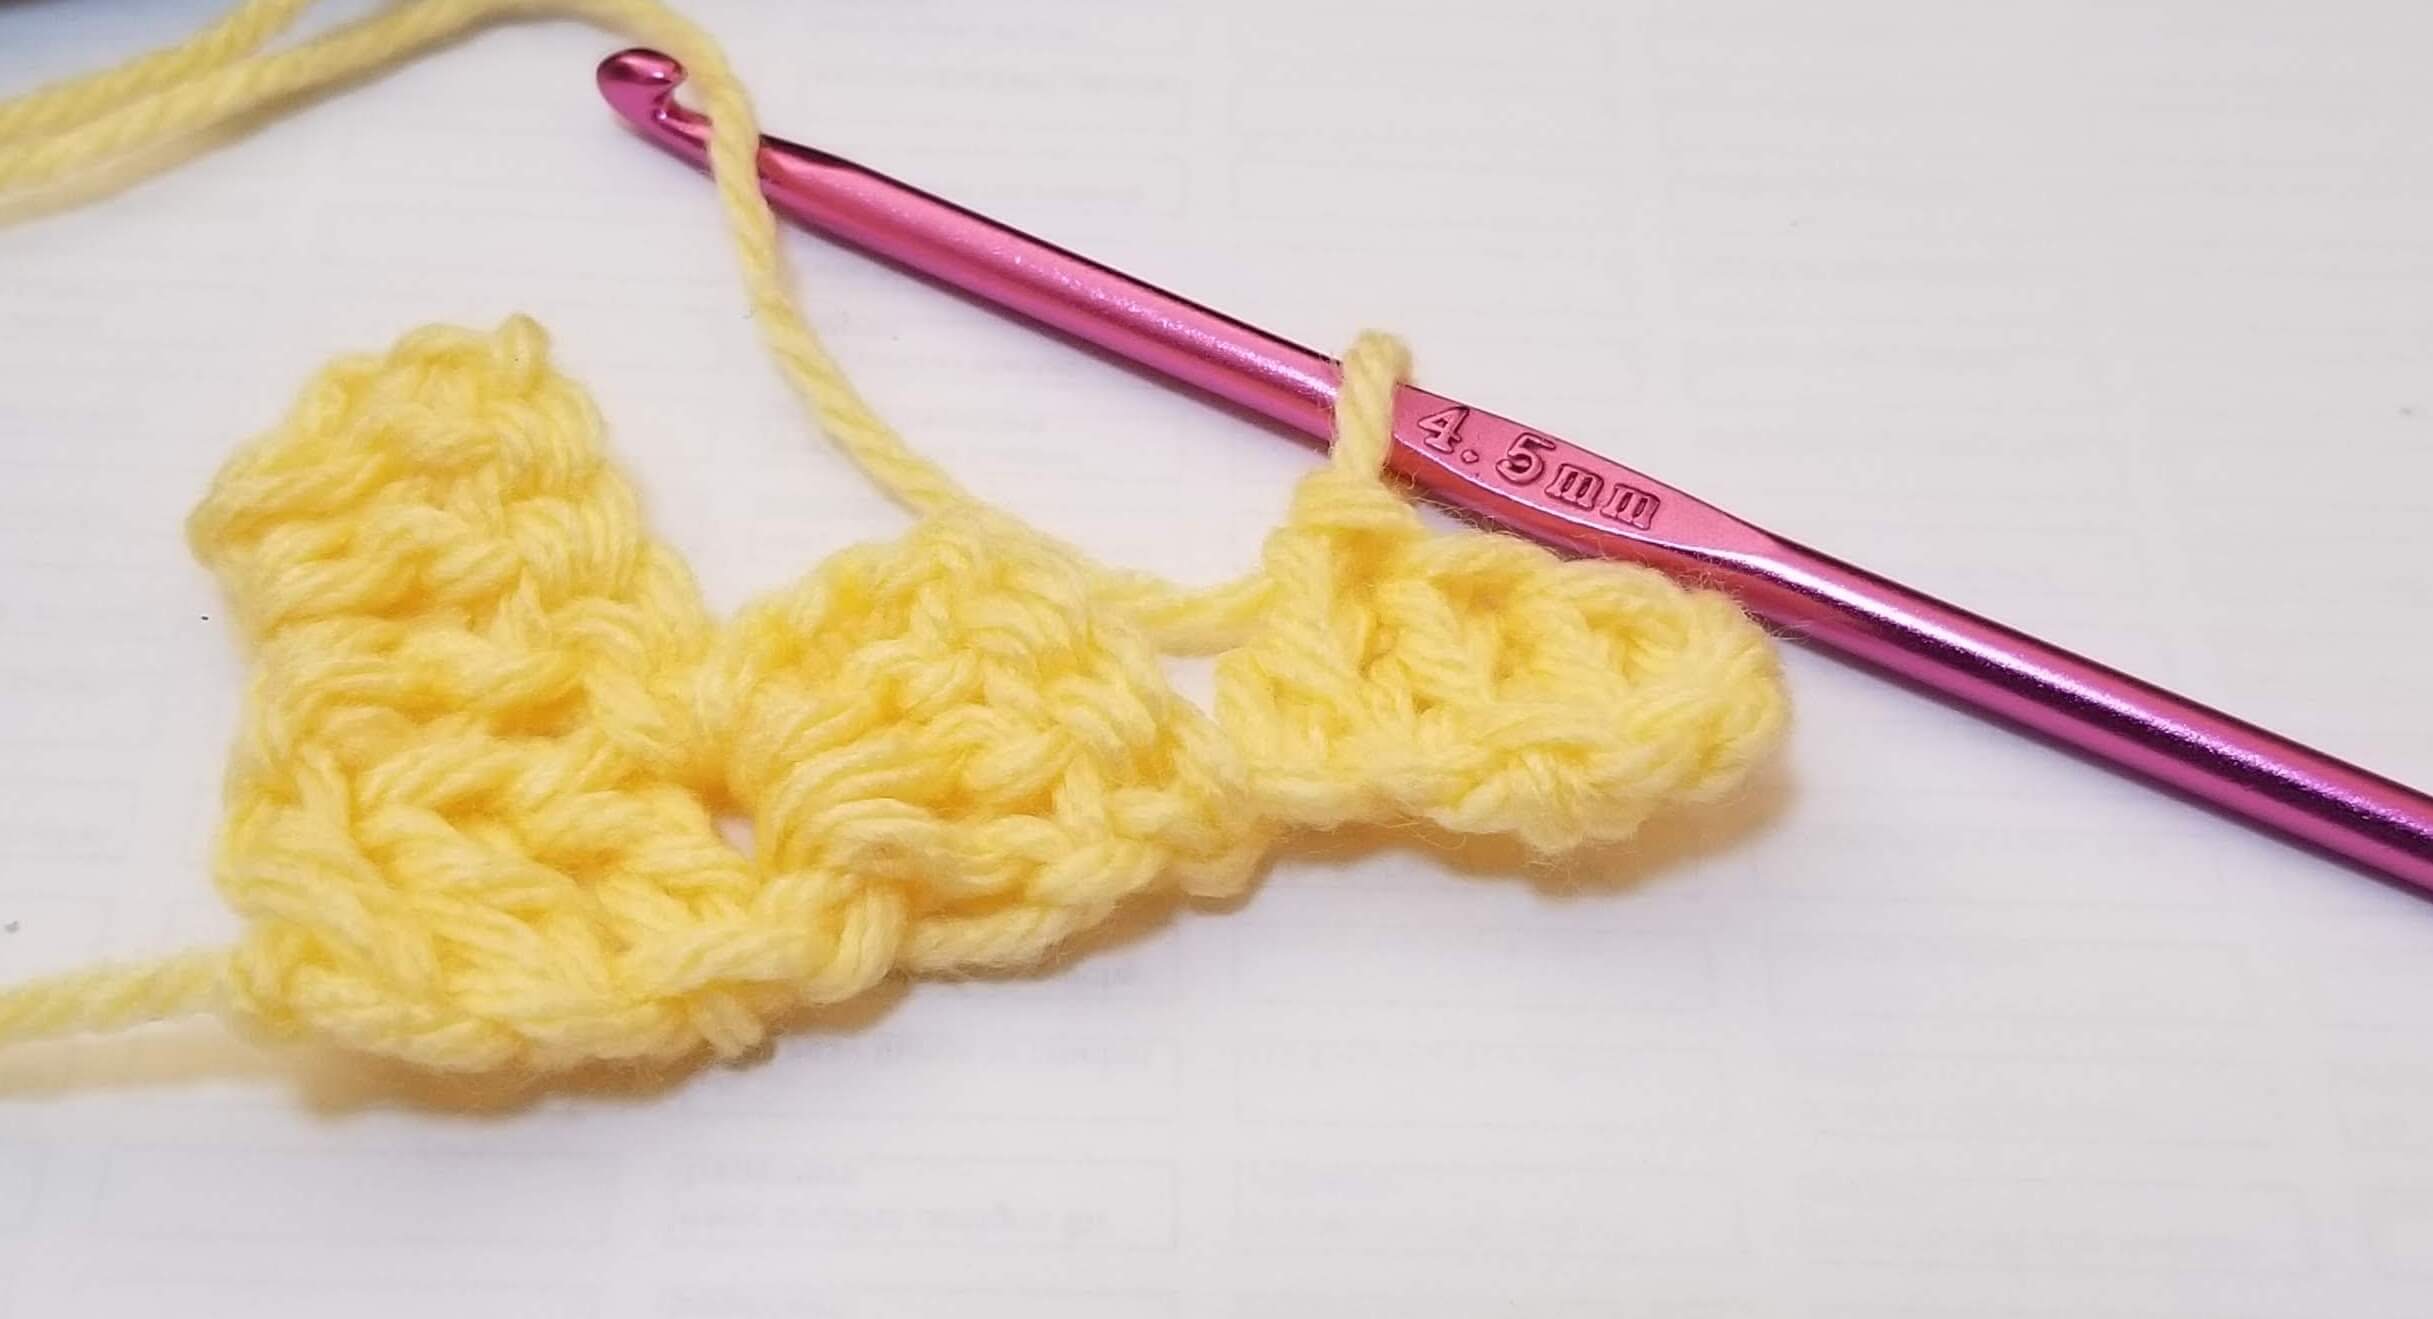 c2c crochet pattern
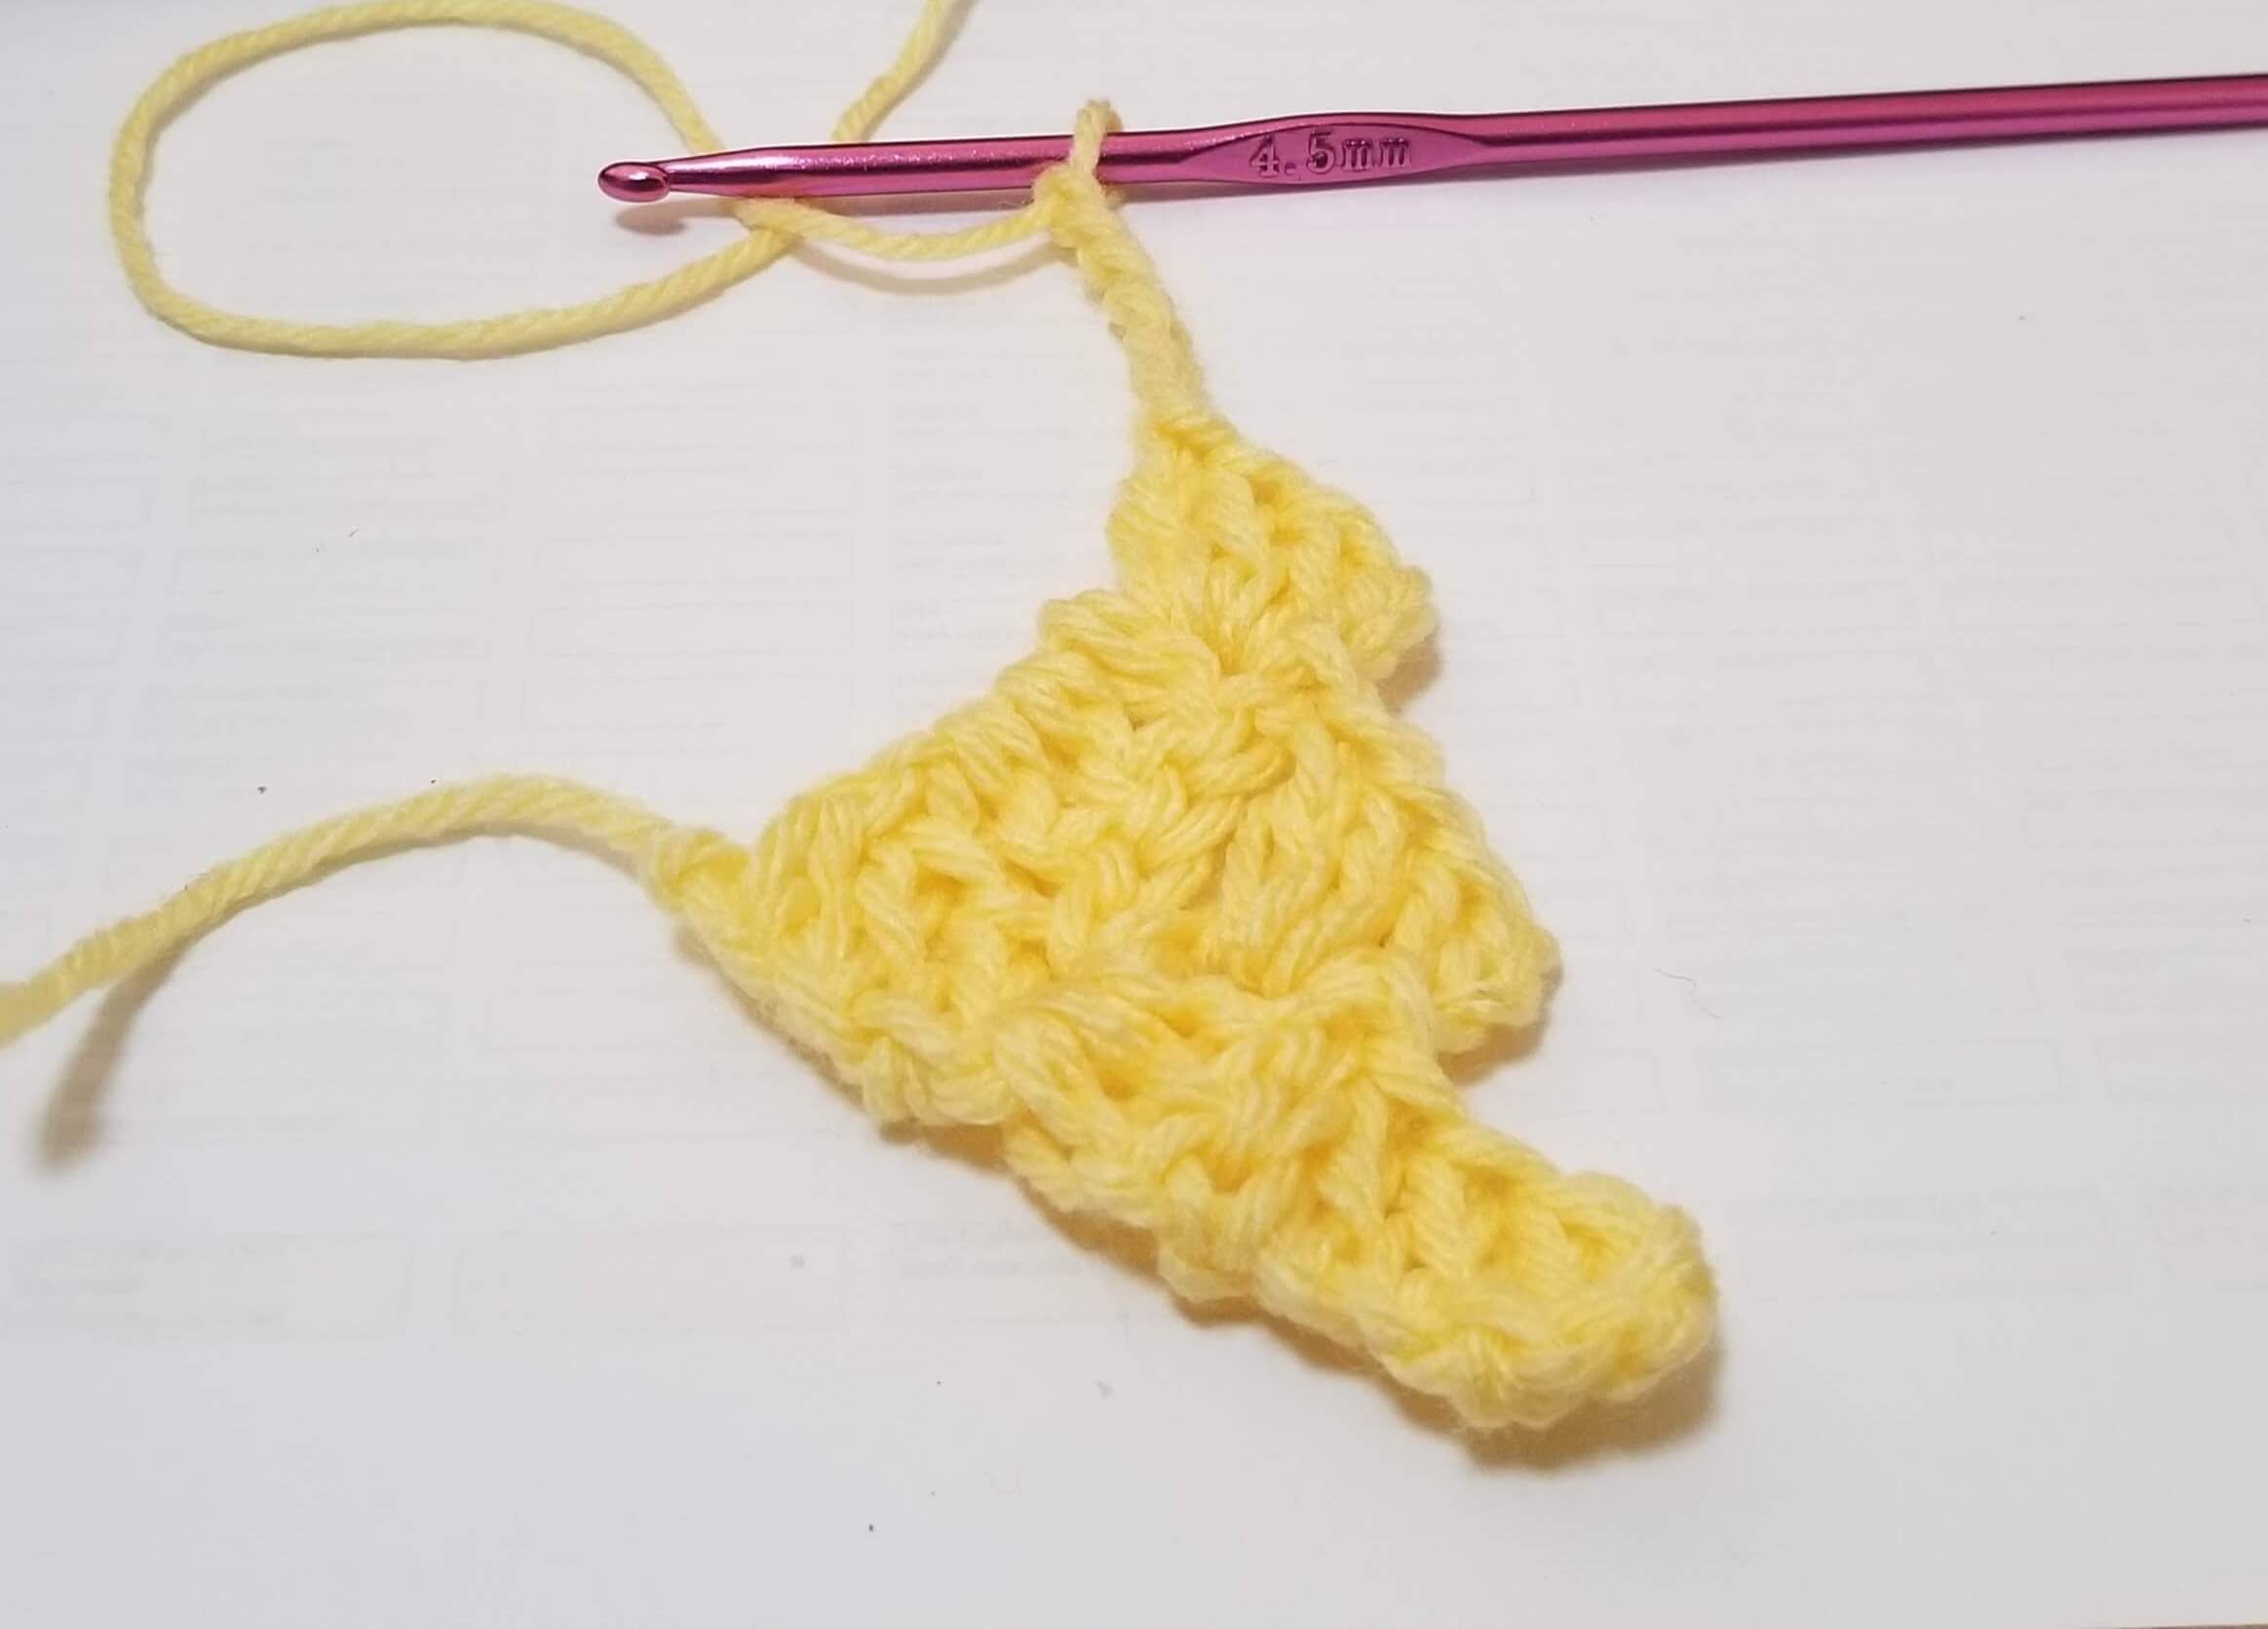
Flip up the previous 3 tiles (so that the ch3 is at the top). sl st into the ch3 space.
Chain 3. 3 dc in same ch3 space. (1 more tile made, total 5). sl st into next 3 ch space.
Chain 3. 3 dc in same ch3 space. (1 more tile made, total 6)
 c2c crochet pattern
Row 4 and later rows
Repeat step 1 and 2
Step 1. Ch 6.
Step 2. In 3rd chain from the hook work 1dc (do not count loop with hook). 1 dc in next 2 ch.
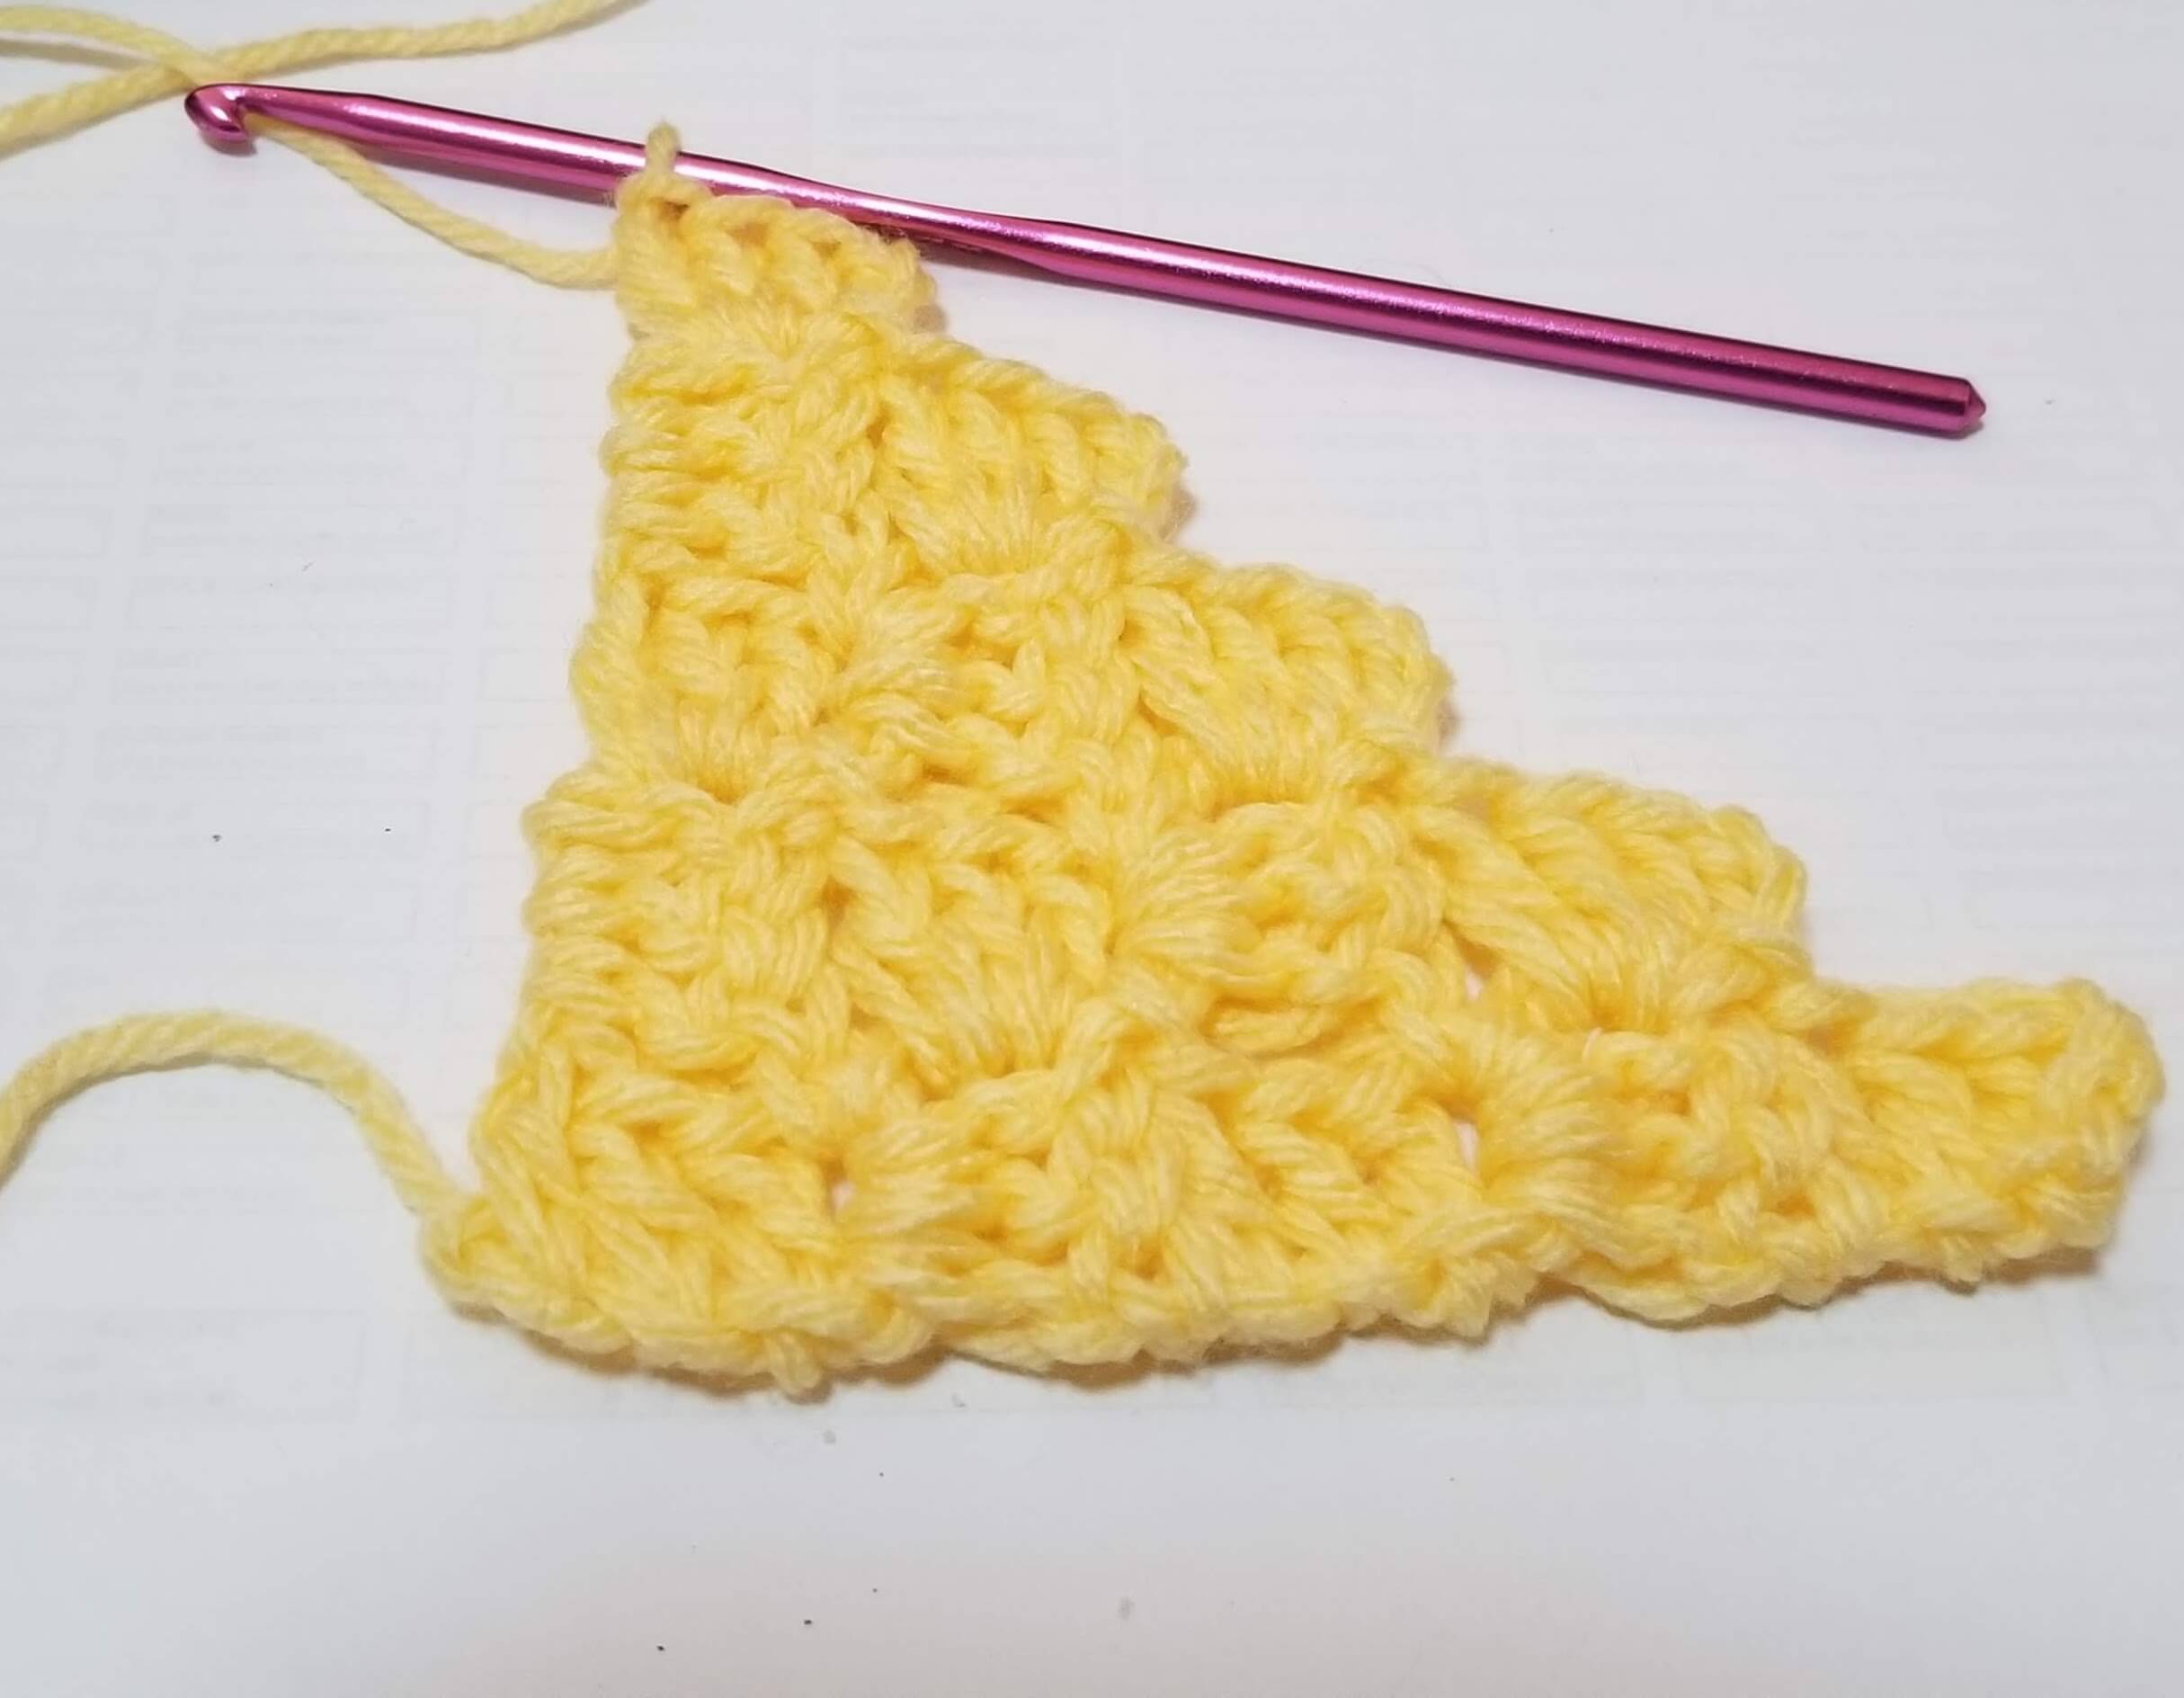
Flip up the previous iles (so that the ch3 is at the top). sl st into the ch3 space.
{Chain 3. 3 dc in same ch3 space. sl st into next 3 ch space.} Repeat to end of row. Remember last 3ch space must have a tile unless you are decreasing. (It should look like picture below when you come to the end of a row.)
Continue in this manner until you achieve your desired length.
 c2c crochet pattern
To Decrease
When you reach a corner, (DO NOT CH 6 to start a new row). Instead, flip your work up and work 1 sl st into next 2 stitches. 1 sl st in 3 ch space.
Continue pattern
{Chain 3. 3 dc in same ch3 space. sl st into next 3 ch space} to the end of row.
