- Home
- Hats
Crochet Hat Patterns are Easy to Design, Learn How With This Tutorial
Wanna know the ins and outs of making a hat if you don't have any crochet hat patterns?
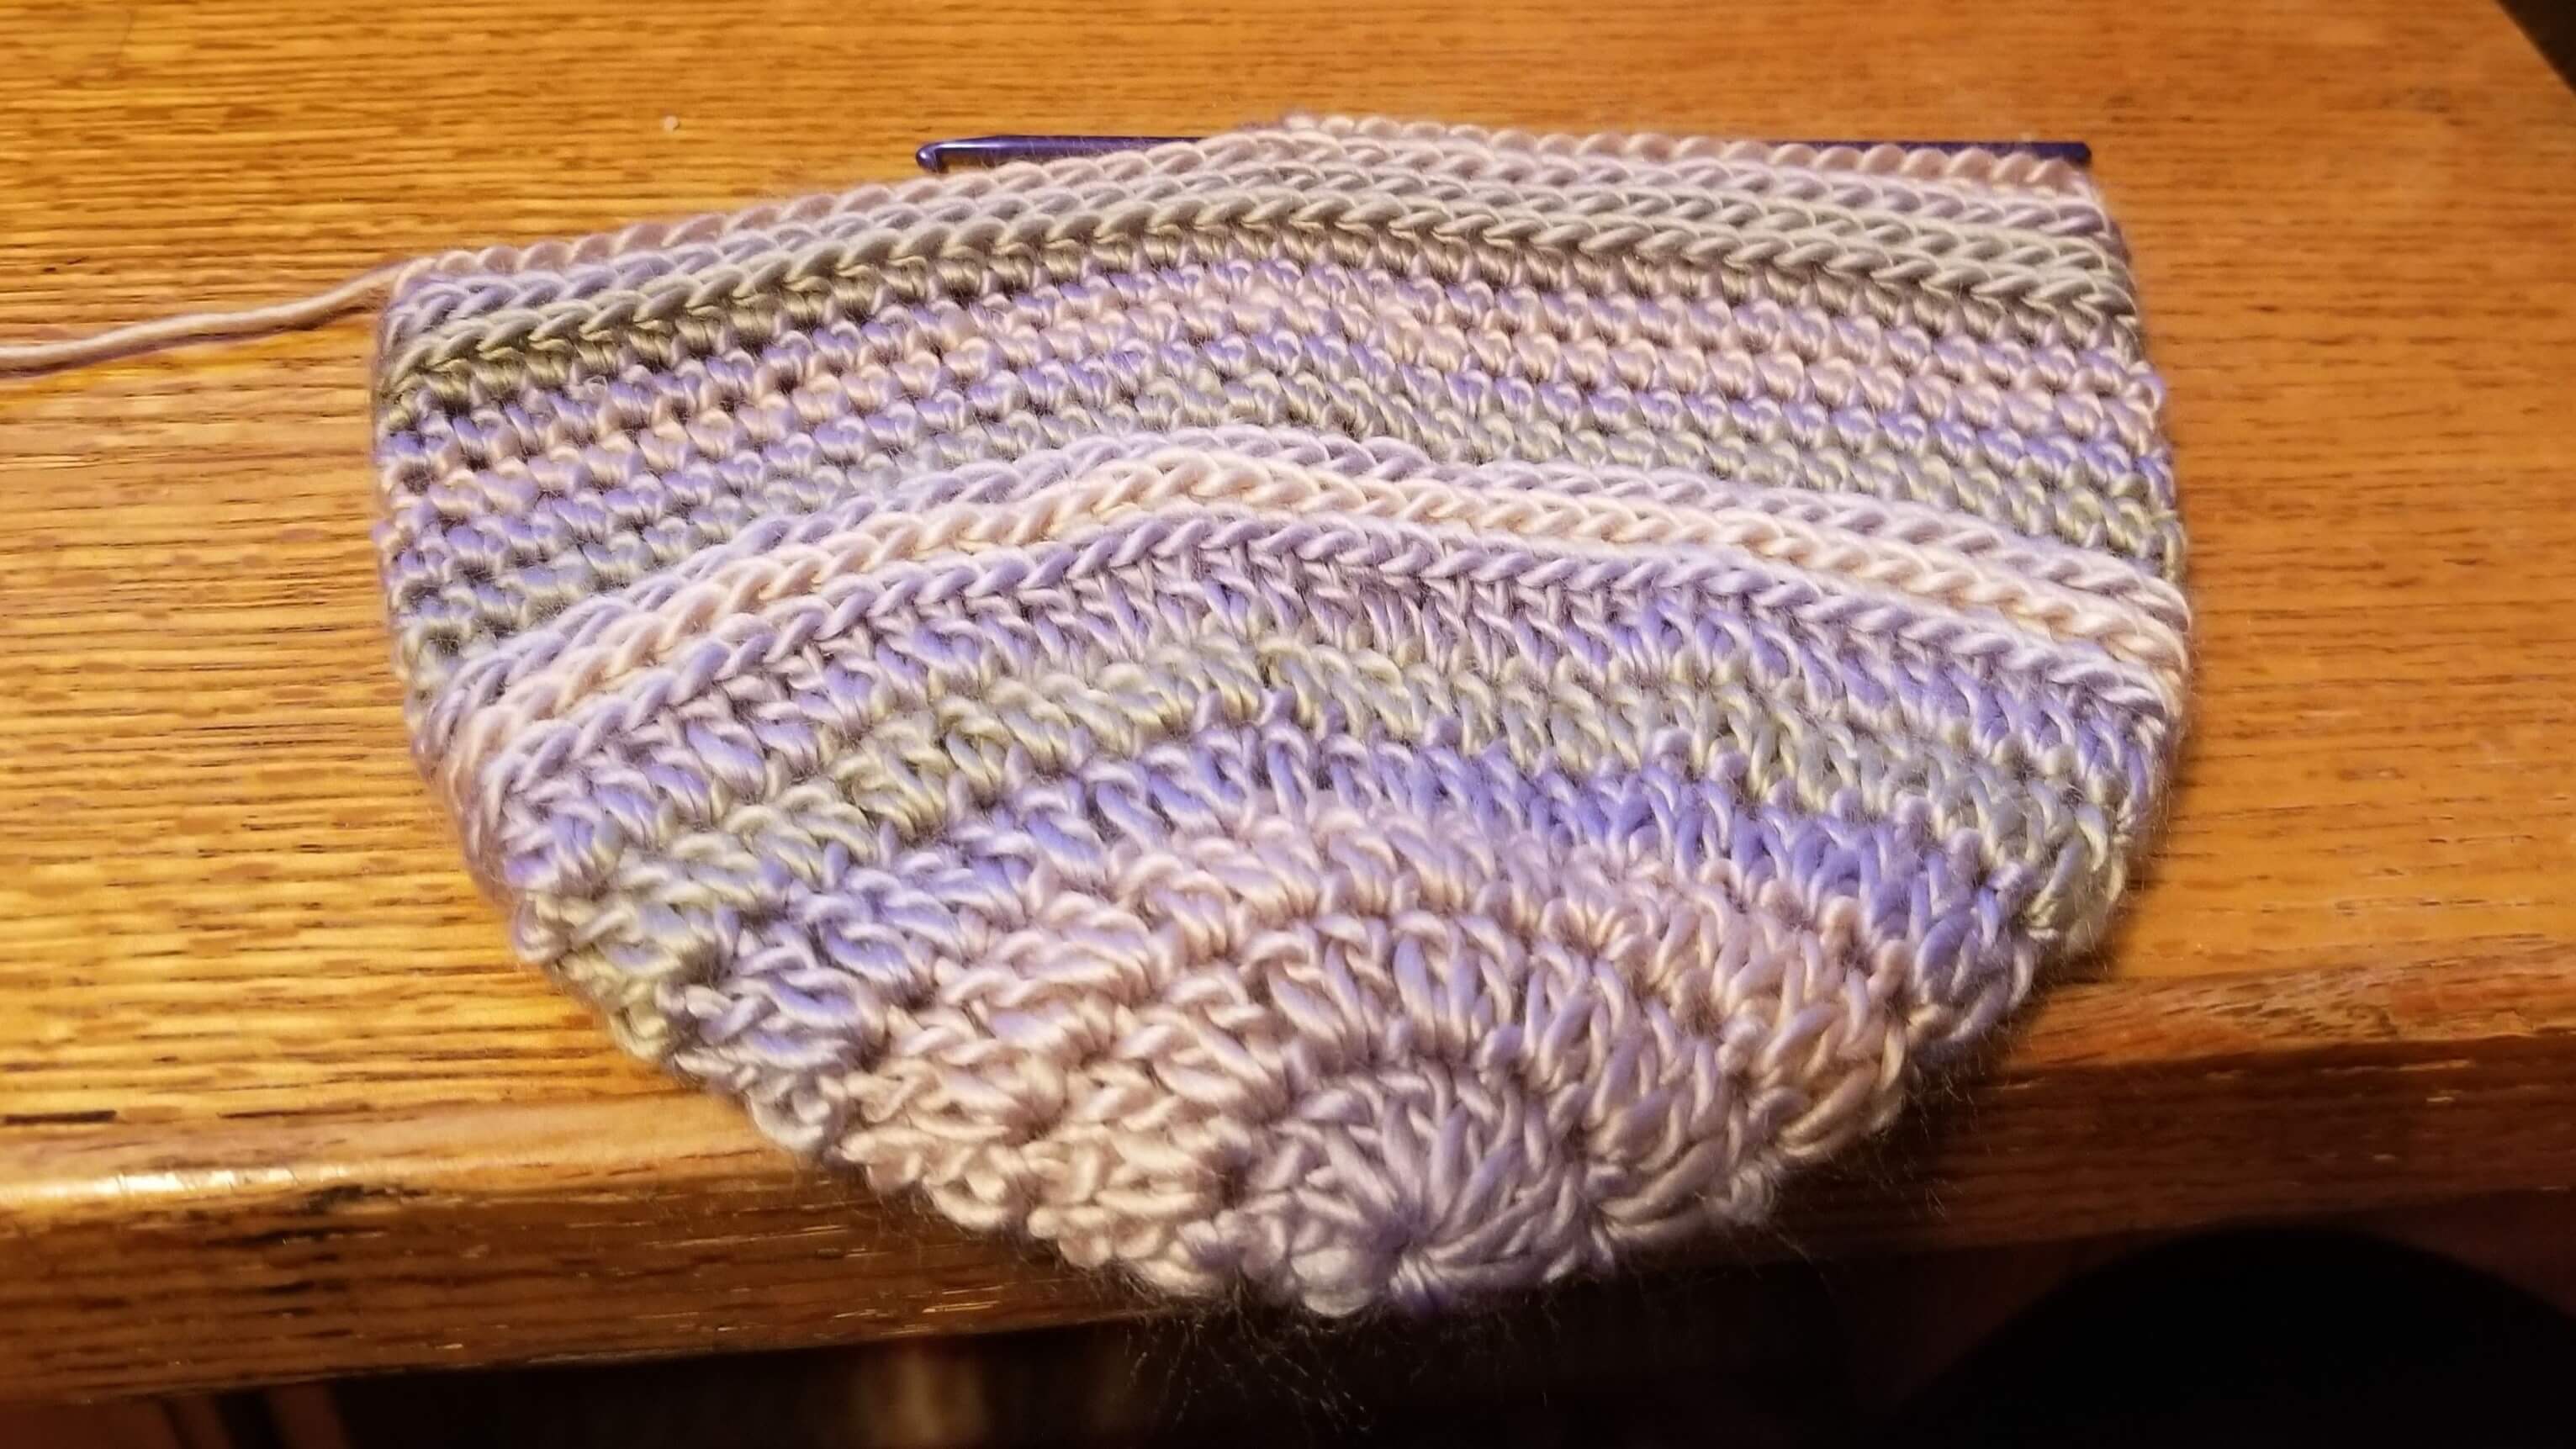 Crochet hat patterns
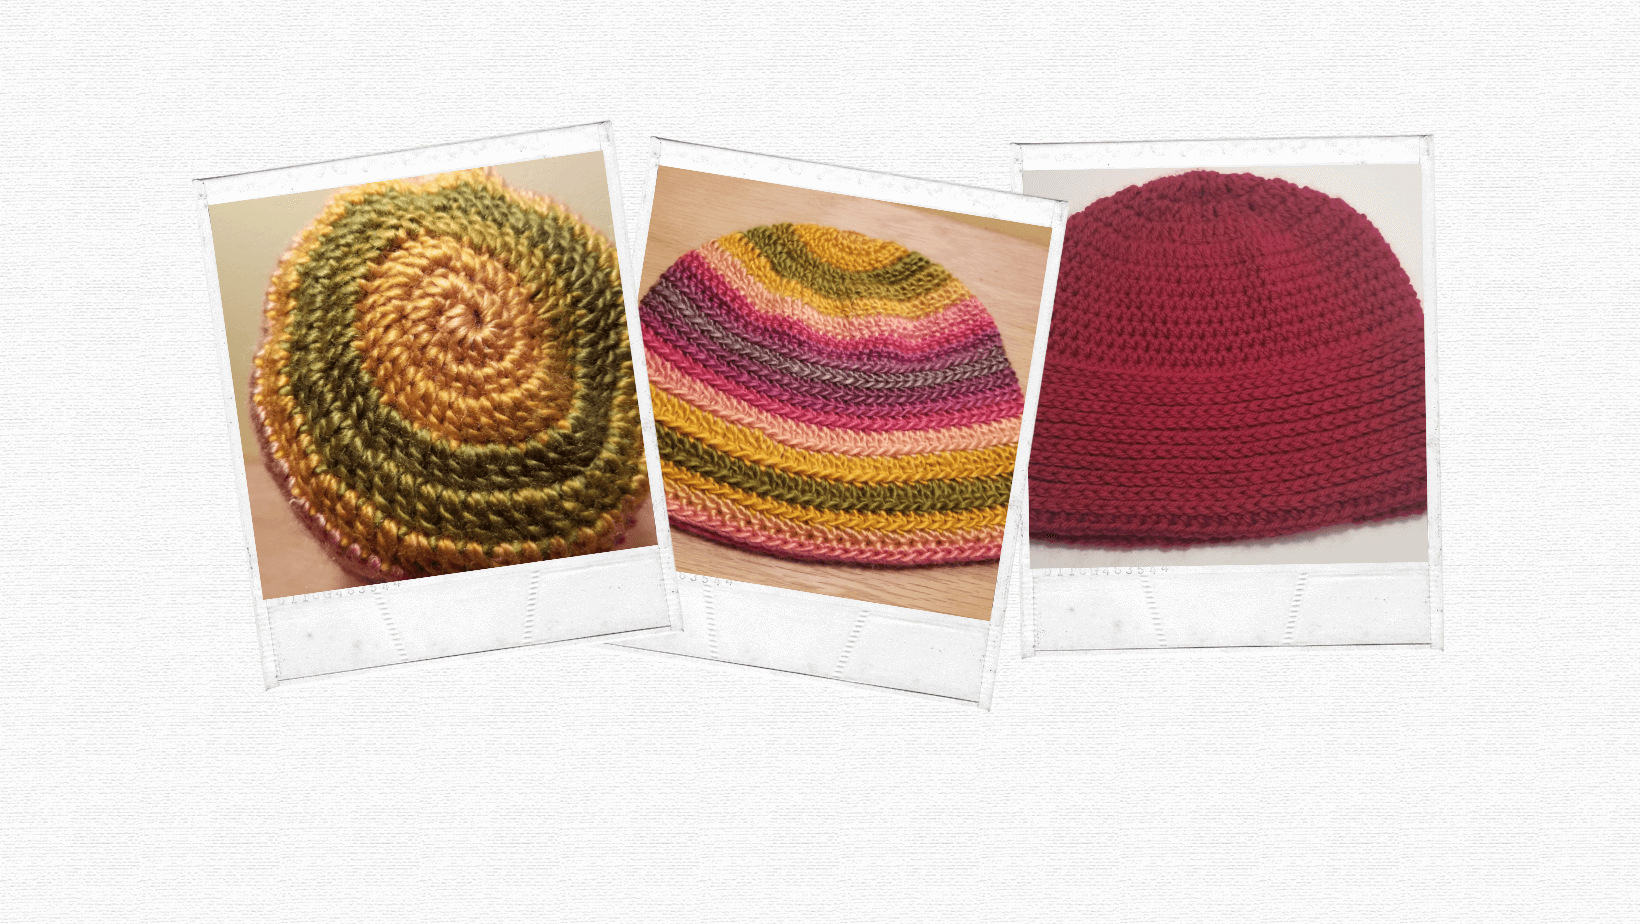
There are 3 main techniques for crochet hat patterns.
- From the top down
- From the bottom up
- Crochet a square or rectangular piece of fiber and sew it up to form a hat.
None of these techniques are better than the other. It’s a personal preference which method you choose. Try all three ways and you decide for yourself.
To get the best fit, measure and fit the person you are making the hat for. People come in all different sizes no matter their age.
For an accurate head measure, you need the full head circumference. Use a tape measure around the forehead, keeping it tight. Then divide that number by 3.14 and round up or down to the nearest quarter to get a good crown measurement. For example, if the head measures 21, here is the math:
21 divided by 3.14 = 6.68 rounded to 7
For the length, measure from the center of the head down to the bottom of the ear. Consider what your hat brim will look like and make the necessary adjustments.
Crocheted hats are stretchy and have some give which allows for less importance on precise measurements.
Here is the Crochet Hat Pattern measurement chart.
Here is a free printable ruler, if you need one.
Are hats a good beginner project?
It depends on the beginner’s confidence in being able to properly crochet a few of the basic stitches. At a minimum, you must know how to chain and make a slip stitch. Knowing how to make the half double crochet and a double crochet would make you a very nice hat. You also need to know how to accurately count stitches, and how to increase and decrease each stitch.
If you able capable of the above, give it a try. I know that you will make something beautiful.
Top-Down Crochet Hat Patterns
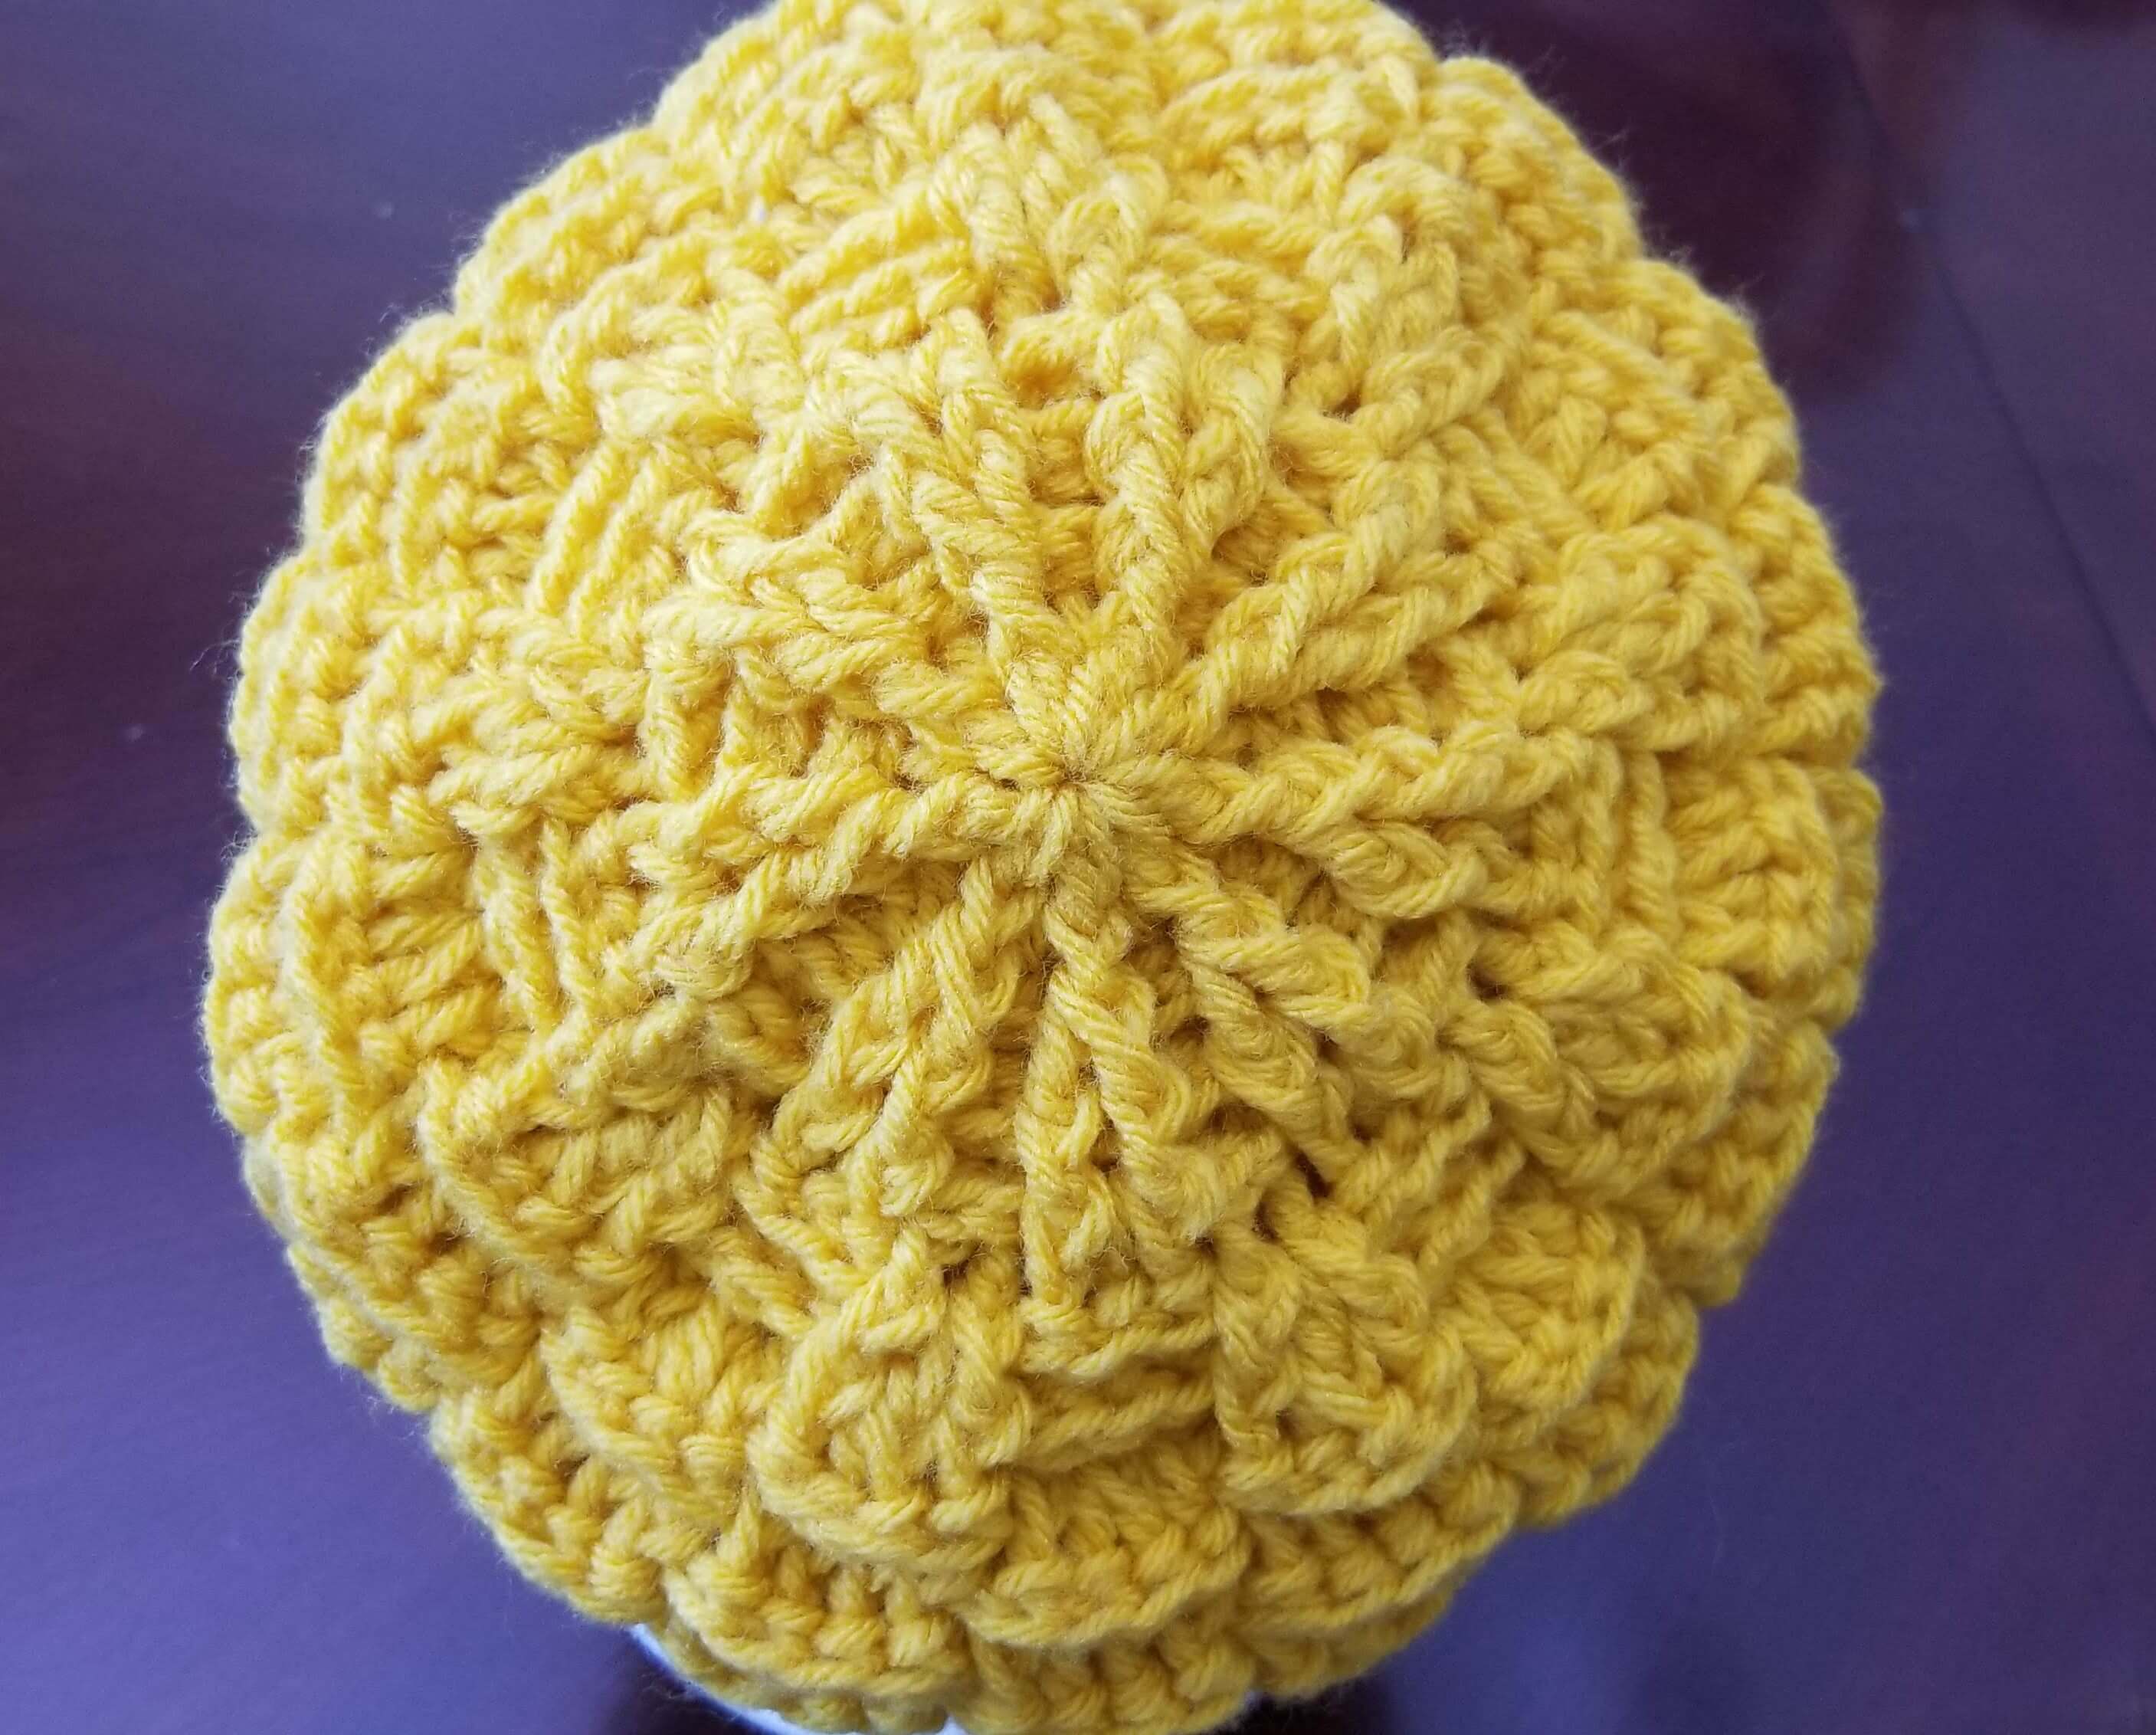 crochet hat crown
If your hat is top-down, it means you start from the middle of the crown and work down to the brim. Measure the circle as you crochet.
You will be increasing at regular intervals until you reach the desired crown size. When you achieve the measurement, stop increasing.
Continue with the same number of stitches around. This will shape the sides of the hat. Proceed with your pattern until your hat reaches the desired size.
This is the most beginner-friendly method of crocheting a hat.
Easy Crochet Hat Pattern
Crochet Winter Hat Pattern
This is a sweet little top down hat that you may enjoy making.
Crochet Newborn Hat Pattern
Crochet Beanie Pattern
more top down hats
Bulky Crochet Hat Pattern
Mens Crochet Hat Pattern
Crochet Slouchy Hat Pattern
Toddler Crochet Hat Pattern
Easy Crochet Hat Patterns
Womens Crochet Hat Patterns
Bottom-Up Approach Crochet Hat Patterns
The bottom-up approach can be done 2 ways.
Method 1: Crochet enough chains for a brim, (9 chains) then work the chosen stitch in the back loop only. This creates a ribbed look, much like knitting produces.
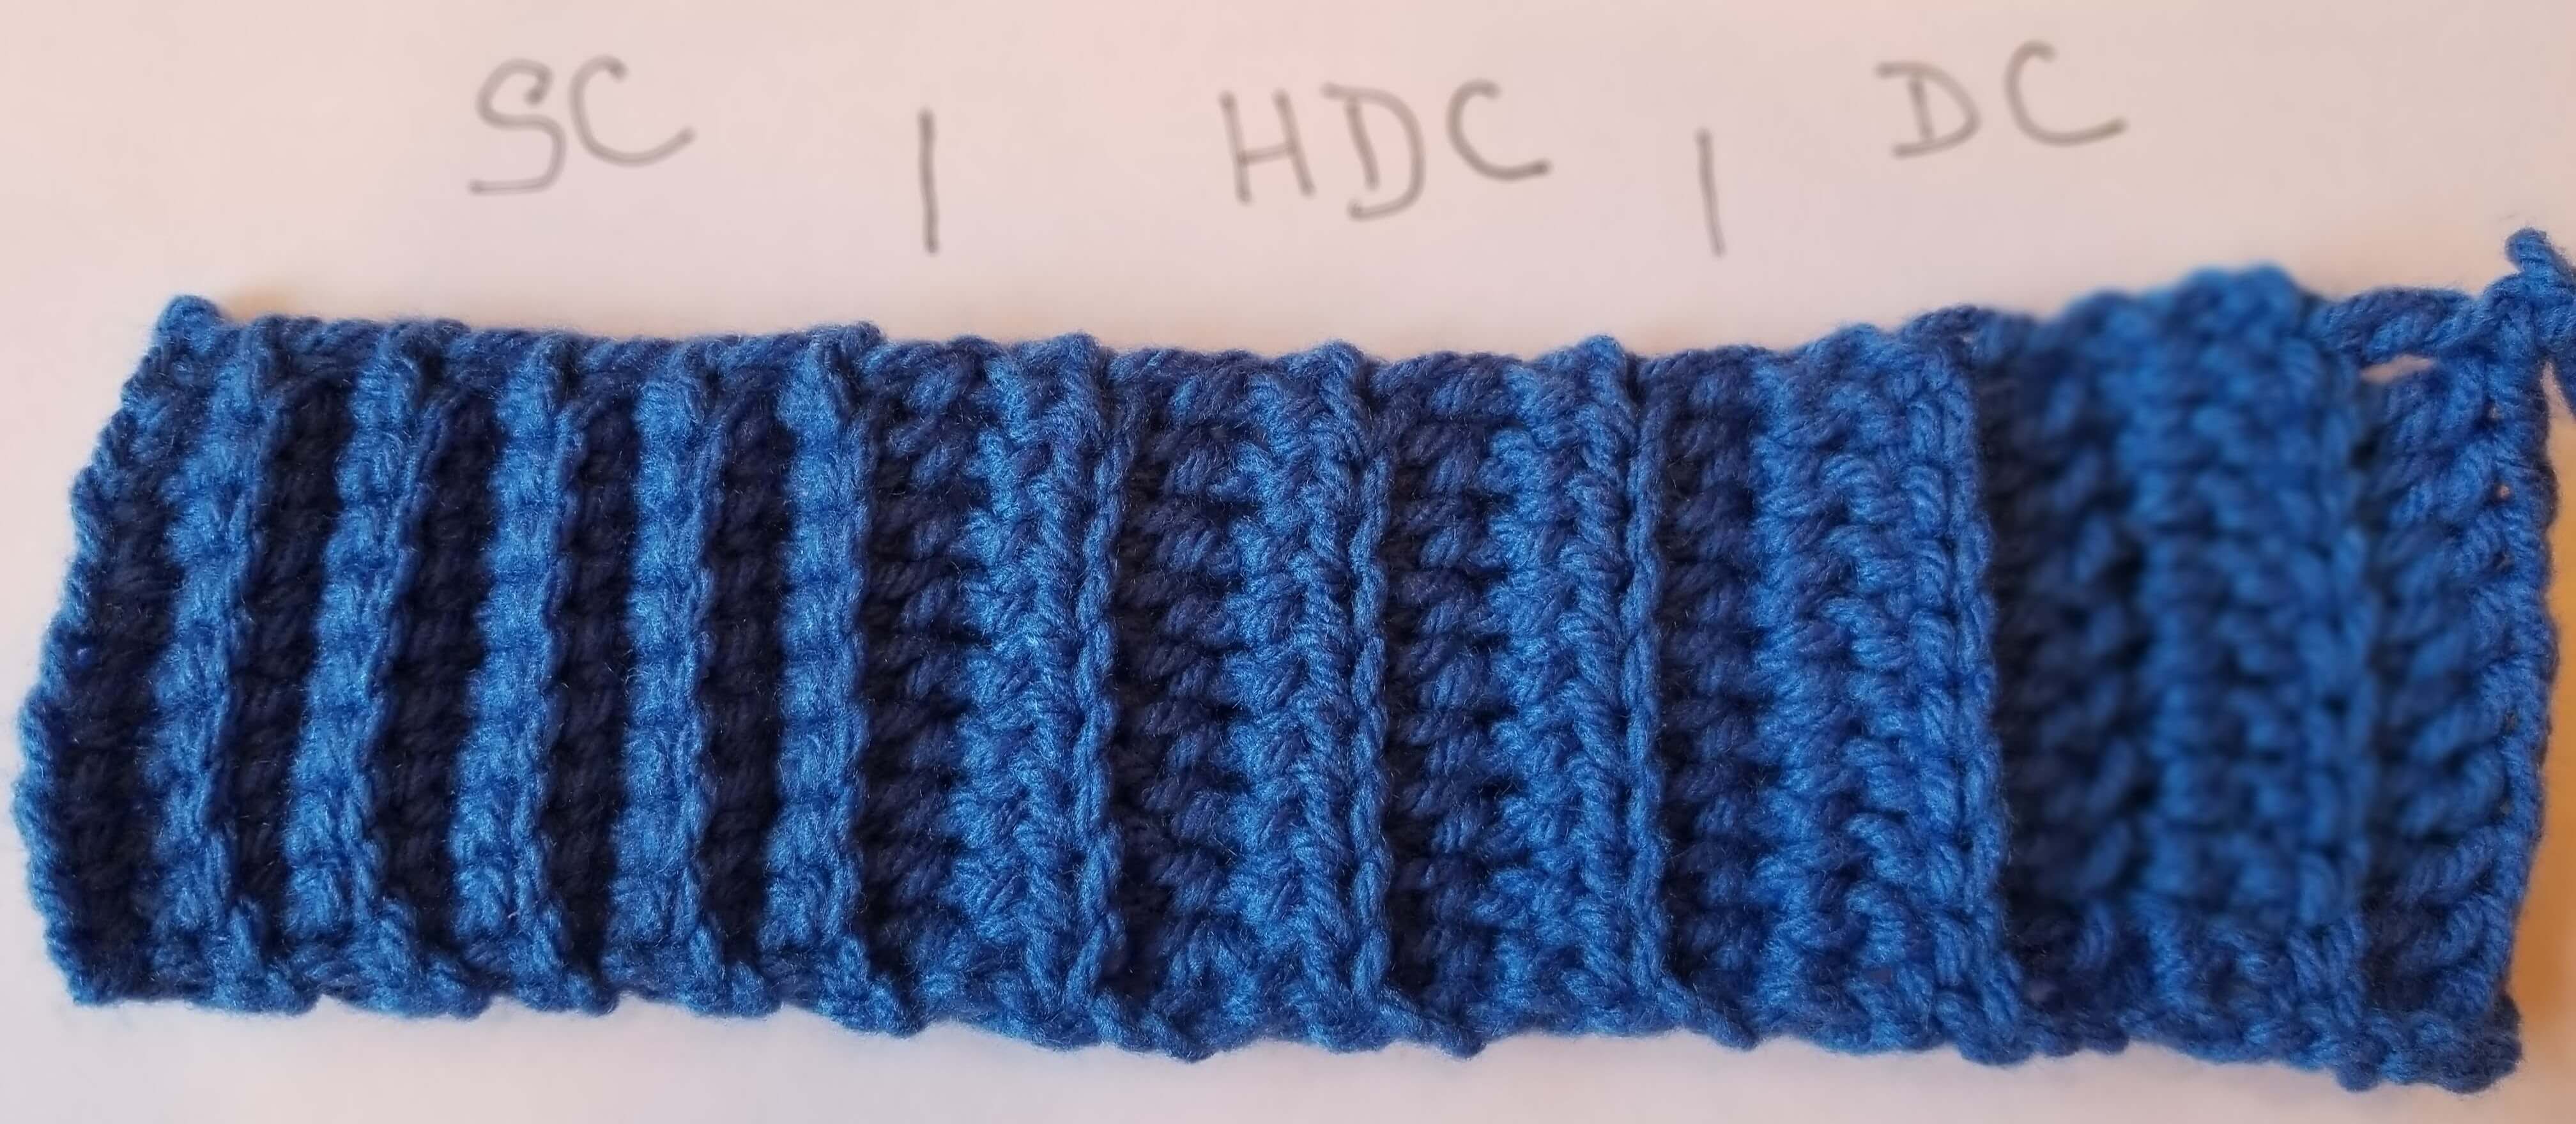
This rib can be worked with either single crochet (sc), half double crochet (hdc), or double crochet (dc). When the rib reaches the size of the circumference of the head (around), join the two ends using slip stitches. This will be an invisible join. This is the brim of the hat.
Picture below uses single crochet for the rib.
 rib for brim of crochet hat
This is what the rib looks like with the Single Crochet (sc), Half Double Crochet (hdc) and Double Crochet (dc). Note that the hdc is a slightly higher stitch than the sc and the dc is yet higher than the hdc.
 crochet rib in sc, hdc and dc
Baby Hat Crochet Pattern
Mens Crochet Beanie Pattern
Method 2: Crochet enough chains (we call this foundation chains) to fit the circle of the head, just above the ears. Then without twisting the chains, join to form a circle with a slip stitch. Continue working your pattern to form the brim of the hat.
Once the brim is done, start making the body of the hat by crocheting around. Decrease gradually as you get to the top.
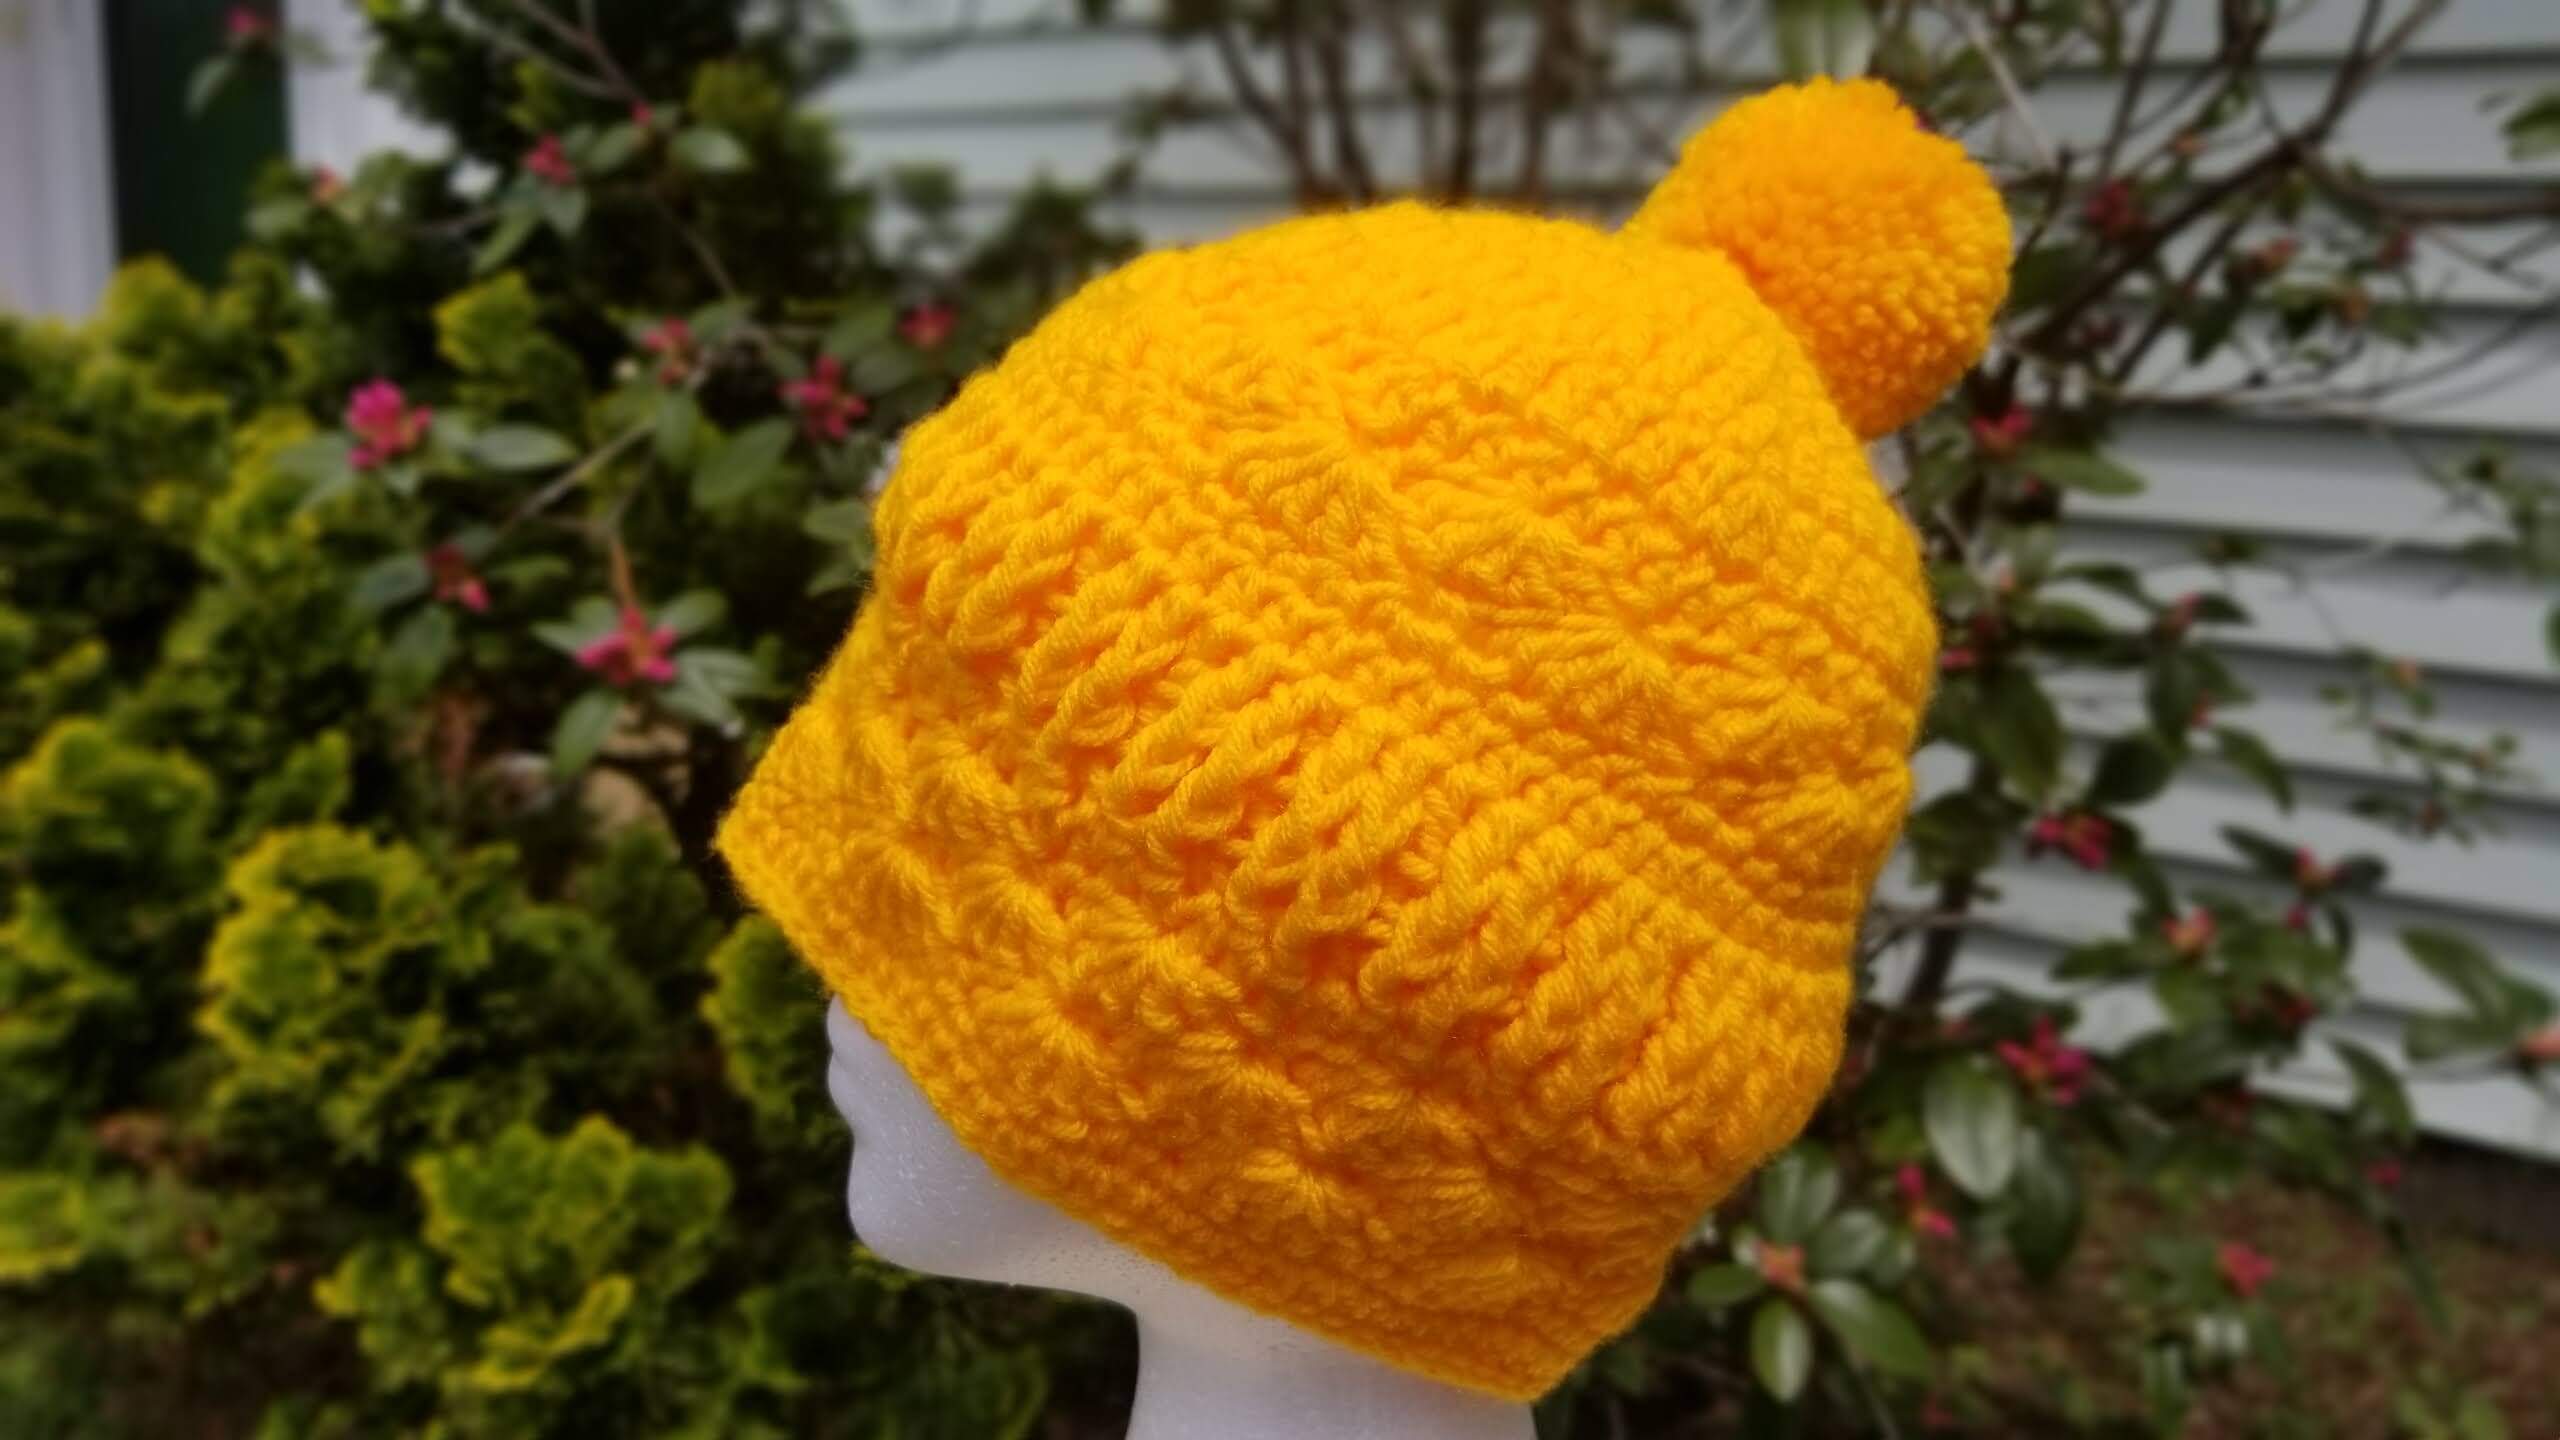
The top of this hat will not be as smooth as the top-down approach but will be somewhat gathered. A beautiful pom-pom embellishment will look very nice.
Mens Crochet Hat Pattern Free
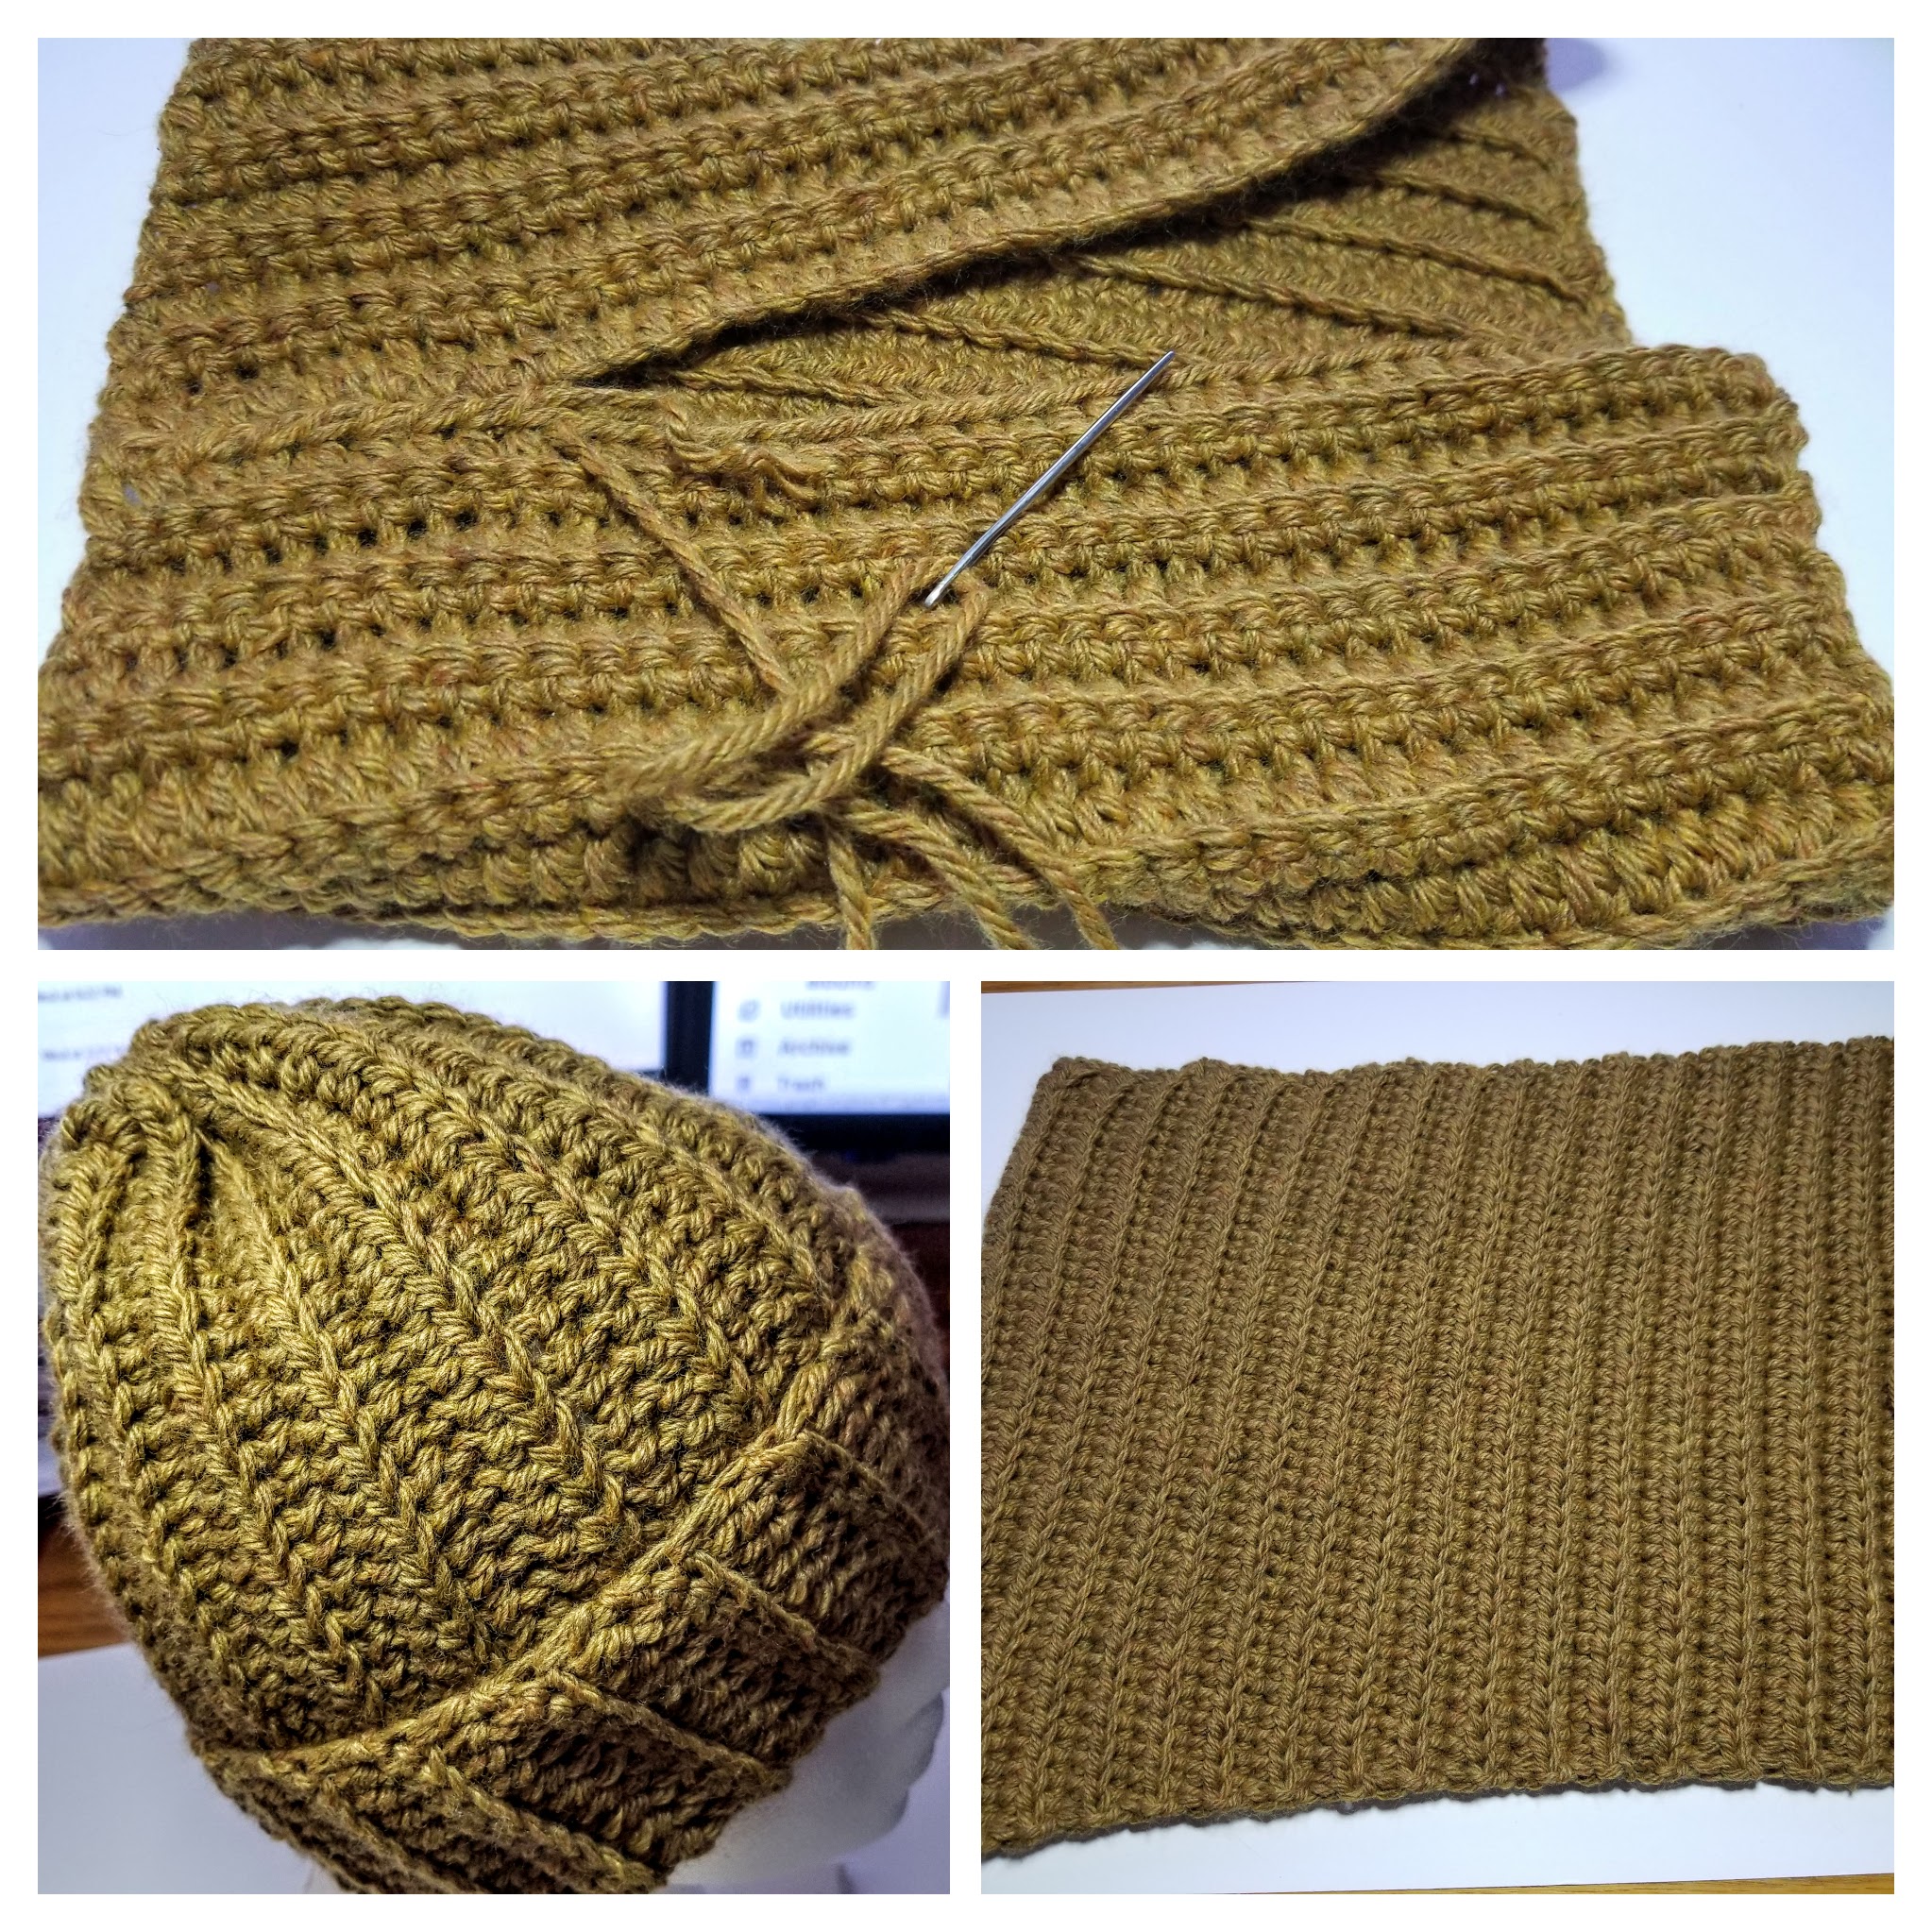
Sew up Fabric
Sometimes, crochet hat patterns are worked flat then sewn together.
You crochet a square or rectangular flat piece of fiber. Then sew it up with your big darning needle that will fit your yarn through the eye.
This method is somewhat beginner-friendly. No increases or decreases are required. But it can prove challenging for beginners to make square or rectangle fabrics. Also, sewing it together leaves a seam. Having to sew up the hat neatly can be an issue for many beginners as well as more experienced crocheters.
