This Bulky Crochet Hat Pattern Will Warm you up for Winter
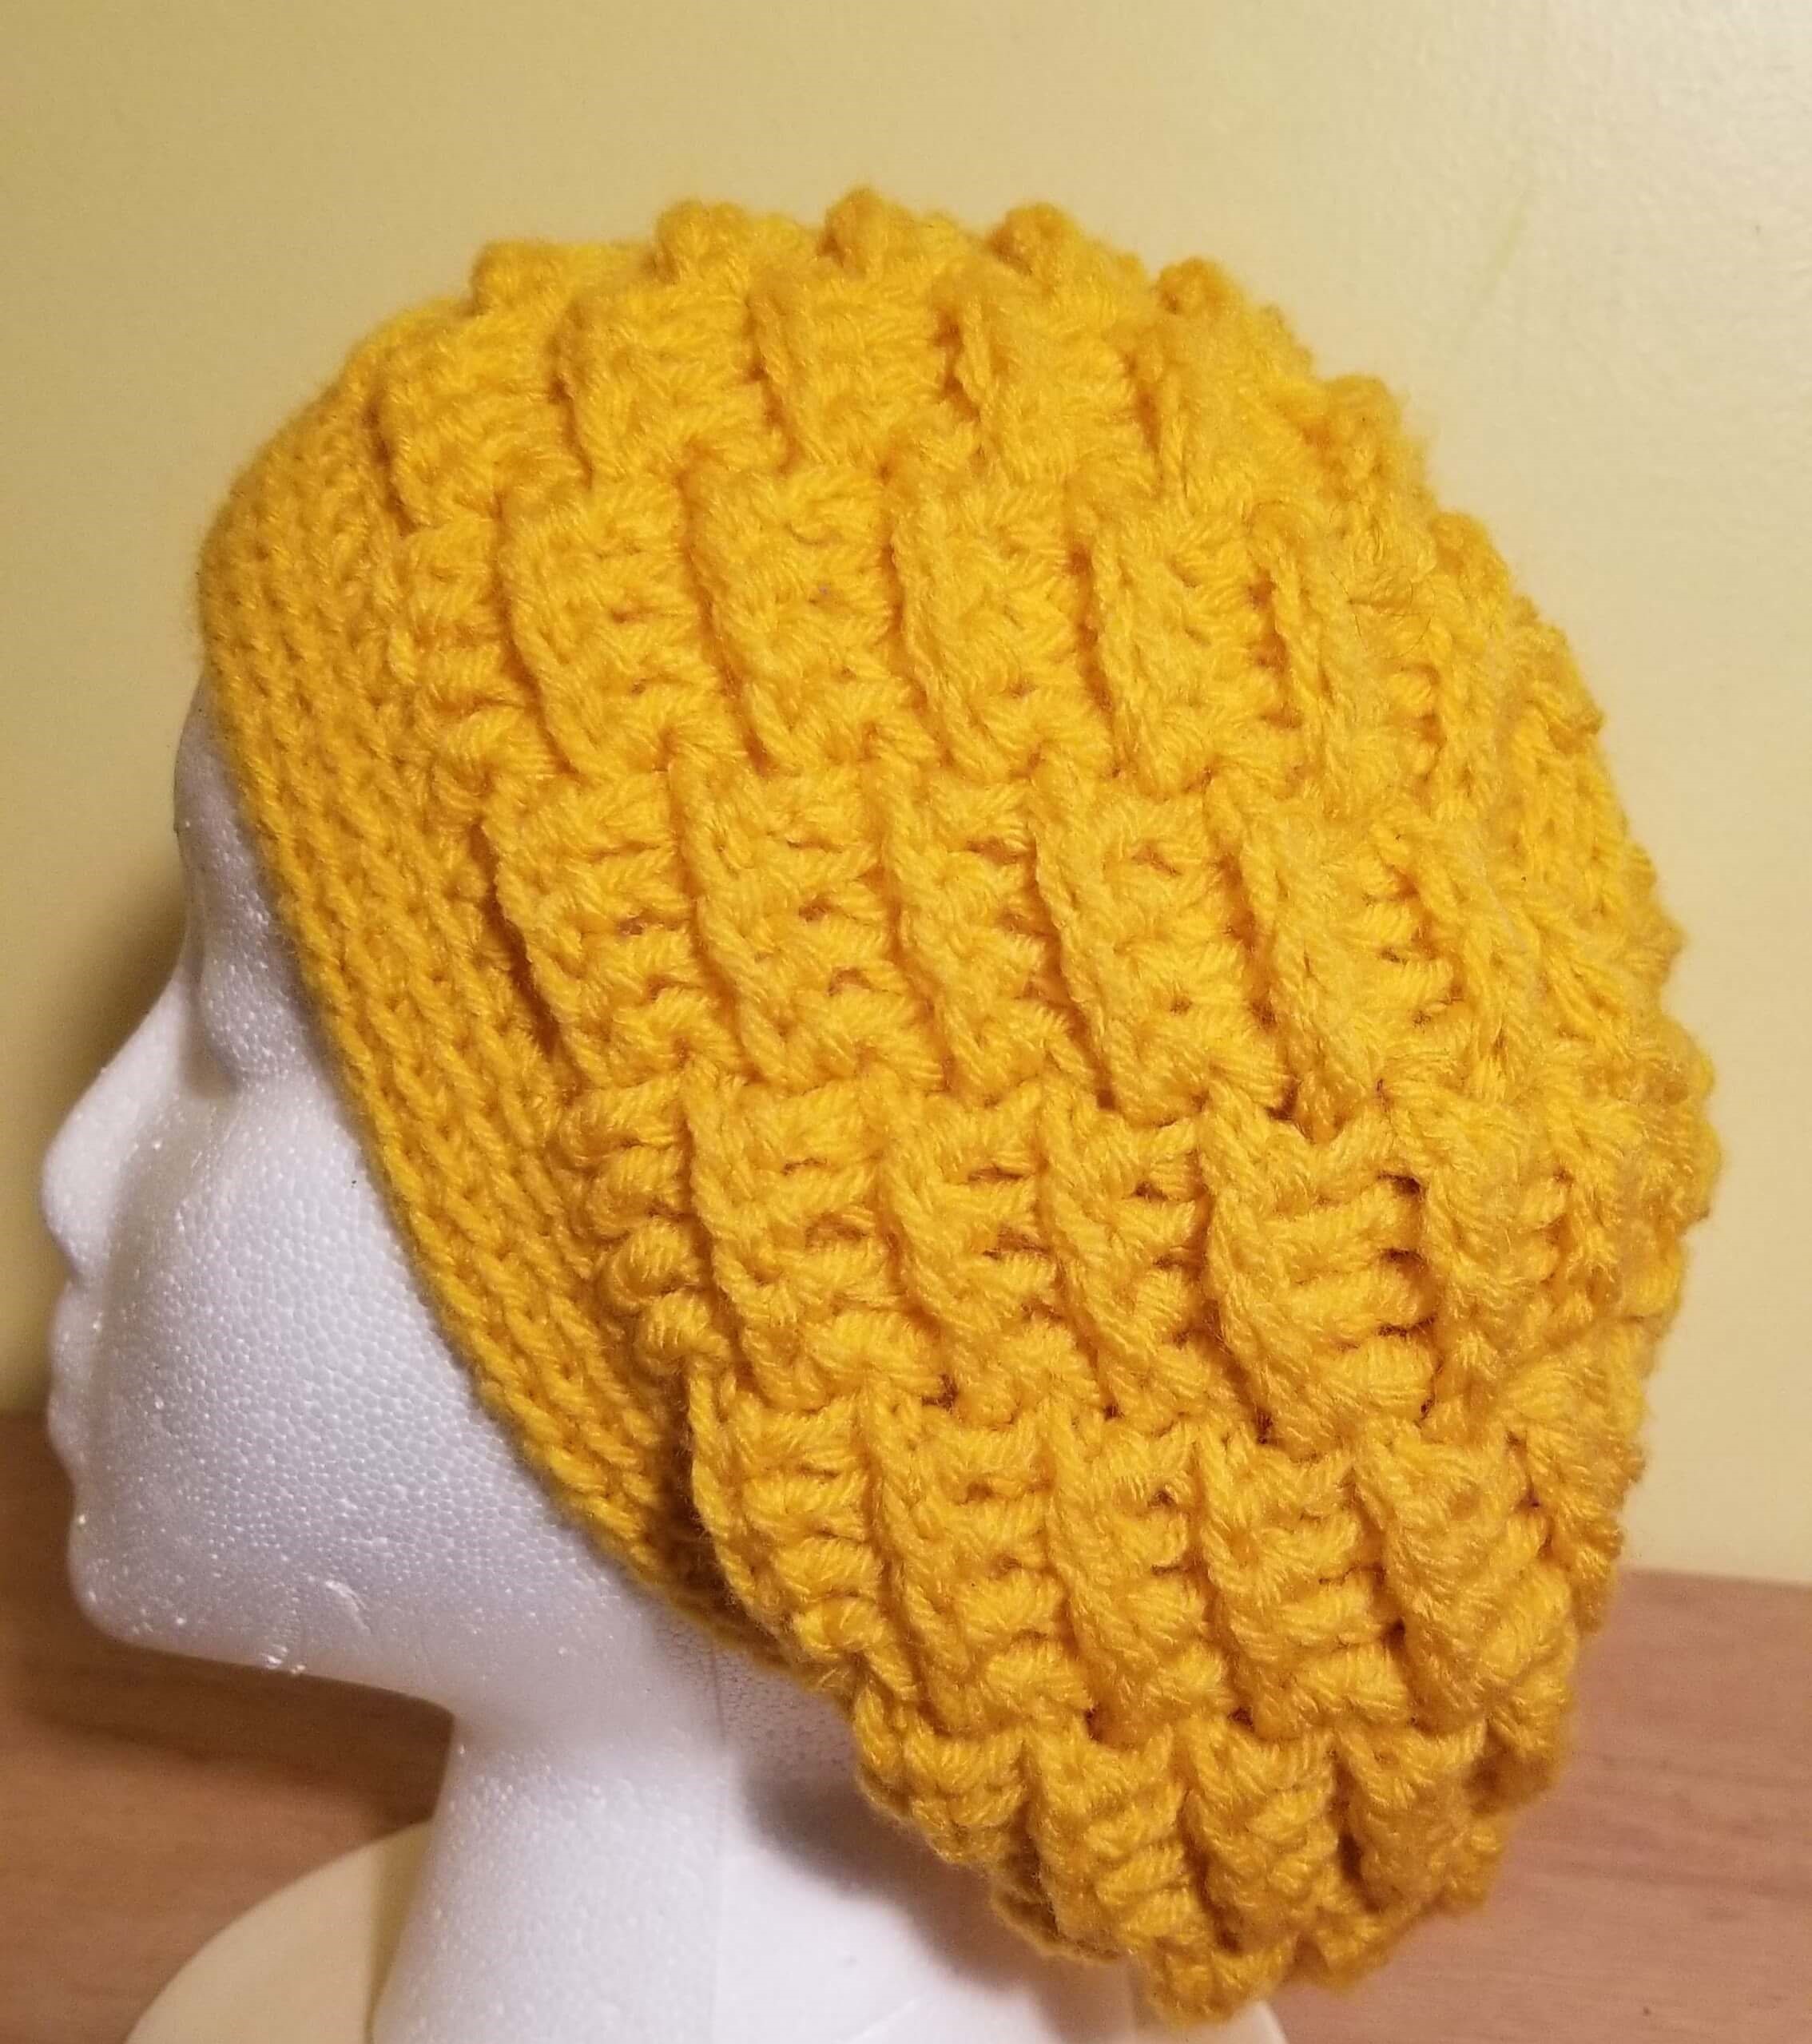 Bulky Crochet Hat Pattern
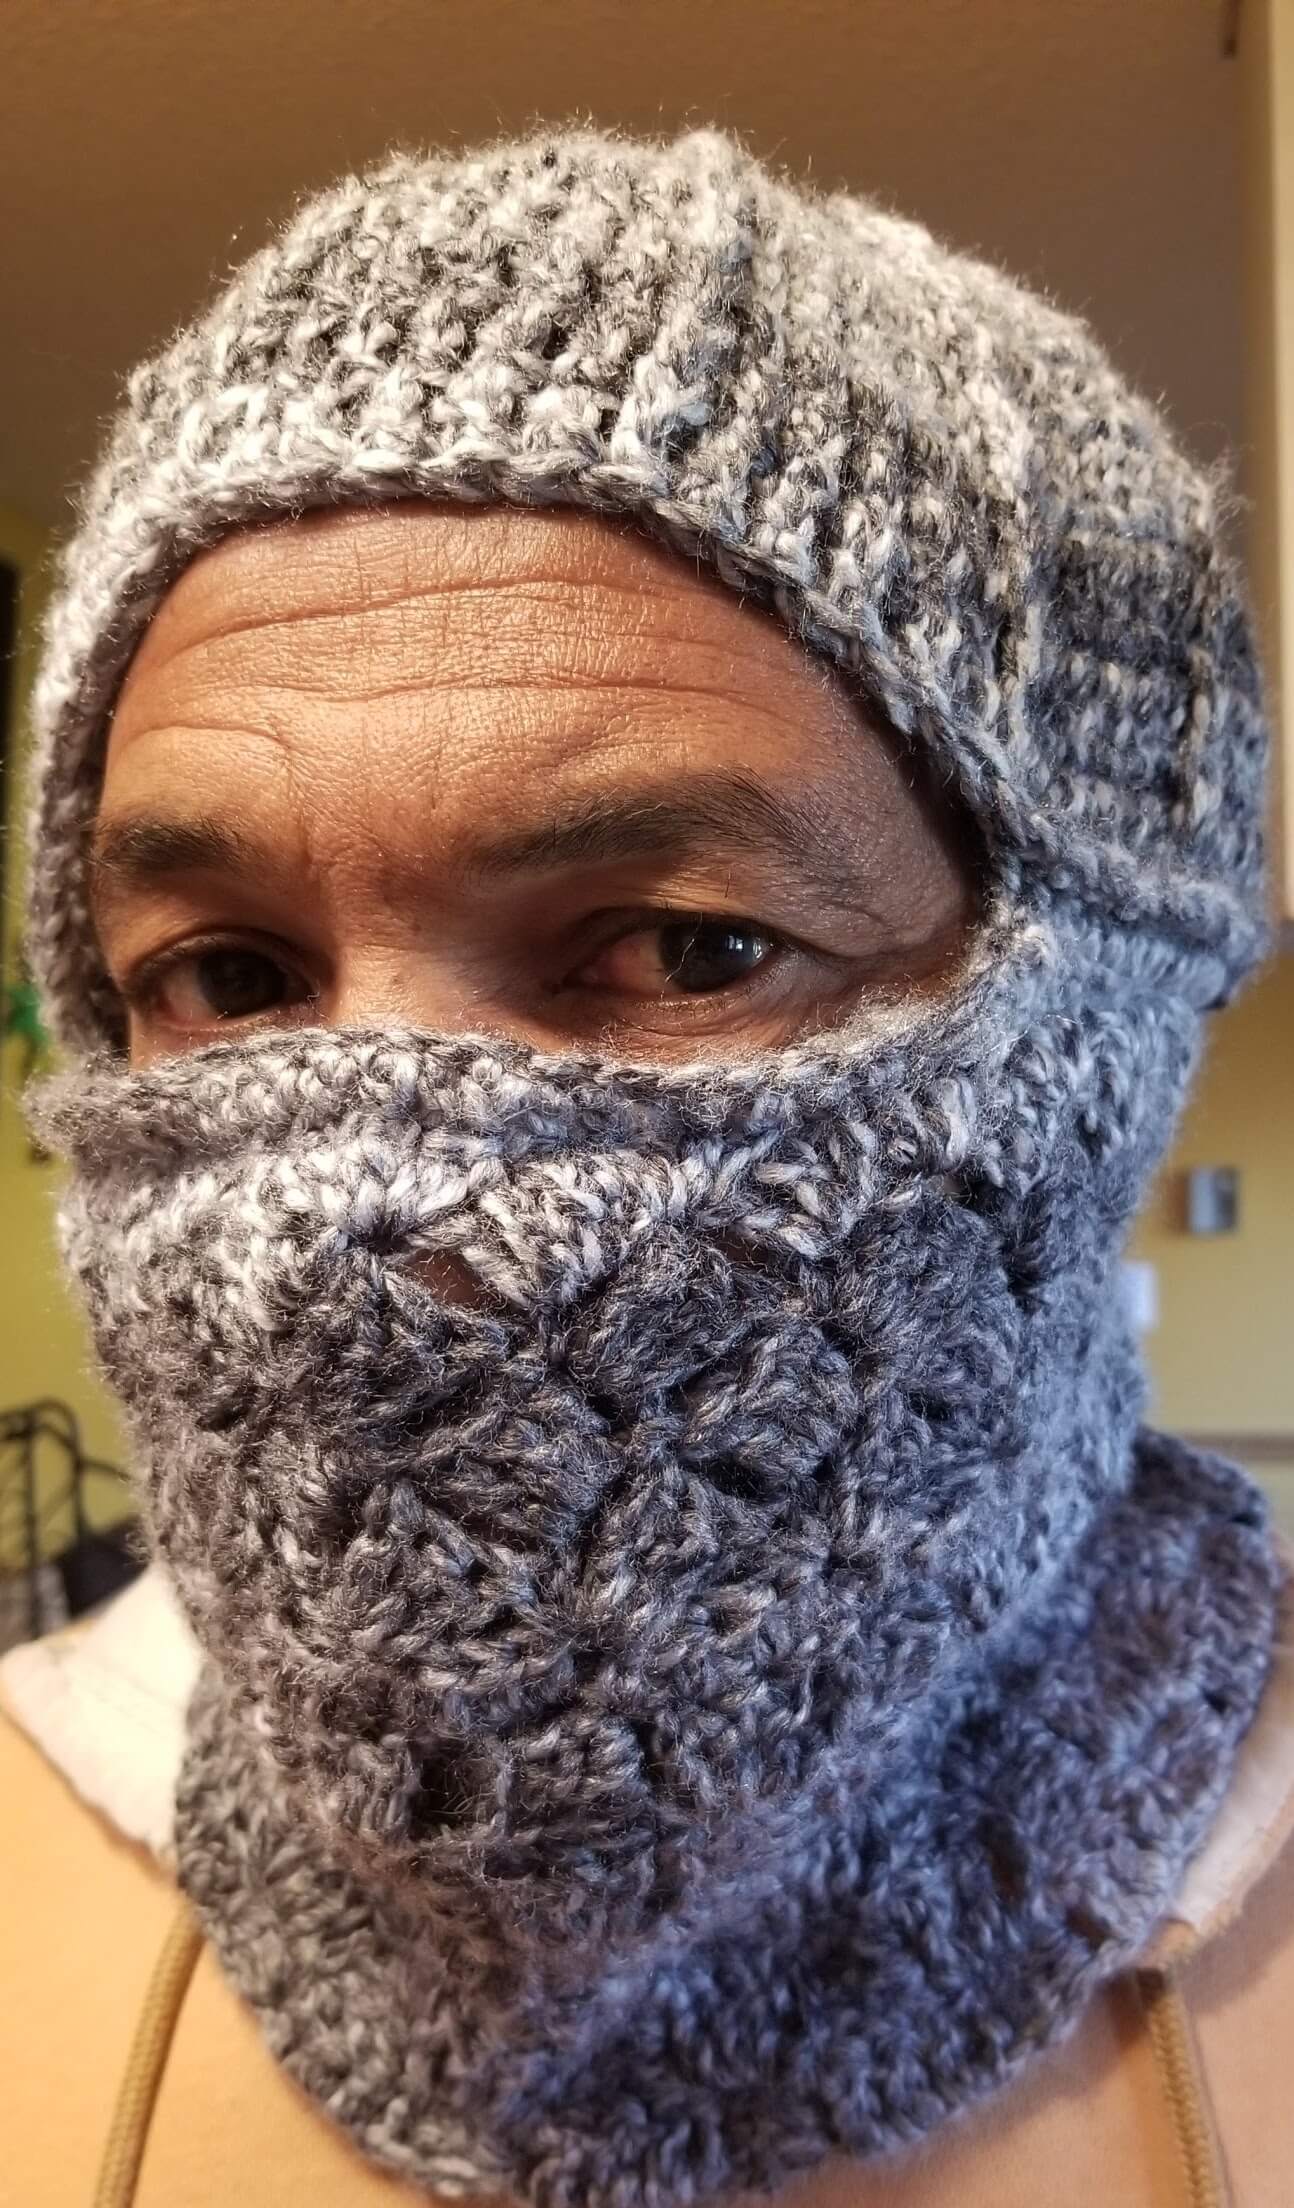
This Bulky Crochet Hat Pattern is suitable for a man or woman.
Yarn: Red heart Super Saver Saffron (approx 250 yards) or medium size 4 yarn
Needles: 4.5 MM & 5.5 MM
Intermediate level
Hat is from worked the top down.
For an accurate head measure, you need the full head circumference. Use a tape measure around the forehead, keeping it tight. Then divide that number by 3.14 and round up or down to the nearest quarter to get a good crown measurement. For example, if the head measures 21, here is the math:
21 divided by 3.14 = 6.68 rounded to 7
For the length, measure from the center of the head down to the bottom of the ear. Consider what your hat brim will look like and make the necessary adjustments.
Crocheted hats are stretchy and have some give which allows for less importance on precise measurements.
Here is the Crochet Hat Pattern measurement chart.
Here is a free printable ruler, if you need one.
Stitches used:
- Chain (ch)
- Single Crochet (sc)
- Slip Stitch (sl st)
- Double Crochet (dc)
- Front Post Double Crochet (fpdc)
- Back Post Double Crochet (bpdc)
Video of how to do fpdc and bpdc
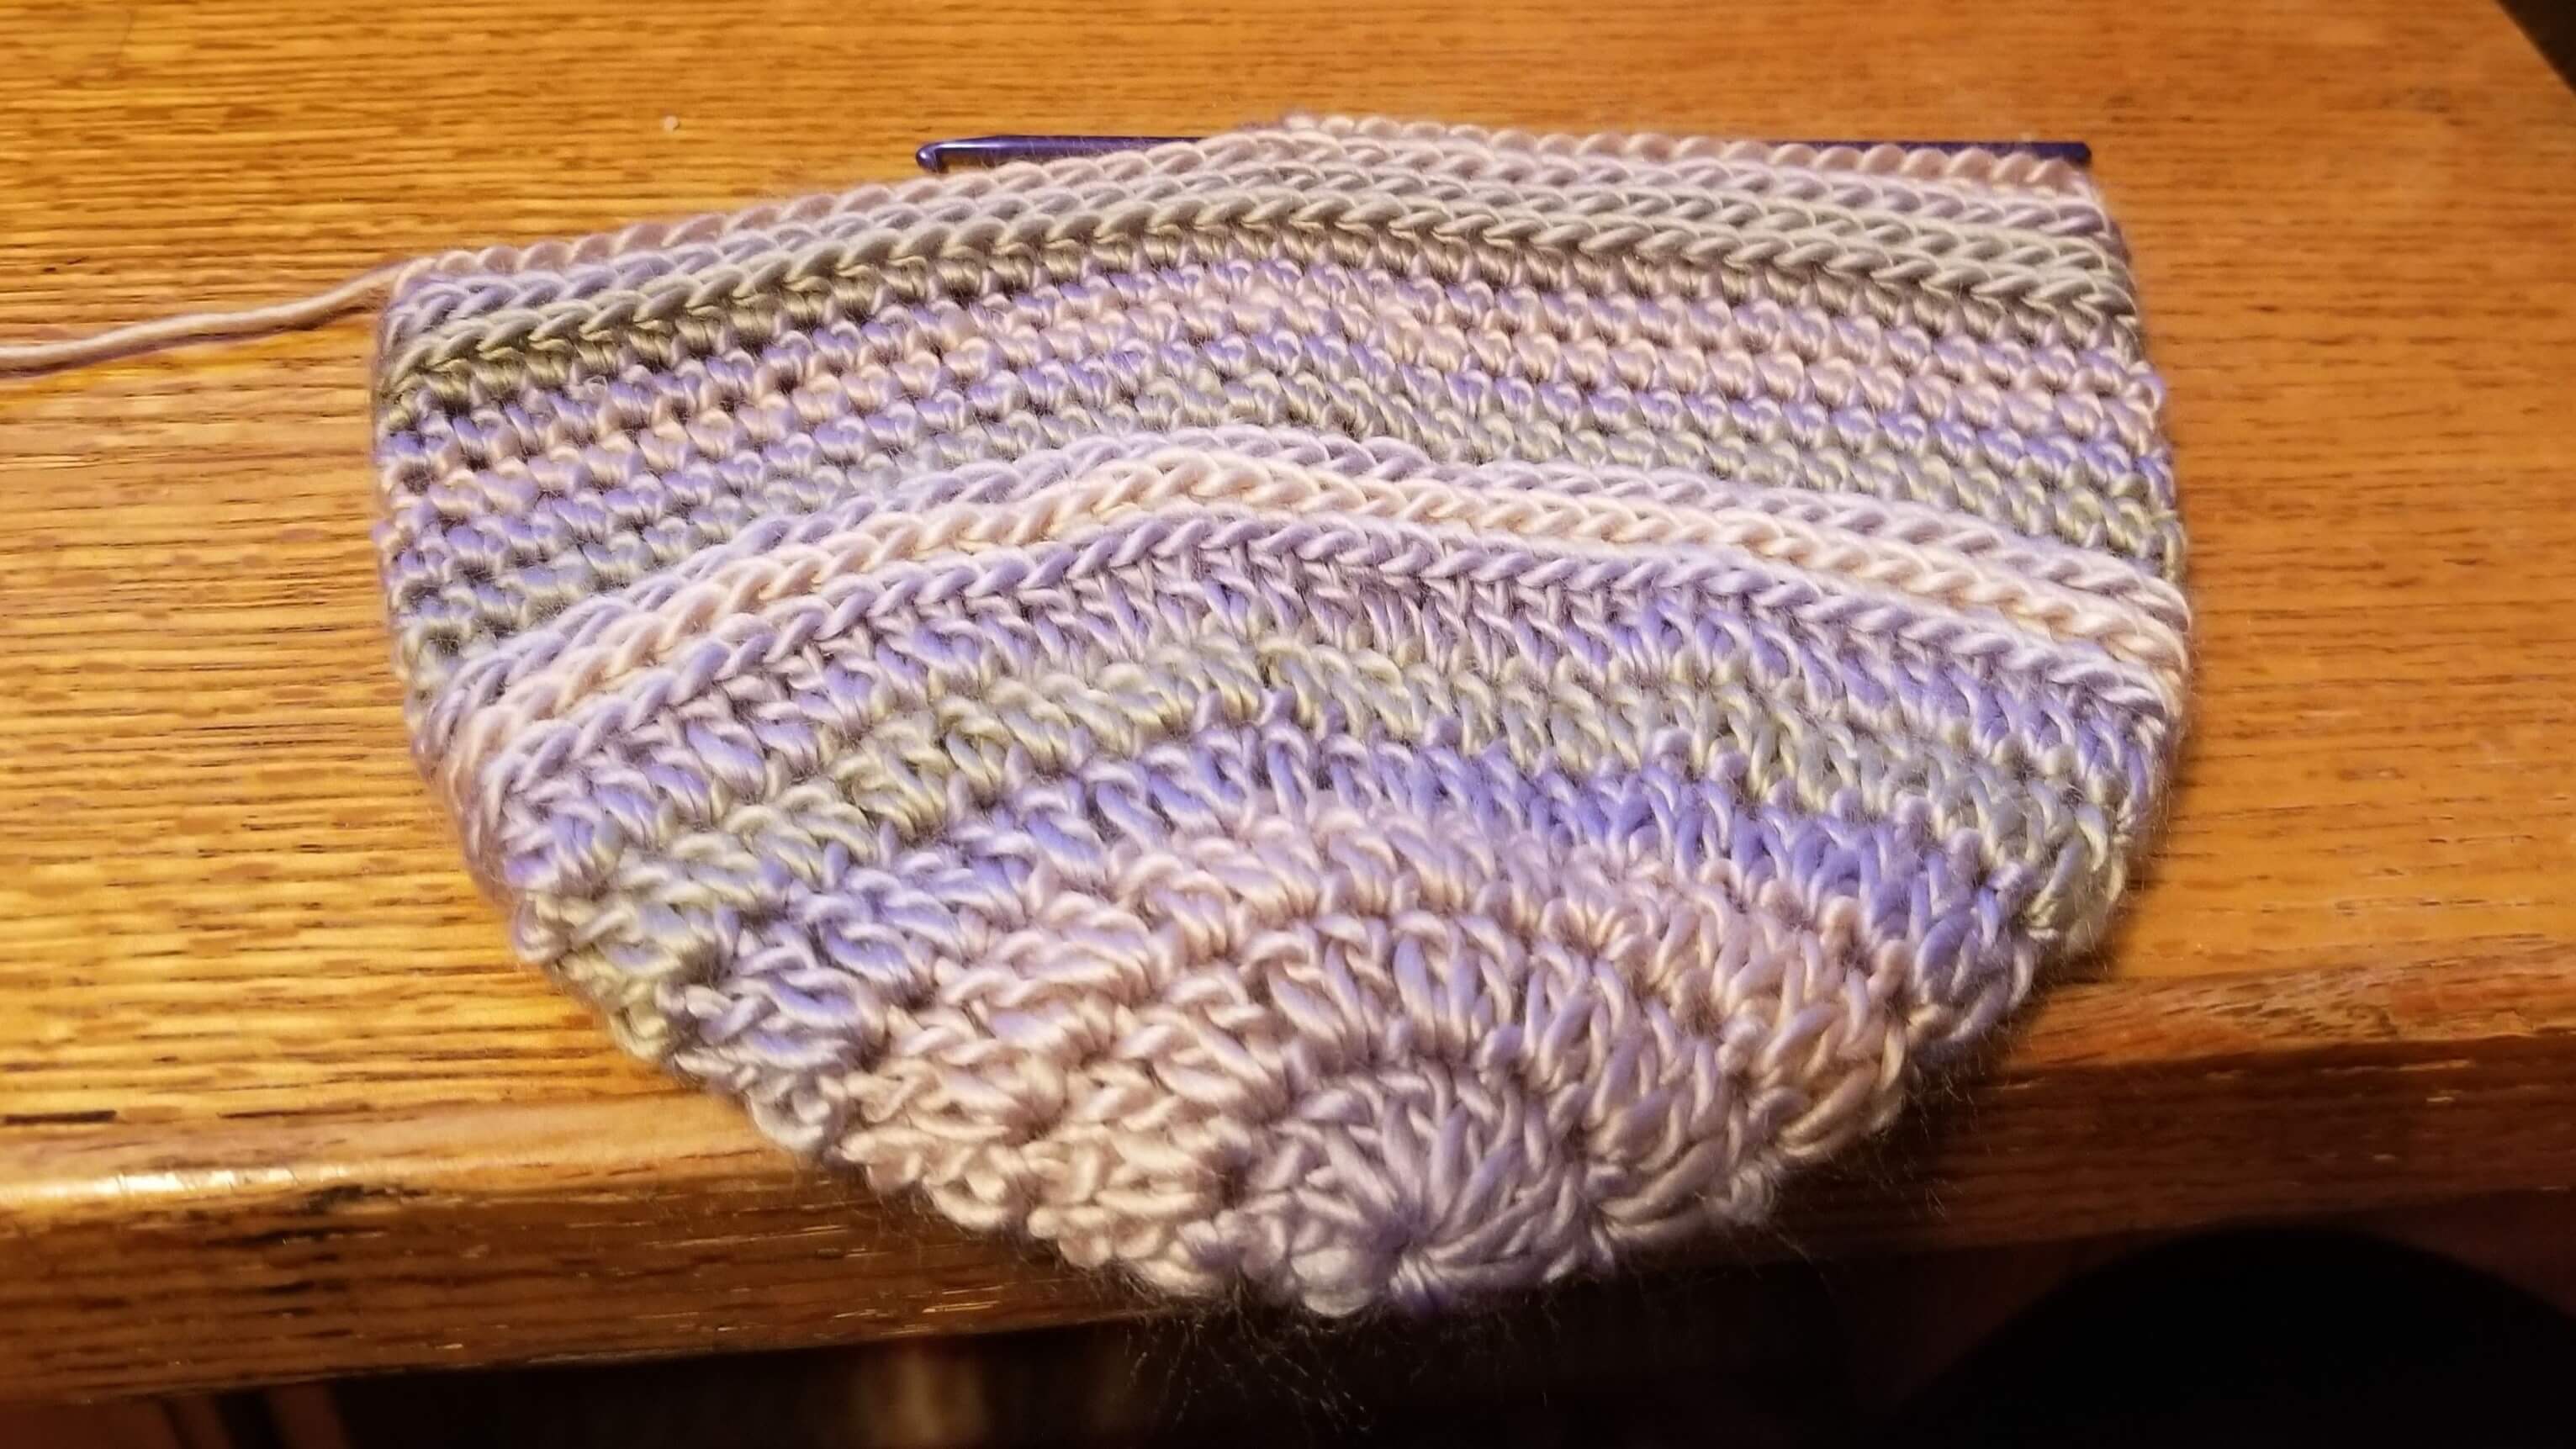
Base: Each round will increase by 10 dc up to row 9.
From Row 2 onwards, you may work around the post double crochet plus the 2 ch.
After each row of this bulky crochet hat pattern, carefully examine the round. This ensures that you have made the appropriate stitches. This will save you lots of frustration from continuing and discovering the mistake later
Bulky Crochet Hat Pattern
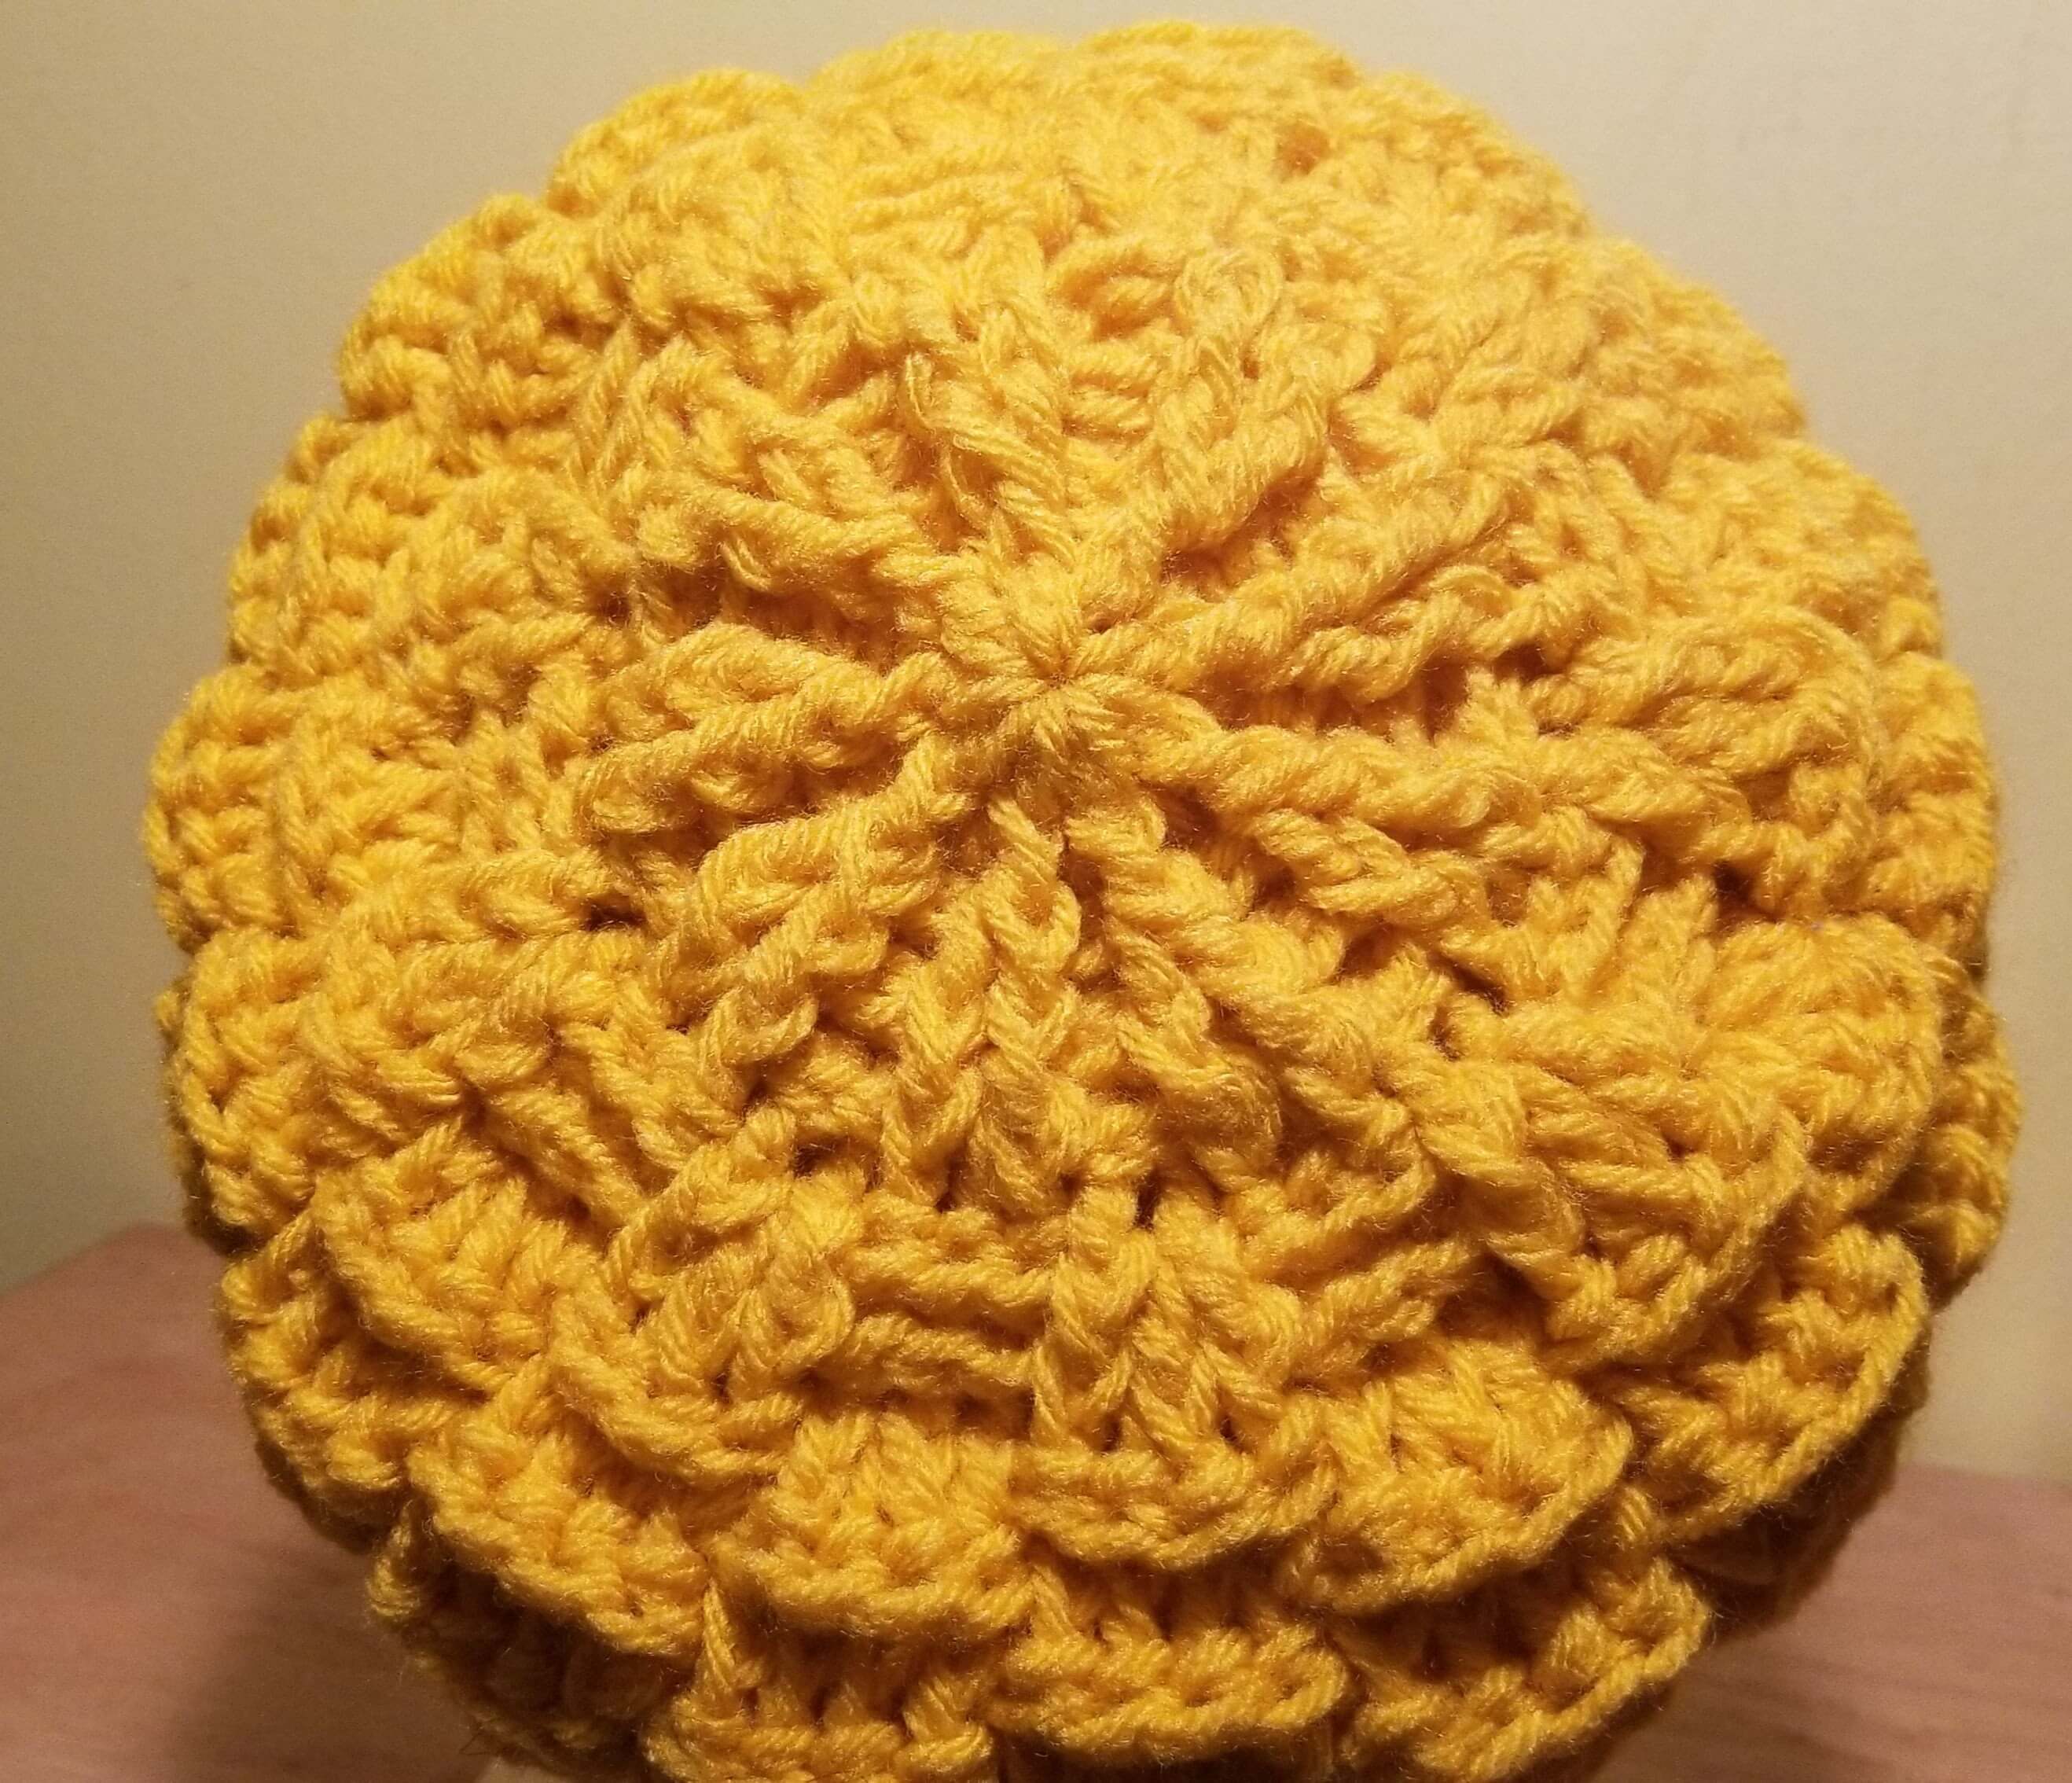 Bulky Crochet Hat Crown
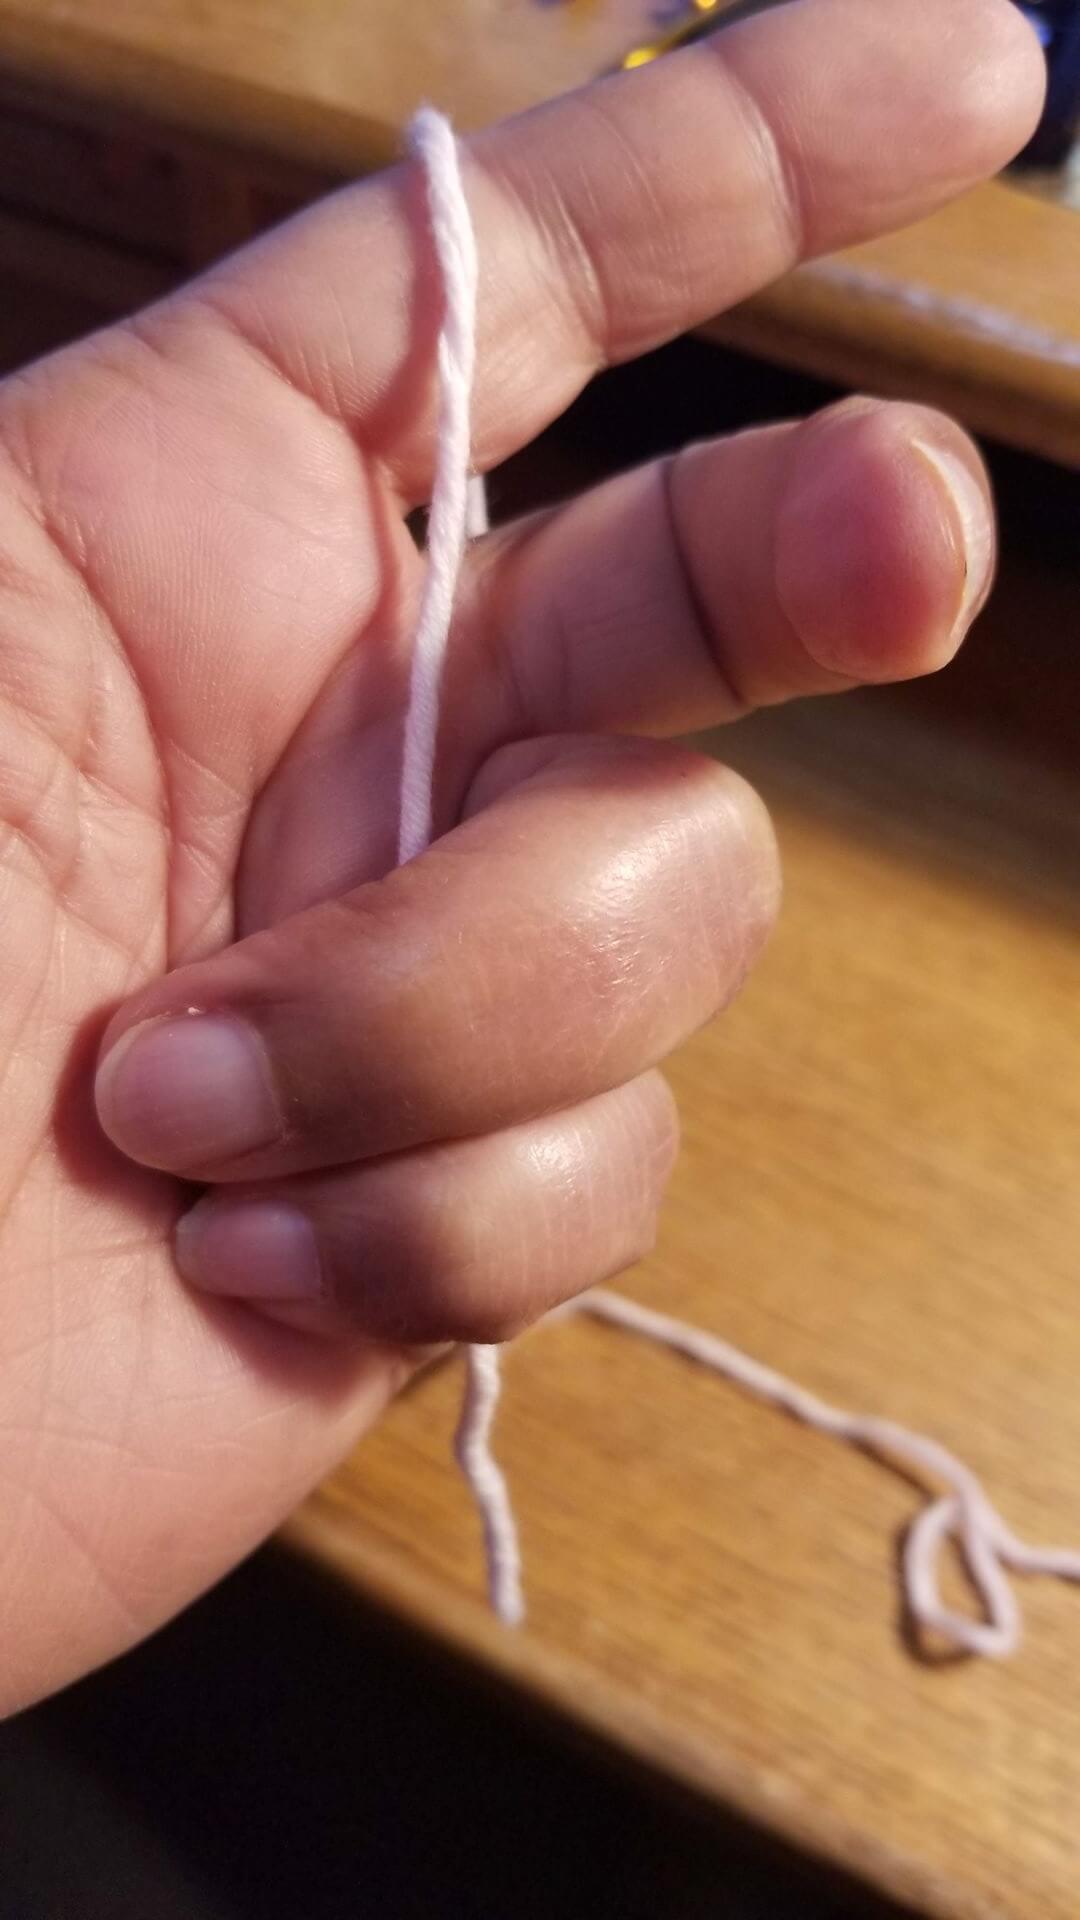
Begin with Magic Loop
1. Ch 2. (considered 1st dc). 9 dc into loop. Join with sl st to 2nd chain of 1st ch2. (10 dc)
2. Ch 2 (considered 1st dc). { 1 fpdc around dc. 1 dc in next space (between the 2 dc from previous round} around. Join with sl st in 2nd of 1st 2 ch. (20 dc).
3. Ch 2 ( considered 1st dc). {1 bpdc around dc in row 2. 2 fpdc around fpdc. 1 bpdc around dc} around. Join with sl st in top of bpdc. (30 dc).
4. Ch 2. {2 bpdc around bpdc. 1 fpdc around each of next 2 fpdc}. around. Join with sl st in top of 1st bpdc. (40 dc).
5. Ch 2. {1 bpdc around each of next 2 bpdc. 1 fpdc around fpdc. 1 dc in space between. 1 fpdc around fpdc} around. Join with sl st in top of 1st bpdc. (50 dc).
This row flips where fpdc is done over bpdc and starts the rippled pattern.
6. Ch 2. {1 fpdc around bpdc. 1 dc in space between. 1 fpdc around bpdc. 1 bpdc around next 3 dc} around. Join with sl st in top of 1st fpdc. (60 dc).
7. Ch 2. {1 fpdc around fpdc. 2 fpdc around next fpdc. 1 fpdc around fpdc. 1 bpdc around next 3 bpdc} around. Join with sl st in top of 1st fpdc. (70 dc).
Last increase round.
This row flips where bpdc is done over fpdc for the rippled pattern.
8. Ch 2. {1 bpdc around next 4 fpdc. 1 fpdc around next bpdc. 2 fpdc around next bpdc. 1 fpdc around next 2 bpdc} around. Join with sl st in top of 1st bpdc. (80 dc)
This row flips where fpdc is done over bpdc for the rippled pattern.
9. Ch 2. {1 fpdc around next 4 bpdc. 1 bpdc around next 4 fpdc} around. Join with sl st in top of 1st fpdc. (80 dc).
10. Ch 2. {1 bpdc around next 4 fpdc. 1 fpdc around next 4 bpdc} around. Join with sl st in top of 1st bpdc. (80 dc).
Repeat rows 9 and 10 until desired hat length is reached.
Bulky Crochet Hat Pattern Brim
Change to smaller needle.
1. Sc in backloop only (blo) of each dc around. Do not join at end of row but mark with stitch marker.
Do 3 or 4 more rows.
Optional: End last round with sl st in blo or each sc around. (This reduces the stretchiness and prevents the hat from stretching out)
Good job! You made something beautiful. Please share it with us.
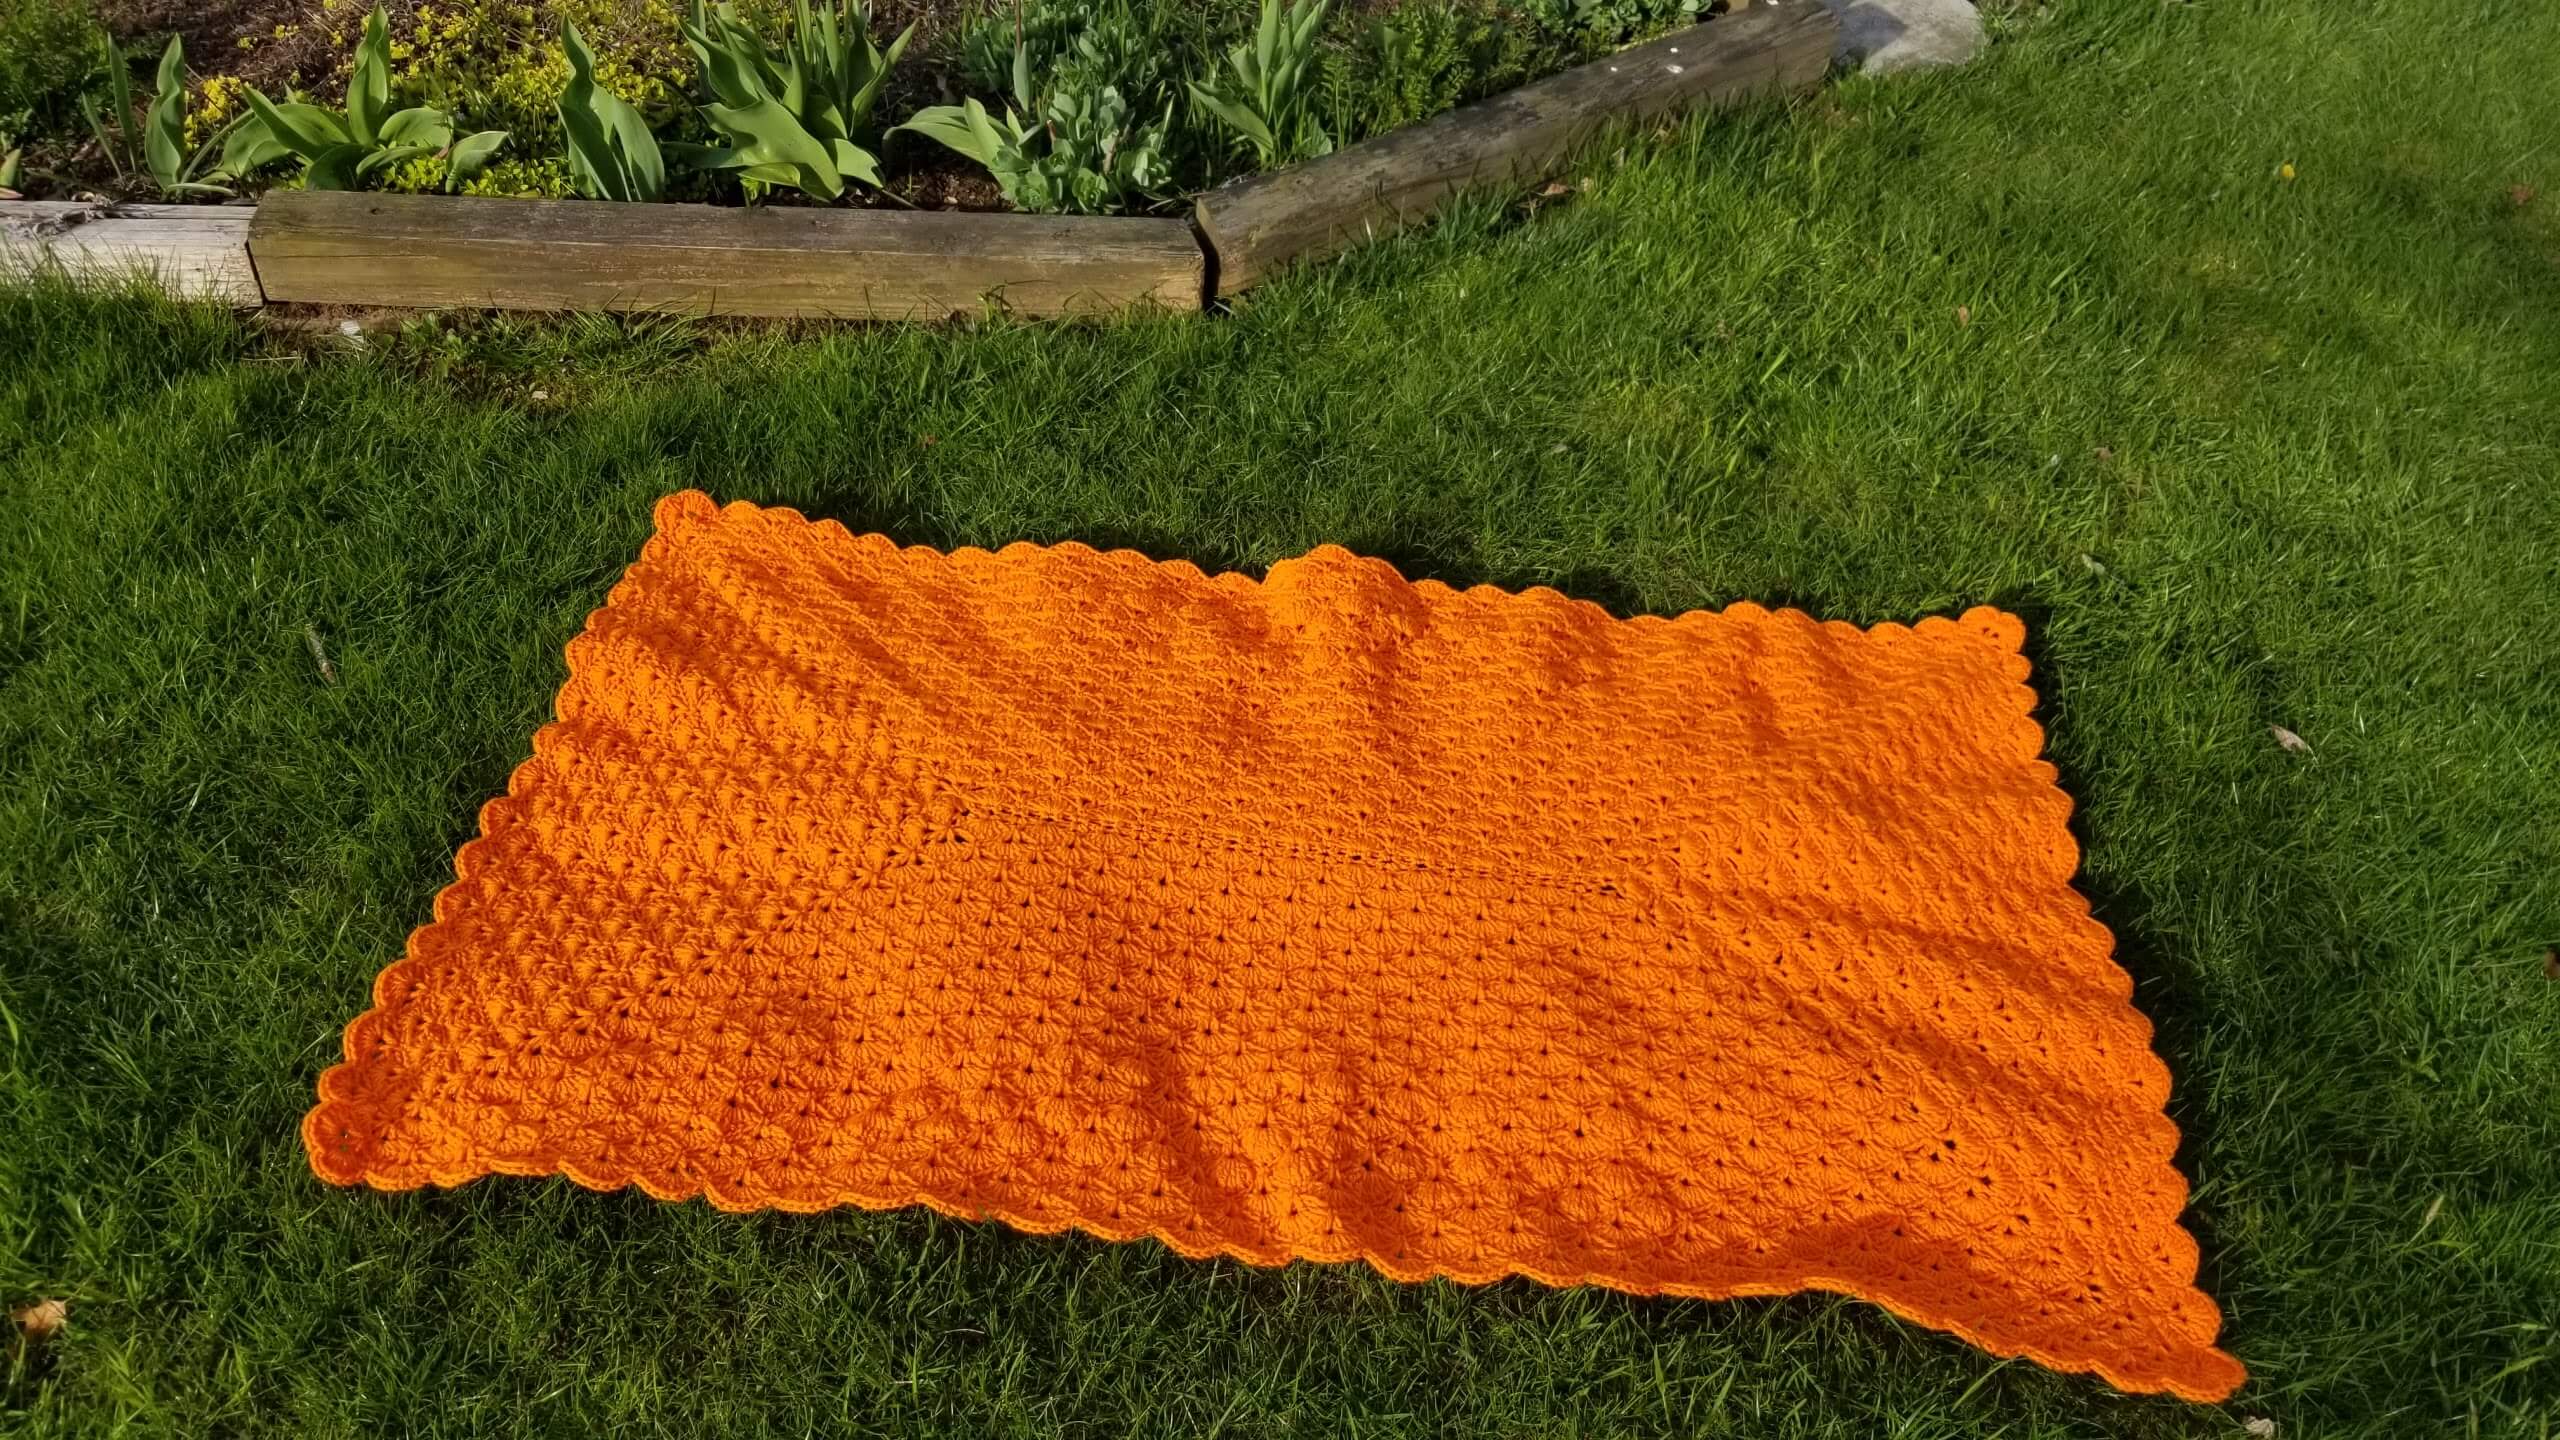
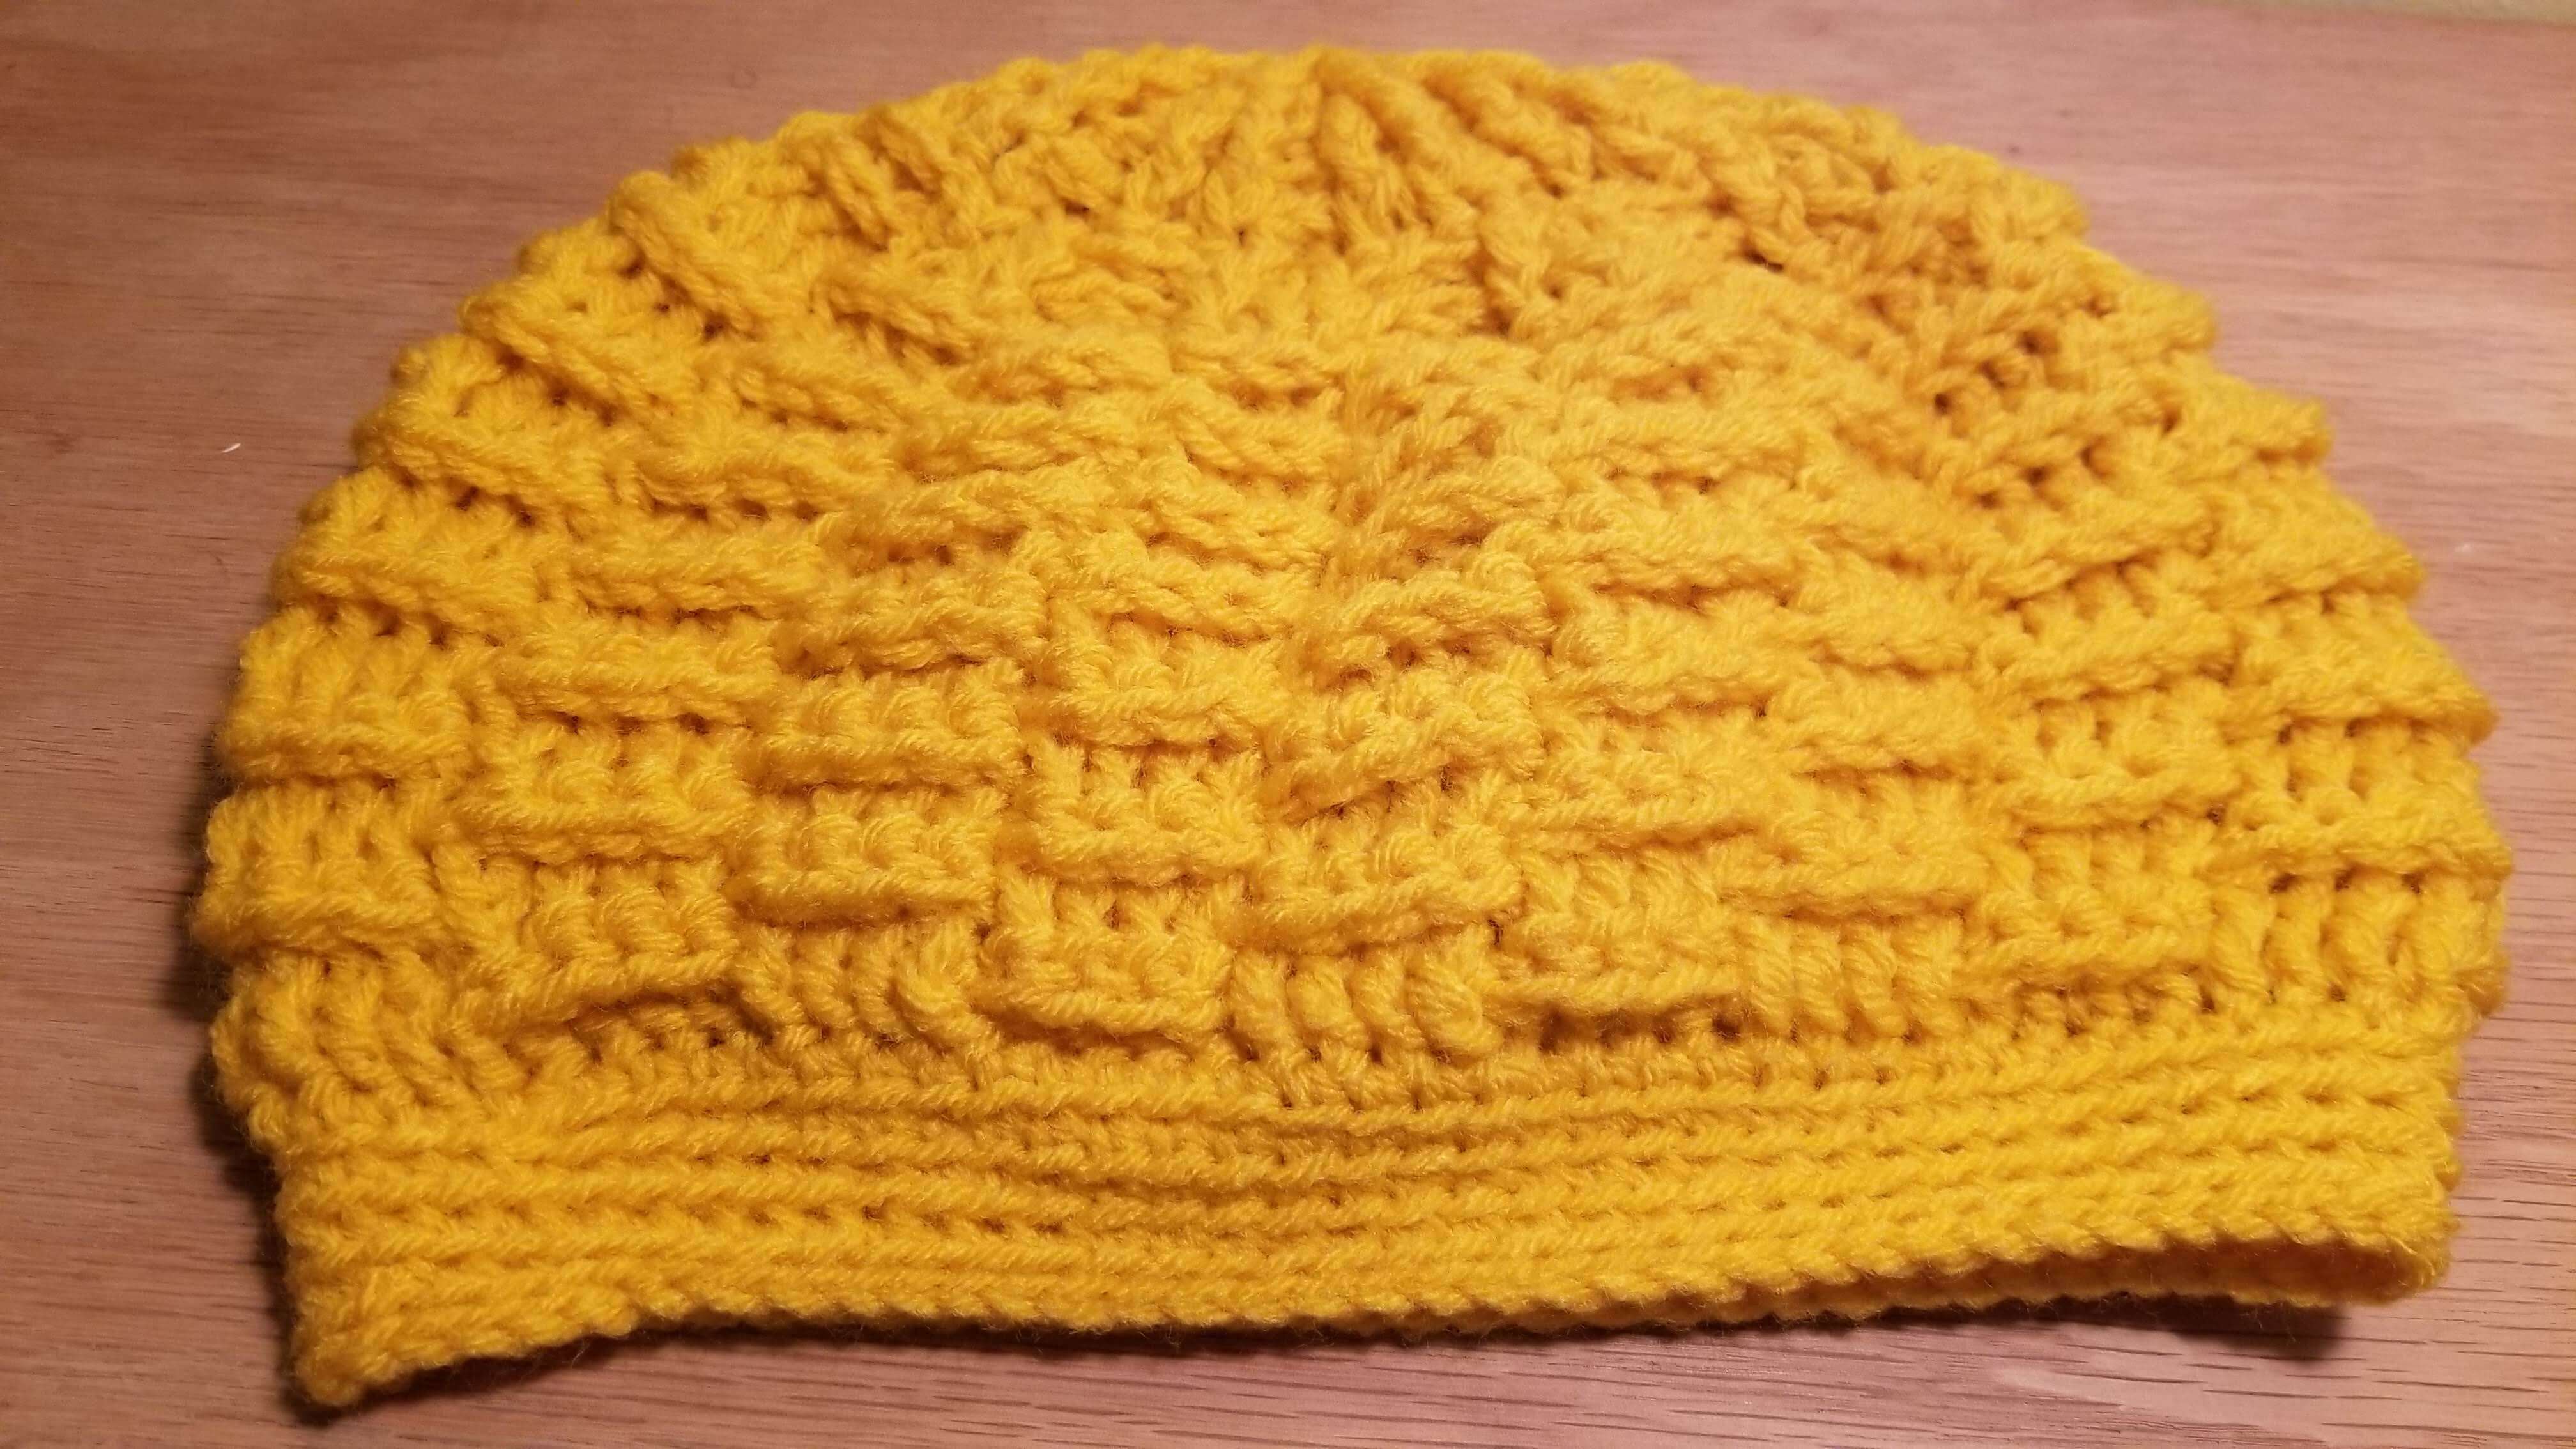 Yellow Bulky Crochet Hat
Lets see what you made
Have you made something you're proud of? We would love to see it.
