Crochet Beanie Pattern With Matching Scarf
 Crochet Beanie Pattern With Marching Scarf
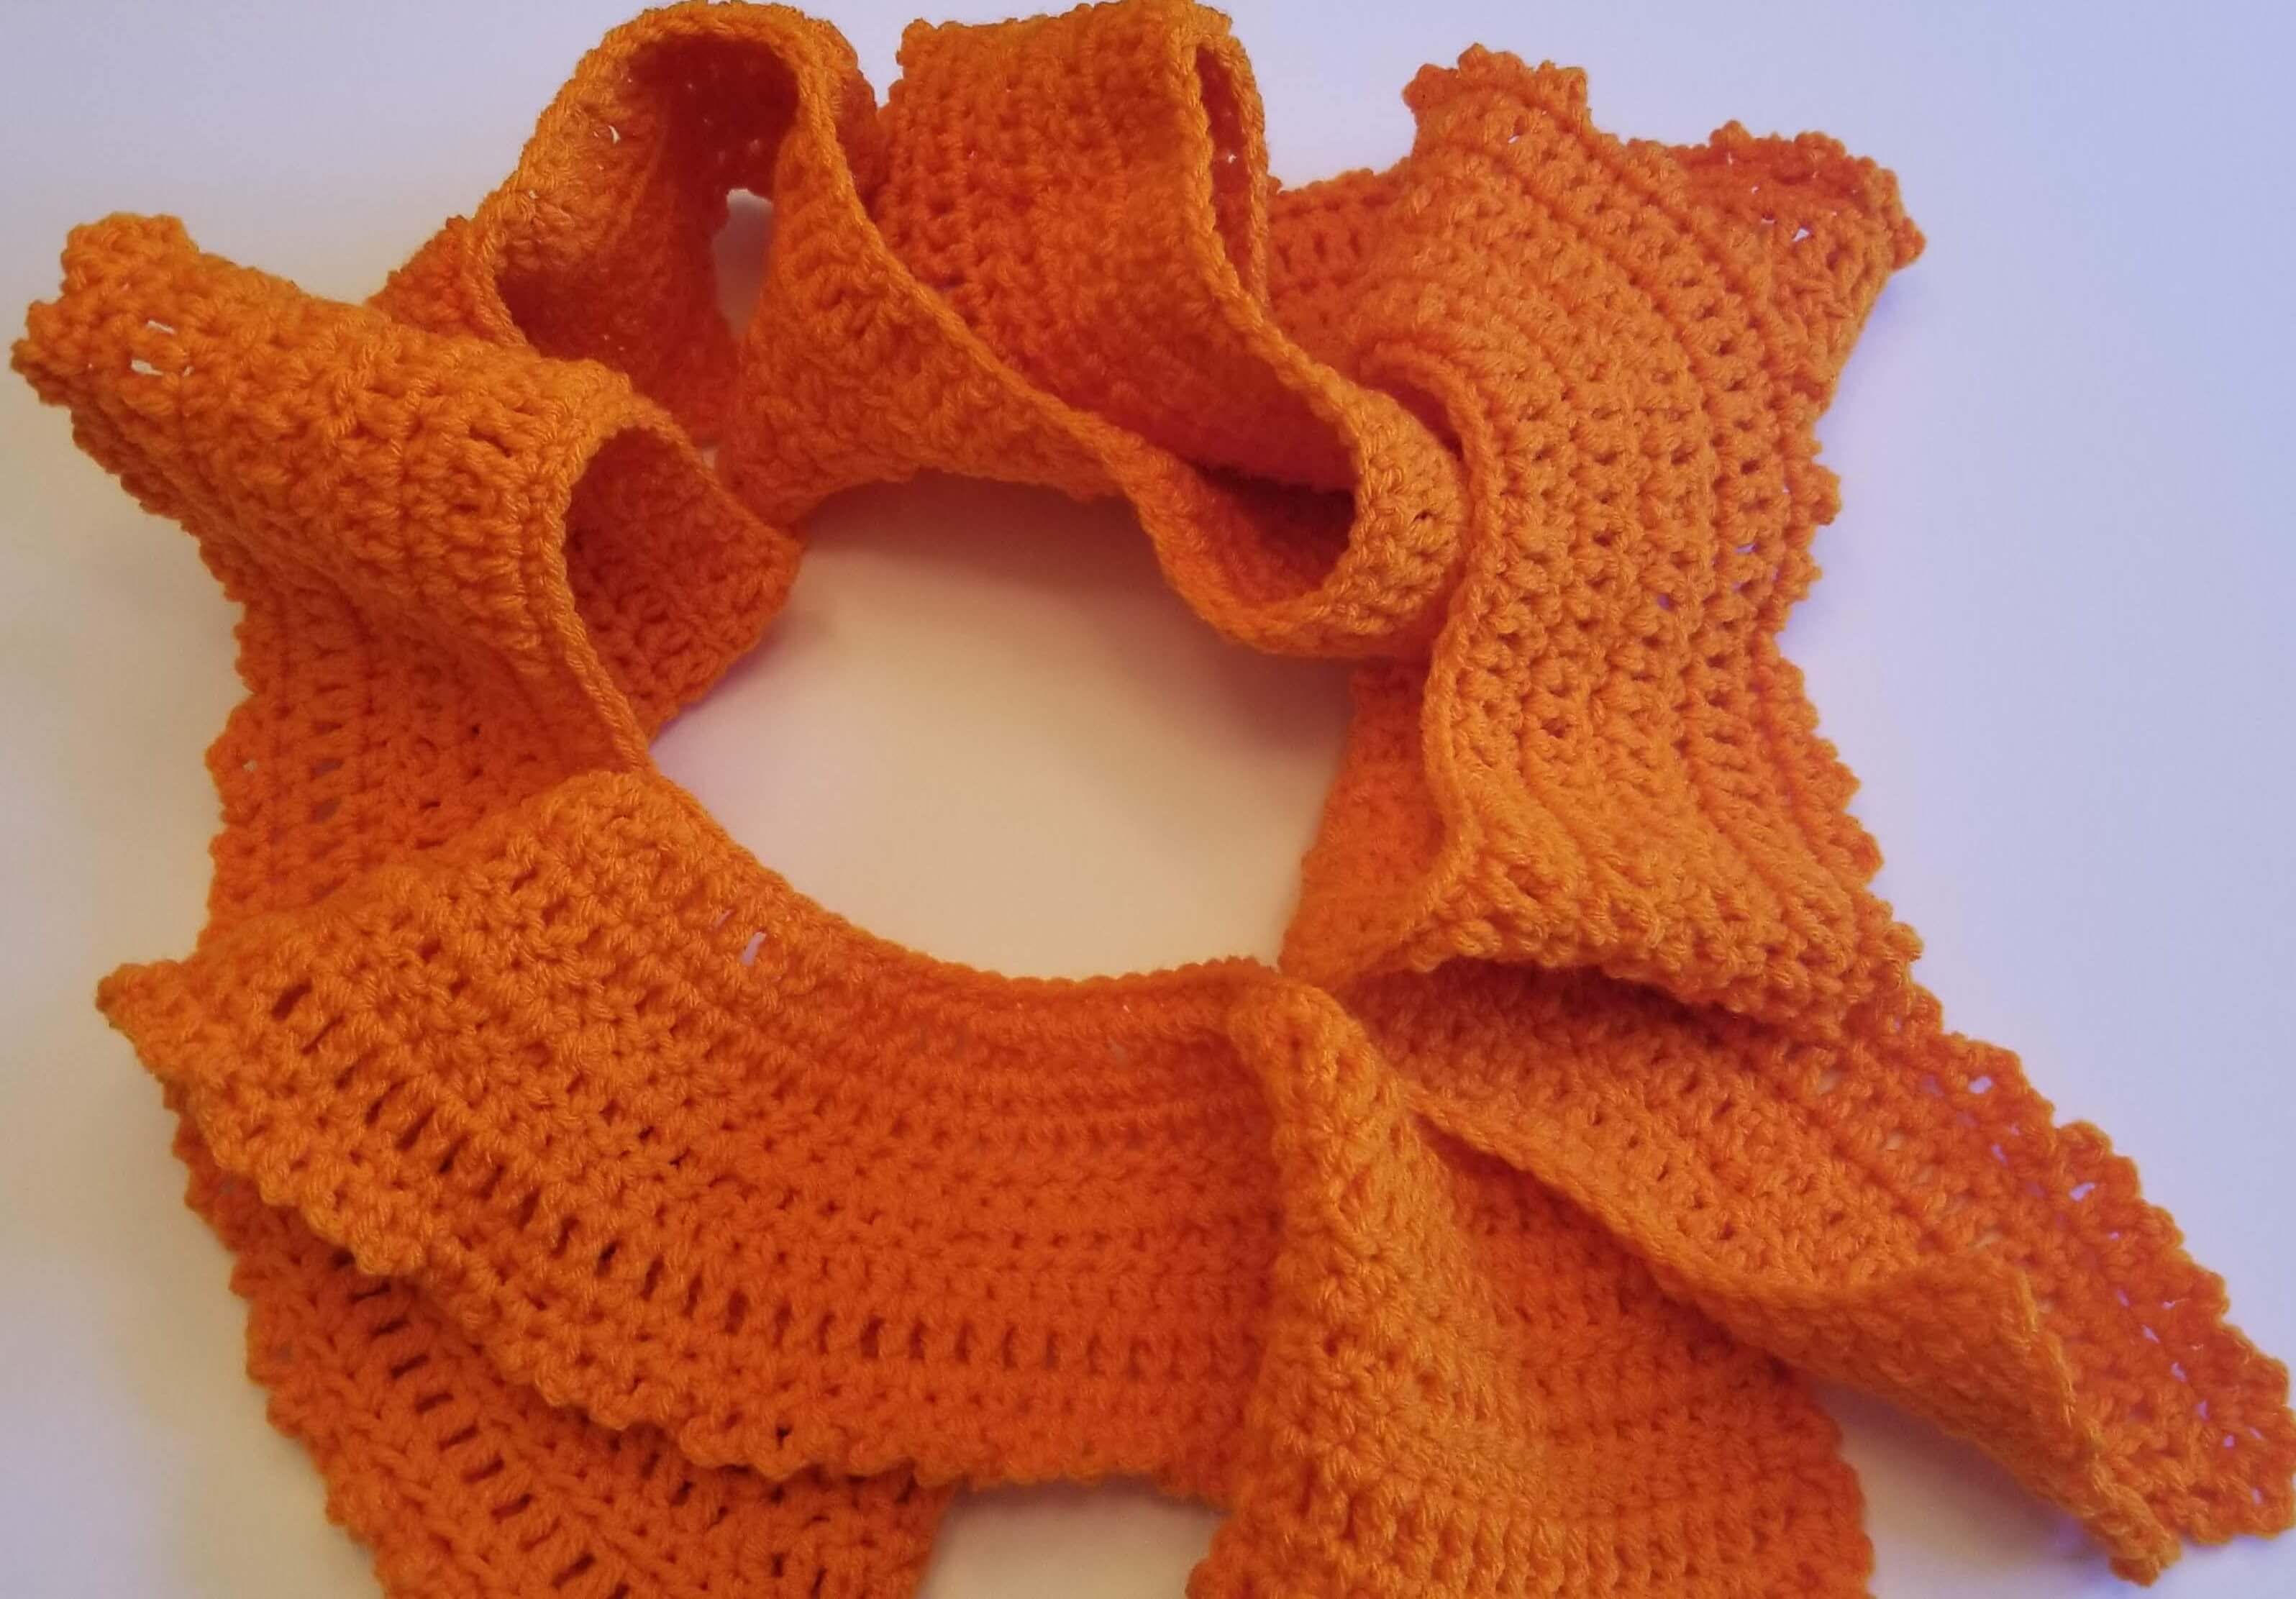
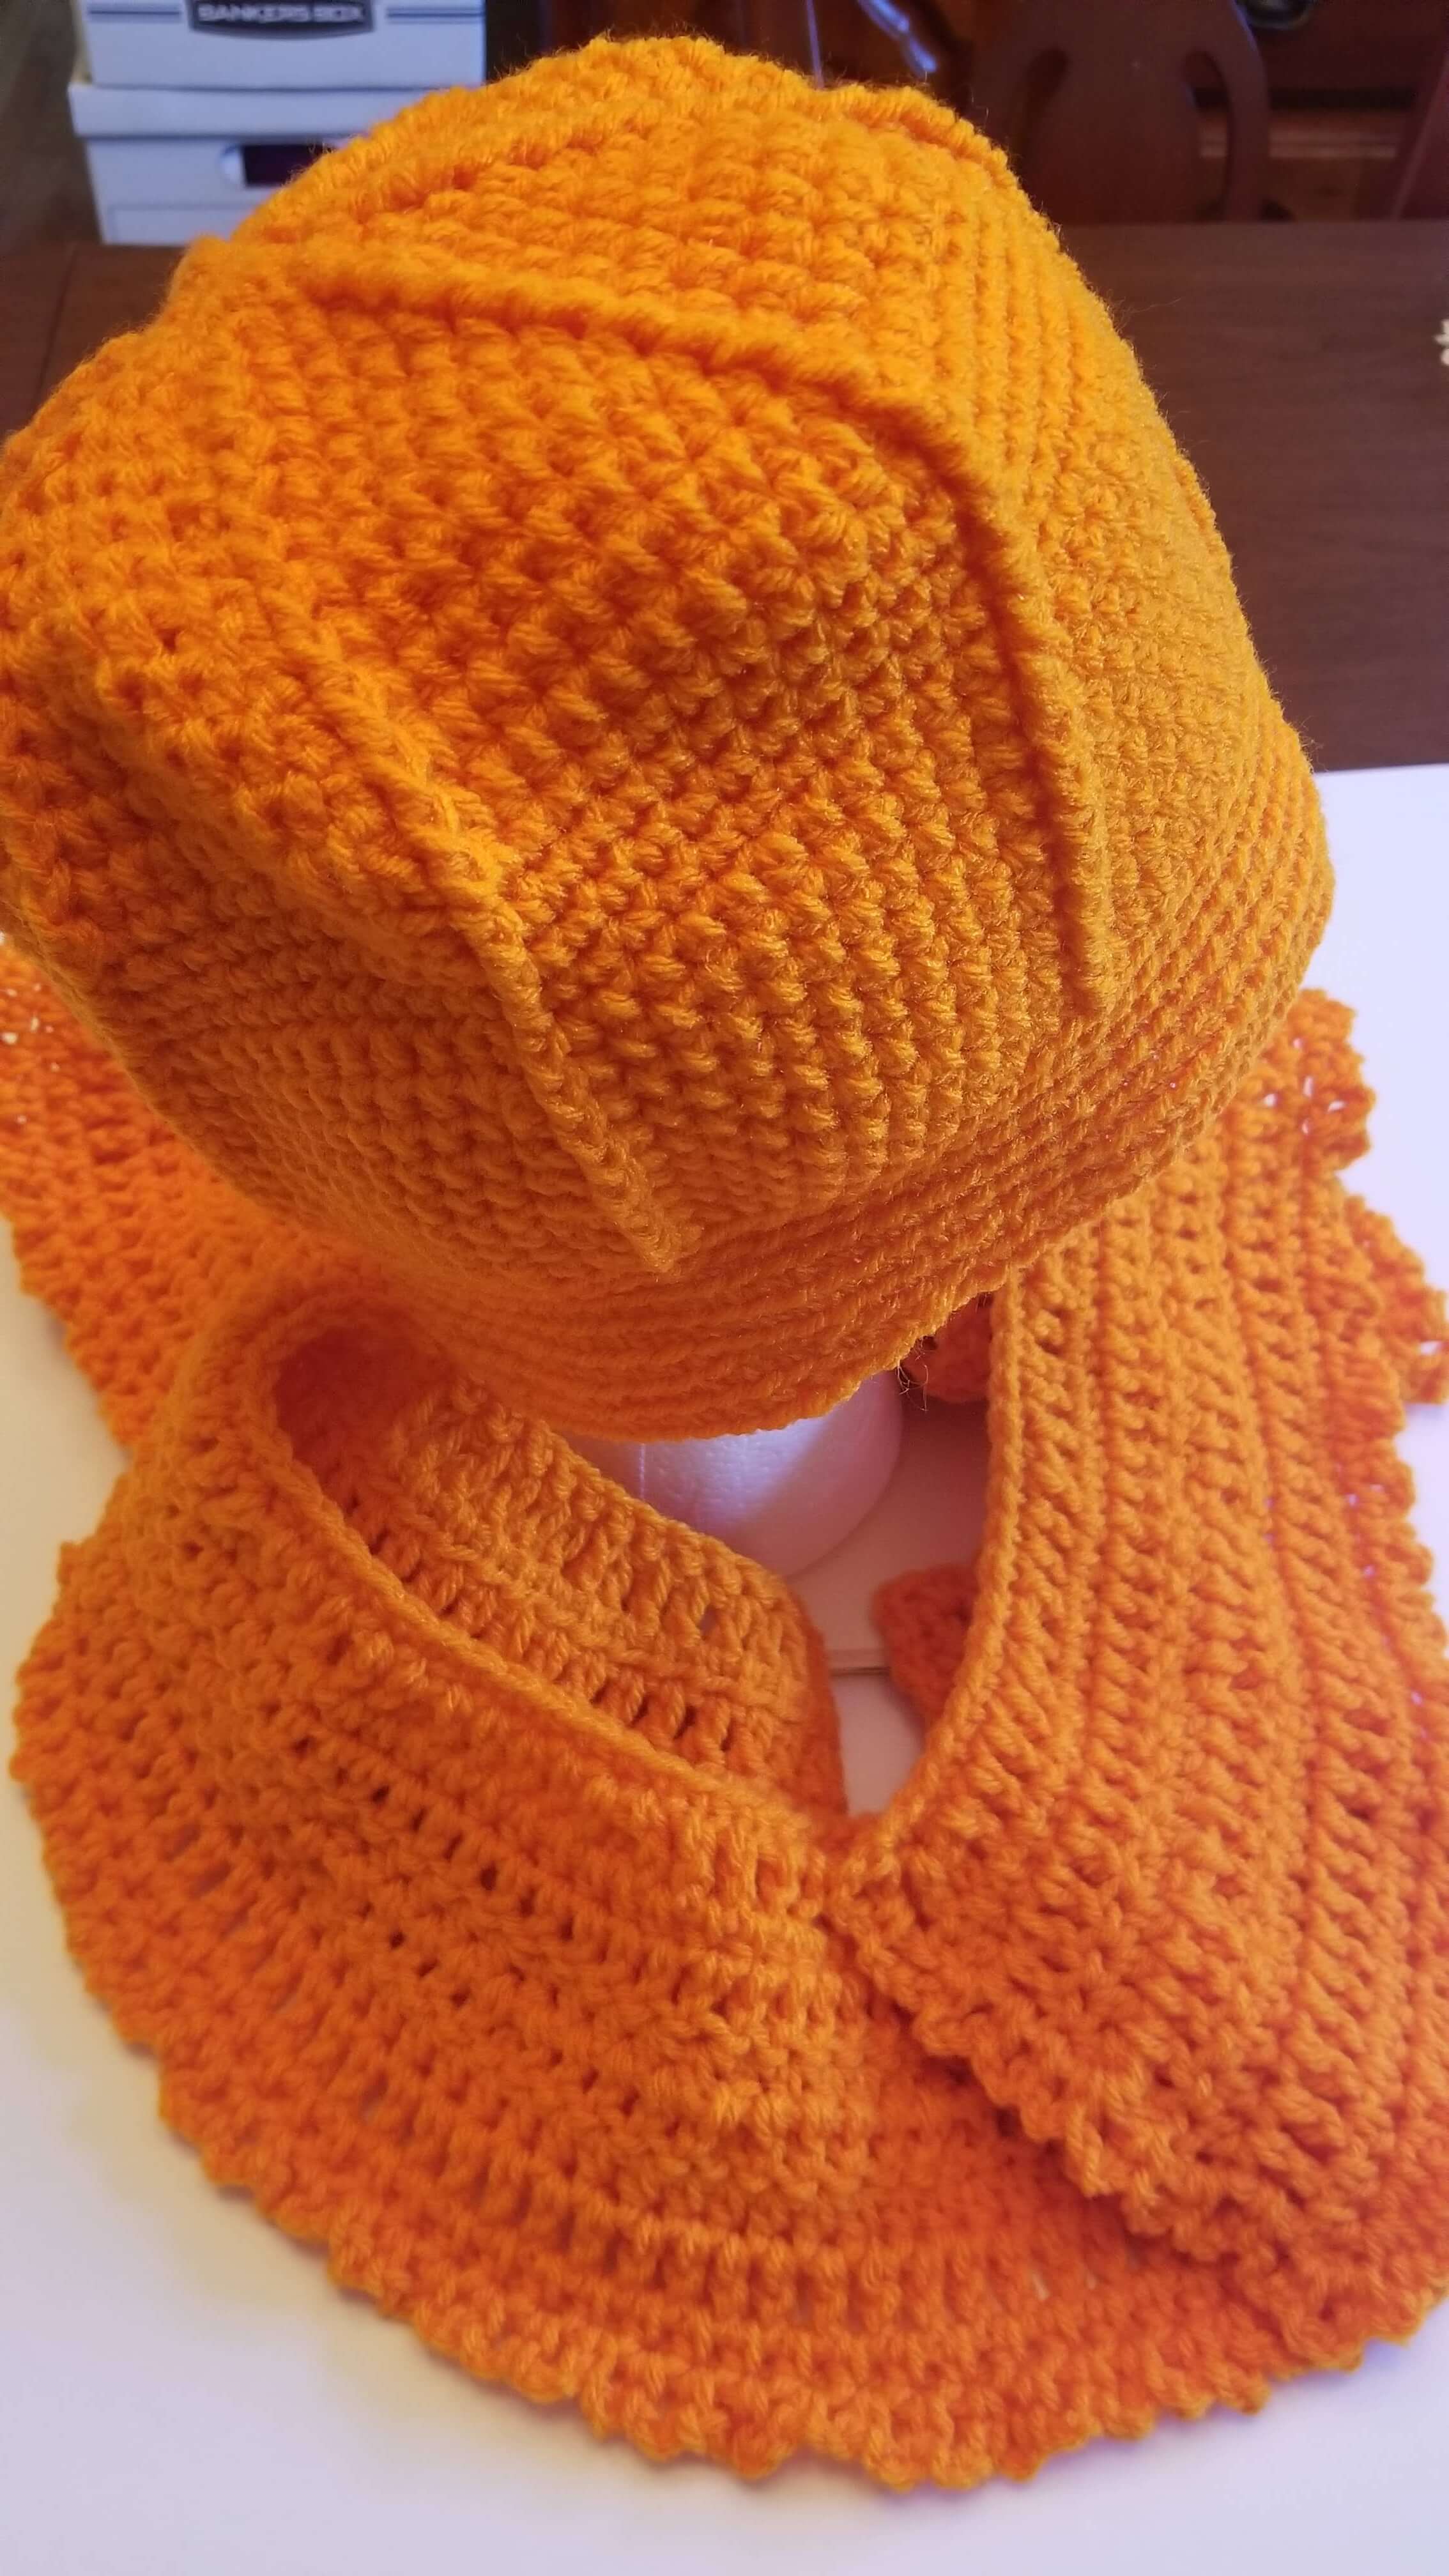
This is a super easy crochet beanie pattern. It is fun to make, and it sure looks cute. It even has a matching scarf.
See the Pumpkin Crochet Scarf Pattern here.
Its an Advance Beginner level project because of the post stitch. If you are a beginner and know you can manage this, go for it. It will work up fast.
You can use any yarn that you like. You will need approximately 250 yards for the beanie and approximately 400 yards for the scarf.
I used a solid color but it would be stunning in a striped or multi-colored yarn as well.
Use a 1mm hook smaller than the recommended hook for the yarn. This creates a bulkier hat. Use the recommended hook for the scarf to allow for a nice drape.
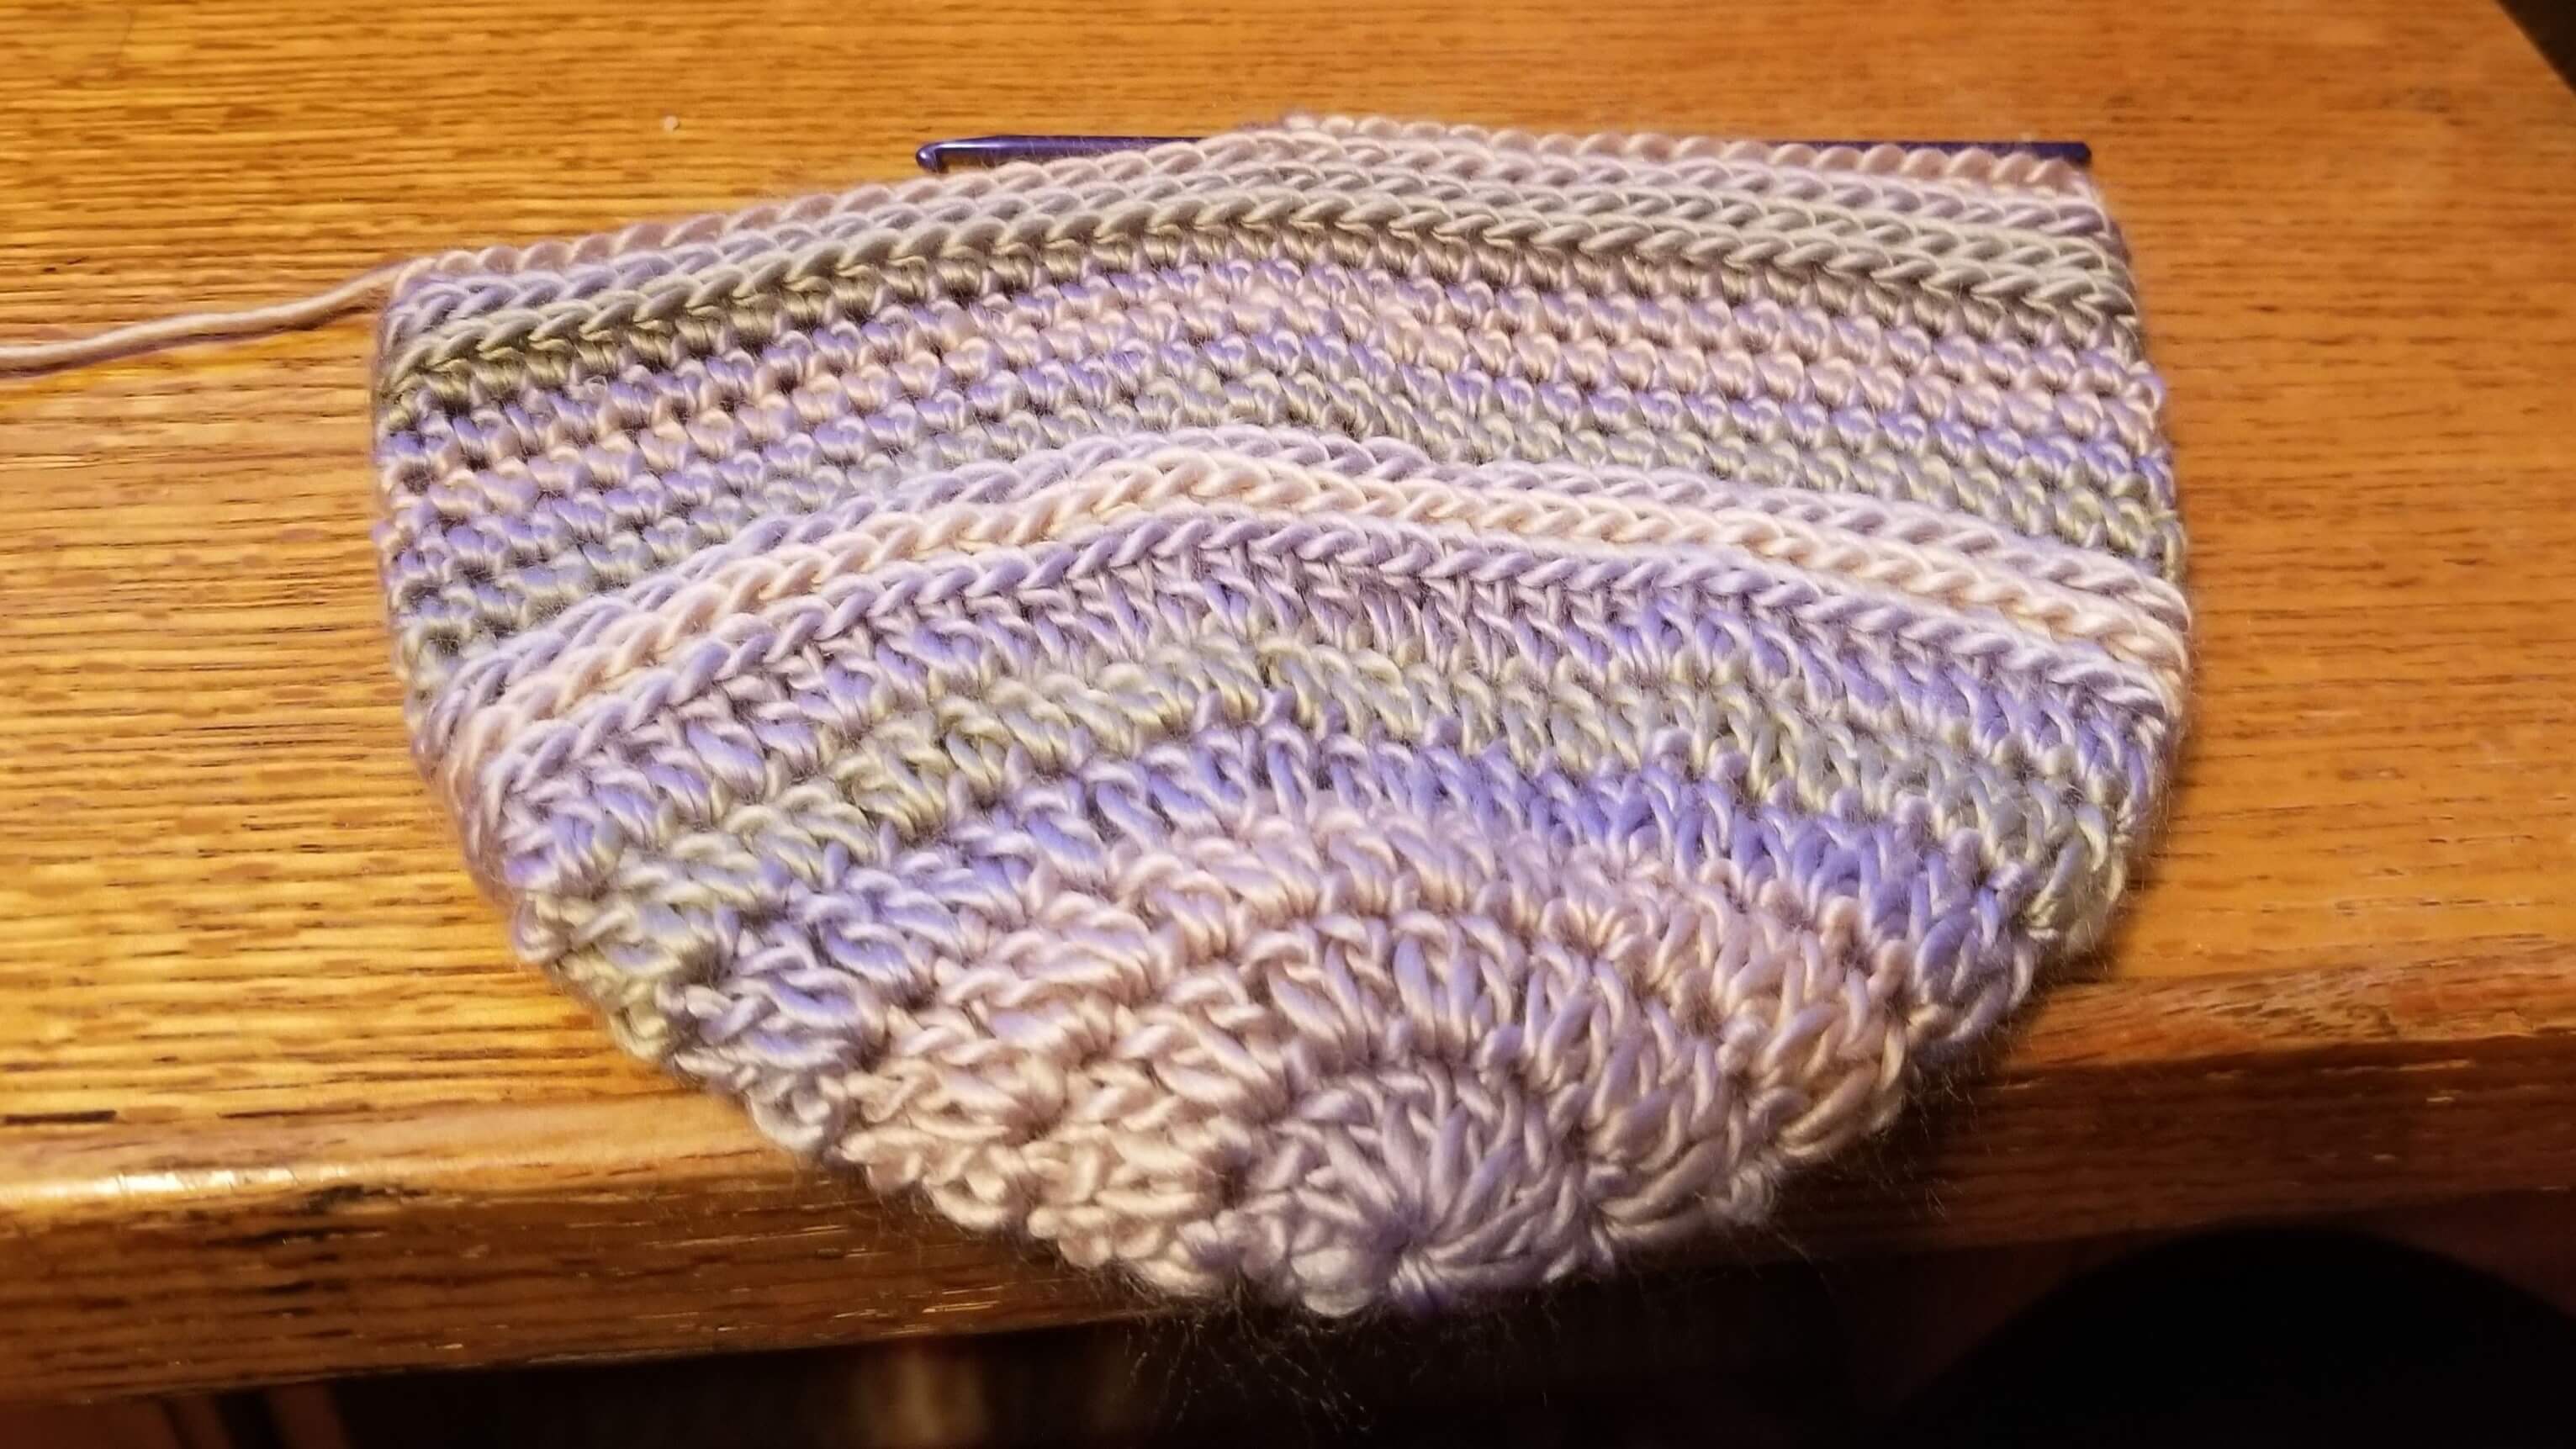
The top-down approach is used to make this hat. It only has a few stitches but the design makes a beautiful pattern.
For an accurate head measure, you need the full head circumference. Use a tape measure around the forehead, keeping it tight. Then divide that number by 3.14 and round up or down to the nearest quarter to get a good crown measurement. For example, if the head measures 21, here is the math:
21 divided by 3.14 = 6.68 rounded to 7
For the length, measure from the center of the head down to the bottom of the ear. Consider what your hat brim will look like and make the necessary adjustments.
Crocheted hats are stretchy and have some give which allows for less importance on precise measurements.
Here is the Crochet Hat Pattern measurement chart.
Here is a free printable ruler, if you need one.
Crochet Beanie Pattern
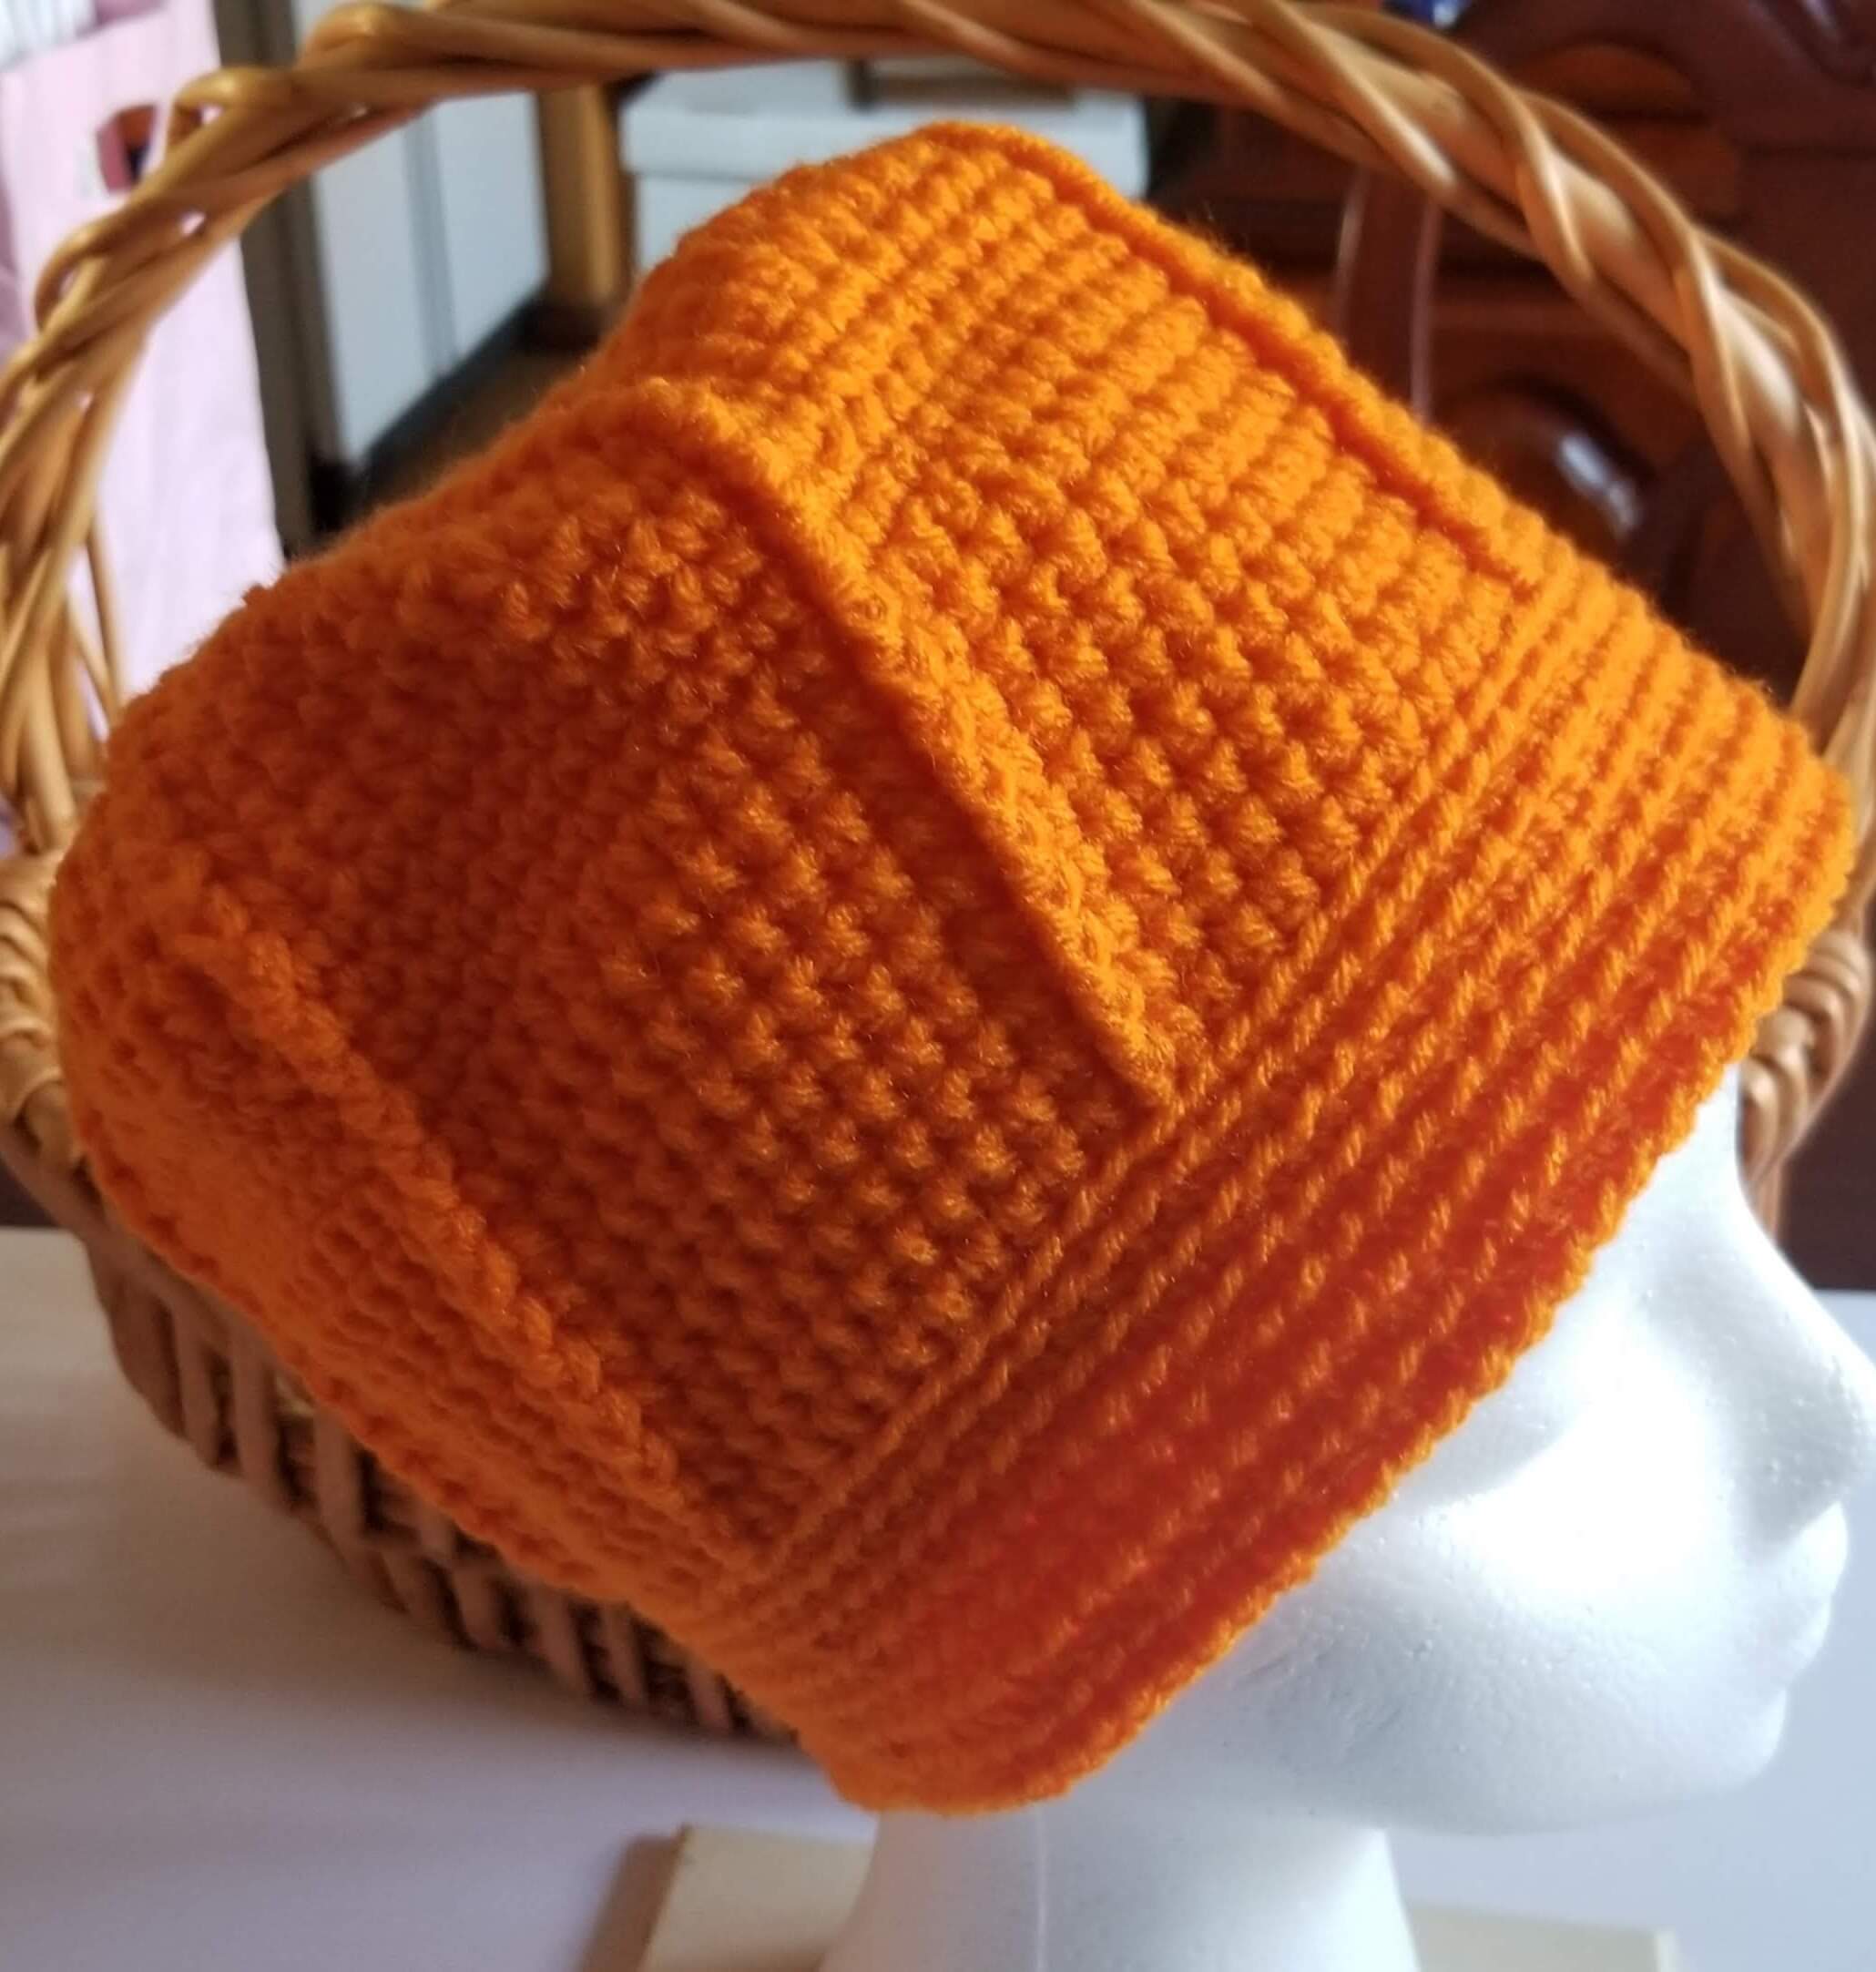 Crochet Pumpkin Beanie
Hat measures 21 x 9 inches
This Crochet Beanie Hat is made with approx 250 yds Red Heart Supersaver Pumpkin and 4mm crochet hook.
Stitches used:
- magic ring
- Ch – Chain
- Sc - Single Crochet
- BPSC – Back Post Single Crochet
- Dc- double crochet
- FPDC – Front Post Double Crochet
Note Each starting 3 chains which represent 1 Dc.
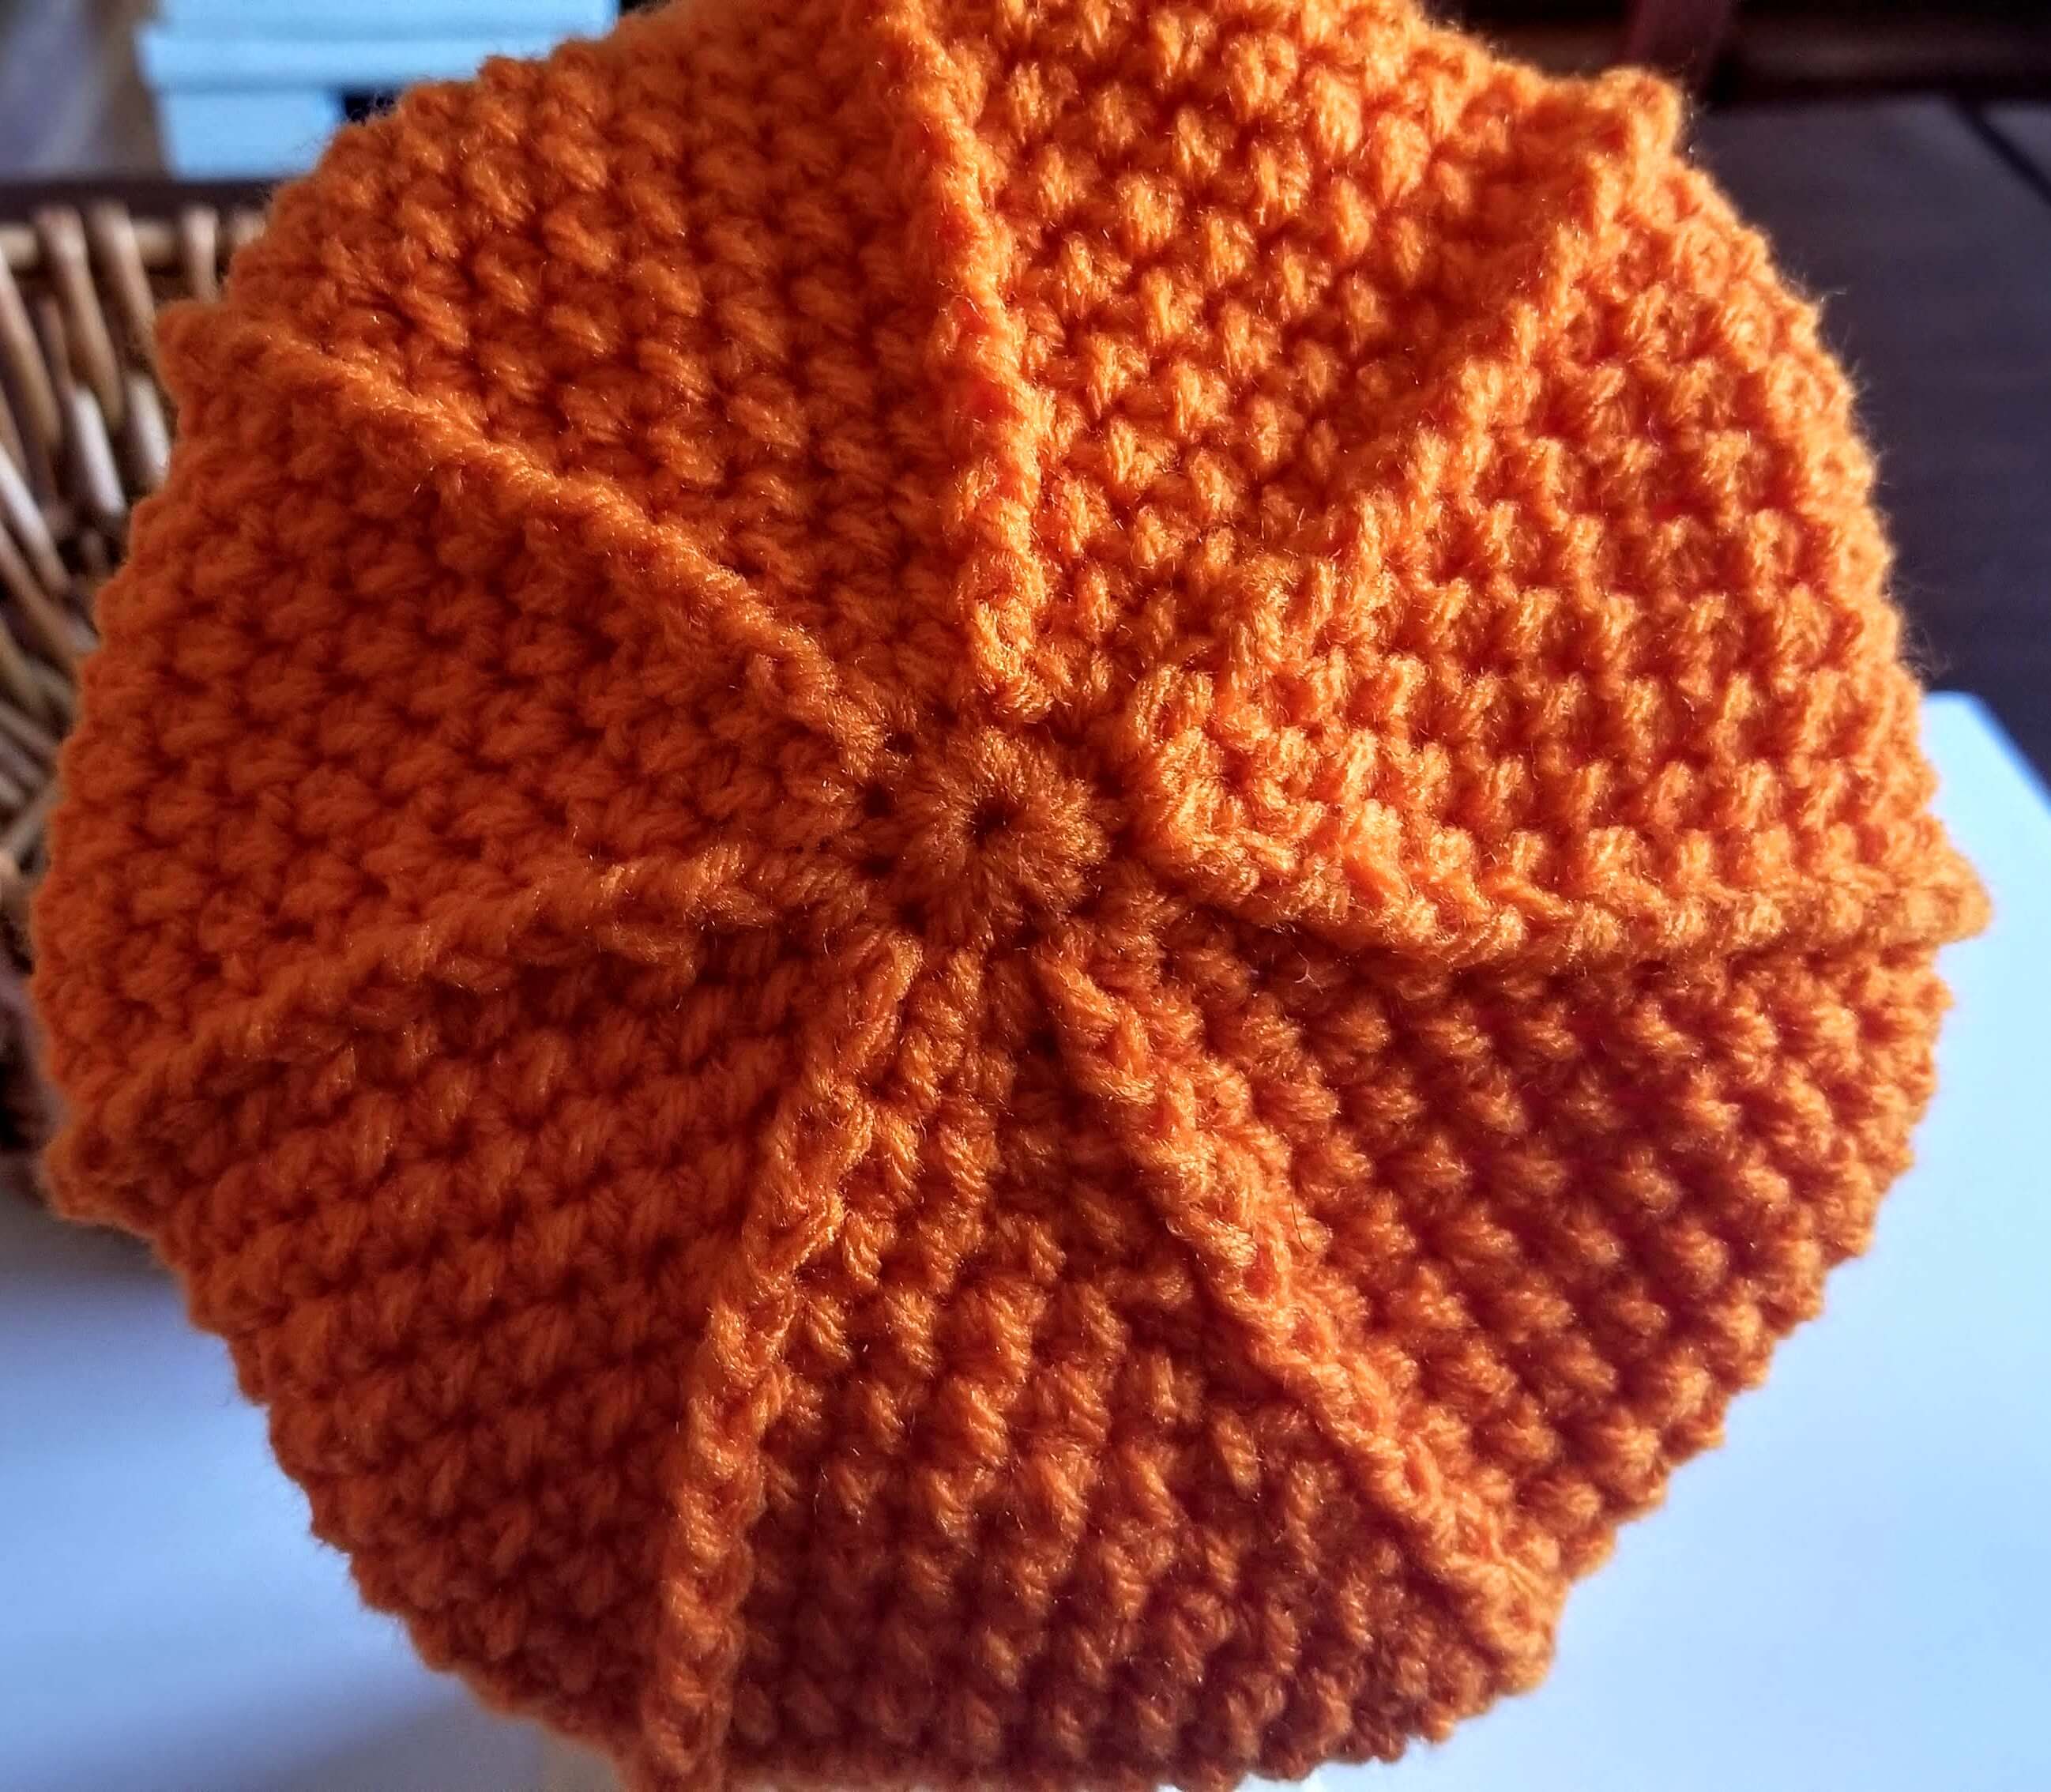 Crochet Pumpkin Beanie
Begin with a magic loop
1. Chain 3, 13 dc in ring, sl st to 3rd chain to join
2. Chain 3. (Fpdc in next dc., 1 dc in dc) 7x, sl st to 3rd
chain to join
3. Chain 3. (Fpdc over previous row fpdc, 2 dc in next dc) 7x , sl st to 3rd chain to join
4. Chain 3. Fpdc over previous row fpdc, 3 dcs over stitches
up to fpdc, sl st to 3rd chain to join
5. Repeat Row 4 to make as large as you want by increasing the dcs
between the post by 1 each row.
Once you reach the crown size that you desire, mark your starting point with a stitch marker.
For Brim of the Crochet Beanie Pattern
1 BPSC into each stitch. (Sc into the back loop only) until desired size is achieved. Do not join at the end of each round.
Slip stitch to fasten off and weave in ends.
Pumpkin Crochet Scarf Pattern
